


Harvested in July, these year-old onions aren’t mature but some gardeners and cooks still use these for cooking. However, they cannot be stored at this immature stage. ANDREW MESSINGER
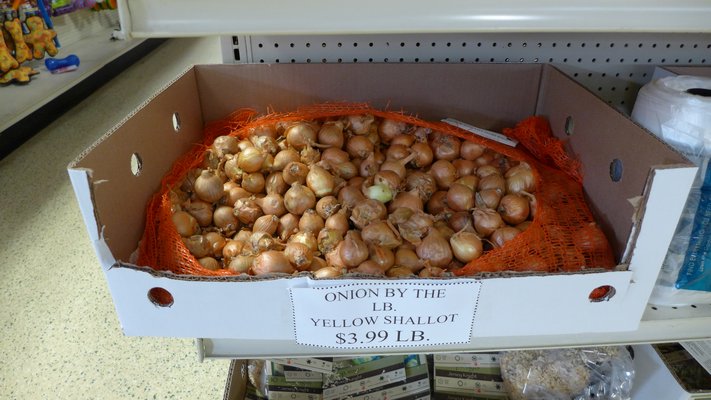
Shallots are onion relatives and are planted the same way (pointed end up). These yellow shallots are sold in bulk by the pound ANDREW MESSINGER
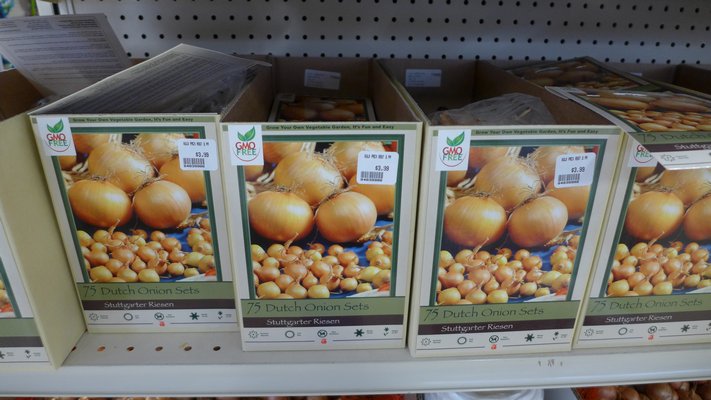
Prepackaged onion bulbs ready to plant in the prepped garden. "Dutch" refers to the origin of the bulbs, not to a type. ANDREW MESSINGER

Last week we discovered the secrets of choosing the right types of onions to grow and the advantages of growing them from seeds, sets and transplants. Having learned that we’re better off growing a Walla Walla instead of a Vidalia, we now need to explore their general care, harvesting and storage.
If you wanted to grow your onions from seed, it’s getting late. Remember though, you can still get your sets, seedlings and small bulbs into the ground in just over a month.
Three simple words for getting your onions off to a good start: watering is critical.
Onion plants have very shallow root systems and they tend to dry out quickly after a few days of bright Hamptons sun. They don’t tolerate those long periods of drought that are so common here in July and August. Water your plants right after outdoor planting and then give them a good soaking once a week so that the soil is wet 6 inches deep. Dry onions tend to be very pungent and the easiest way to reduce your watering is to cover the soil with a light mulch of straw or hay. This also keeps the soil friable and permits large bulbs to expand while dry, hard soil restricts development.
Onions are also appreciative of additional nourishment that you can provide during the growing season. You fertilize these plants using a method called side dressing. This is accomplished by spreading a narrow band of fertilizer along the side of the planting row or by encircling each plant if you have the inclination. The fertilizer (5-10-5 is fine or an organic equivalent) is dropped about 2 inches to the side of the bulb or row, then lightly worked into the top half-inch of soil and watered.
The correct time to harvest depends to some degree on what you want. Pull the onions early in the season if you want scallions or green onions, while the stalks are still white at the bottom and fairly thin. Fresh onions can be pulled at any time during the growing season after the bulbs have started to form. Pull only what you’ll need for immediate use as the bulbs will survive in the fridge for only a few days.
Later in the season, probably in August and September, watch the foliage for signs of maturity. When the big gray-green leaf stalks start turning brown and falling over, the bulbs are about ready to be pulled. Let most of the tops fall by themselves and bend the rest over to hasten ripening of the slower bulbs. Once the stalks are bent, leave the bulbs in the ground for 10 days to two weeks to assure that the onion has matured. At this point the outer skins (yes you can peak now) should be papery and easily peeled.
Next comes the curing process, especially for those onions that we call “keepers,” the ones that you’ll use next fall and winter. The purpose is to dry the outer parts of the bulb thoroughly so that they won’t develop molds or rot in storage. Dig the bulbs on a sunny, dry day and leave them on top of the soil in furrows or rows for a day or two. This kills the tiny roots clustered at the bulbs’ base. When these roots are dry they will be brittle and will crumble to the touch.
Next, it’s off to the shade. Spread the bulbs on some newspaper in a dry, shaded spot (a shed, garage etc.) and simply leave them there for a few weeks. Or, using old onion bags, hang the bagged onions off the ground in a similar setting for just as long. Some garden centers sell onion bags just for this purpose and they’re available online.
Some three to five weeks after harvesting, clean the bulbs by removing dirt and any of the papery outer skin that comes loose when you handle them. Cut the tops off an inch or two above the neck, remembering that cutting too close to the neck may permit the invasion of disease organisms. Obviously, if you are going to braid the onions the tops won’t be cut. As a rule, thick-necked bulbs should be used immediately as they don’t store well.
Unless braided and hung from the ceiling, bulbs are best stored in net bags (just like the ones that the onions come in at the store), burlap bags or in slatted crates so long as there is adequate air circulation. Keep them cool, but unrefrigerated, and dry. Always protect them from freezing. An unheated basement can be the perfect spot. Now and then, check for wet spots and mold, removing the damaged bulbs to protect the others. If some bulbs sprout, you may be storing them too warm. Forty-five degrees is ideal, and the lower the storage temperature the fewer problems you’ll have with disease and shrinkage.
Shallots, which have a mild, onion-like flavor, are often grown by and for gourmet cooks. I’m told that these cooks prefer the flavor and bouquet of this plant instead of onions or garlic, which might overpower some dishes. The bulbs look like little brown onions growing in clusters attached at the base.
The tiny bulbs are separated at planting and set 4 inches apart in rows a foot and a half apart. Otherwise, they are grown just like onions except that they may be left in the soil over winter under a mulch.
And speaking of overpowering, how about some ramps? These are wild leeks that can be found in the woods, but you can also buy seeds and grow your own. My introduction to ramps was via ramp butter. It’s something that you never forget.
Leeks look like huge scallions, but they have a sweet, mild and delicate flavor. Important in French cooking, leeks have become increasingly popular in America and they can be found in green markets year-round.
Although a member of the onion family, leeks don’t form bulbs, but develop a broad, succulent stem. Mature stems are about 2 inches thick and 6 to 8 inches long from the root to the neck, and above the neck is a fan-like sheaf of leaves that may grow over 12 inches high. These are long-season vegetables and, in our climate, should be started indoors no later than mid-March. In late April the seedlings can be planted out when half the thickness of a pencil.
Planting should be in deeply tilled soil 5 to 6 inches apart in rows 2 feet apart. As the plants mature, hill earth up around the elongated stems as this will begin the gradual blanching (whitening) of the stem, keeping the flavor mild and delicate. Always be careful to keep soil out of the crown of the plant (where the leaves fan out) to prevent rotting, and mulch to keep the soil moist and weed-free. Harvesting takes place in the fall, or dig them from the garden all winter as needed. Leeks can be used as soon as the stems are at least three-quarters of an inch wide.
For more information on growing onions and their relatives as well as a list of onions that do well in our area check out this link: http://goo.gl/xGERx. Get going and keep growing.
More Posts from Andrew Messinger


