


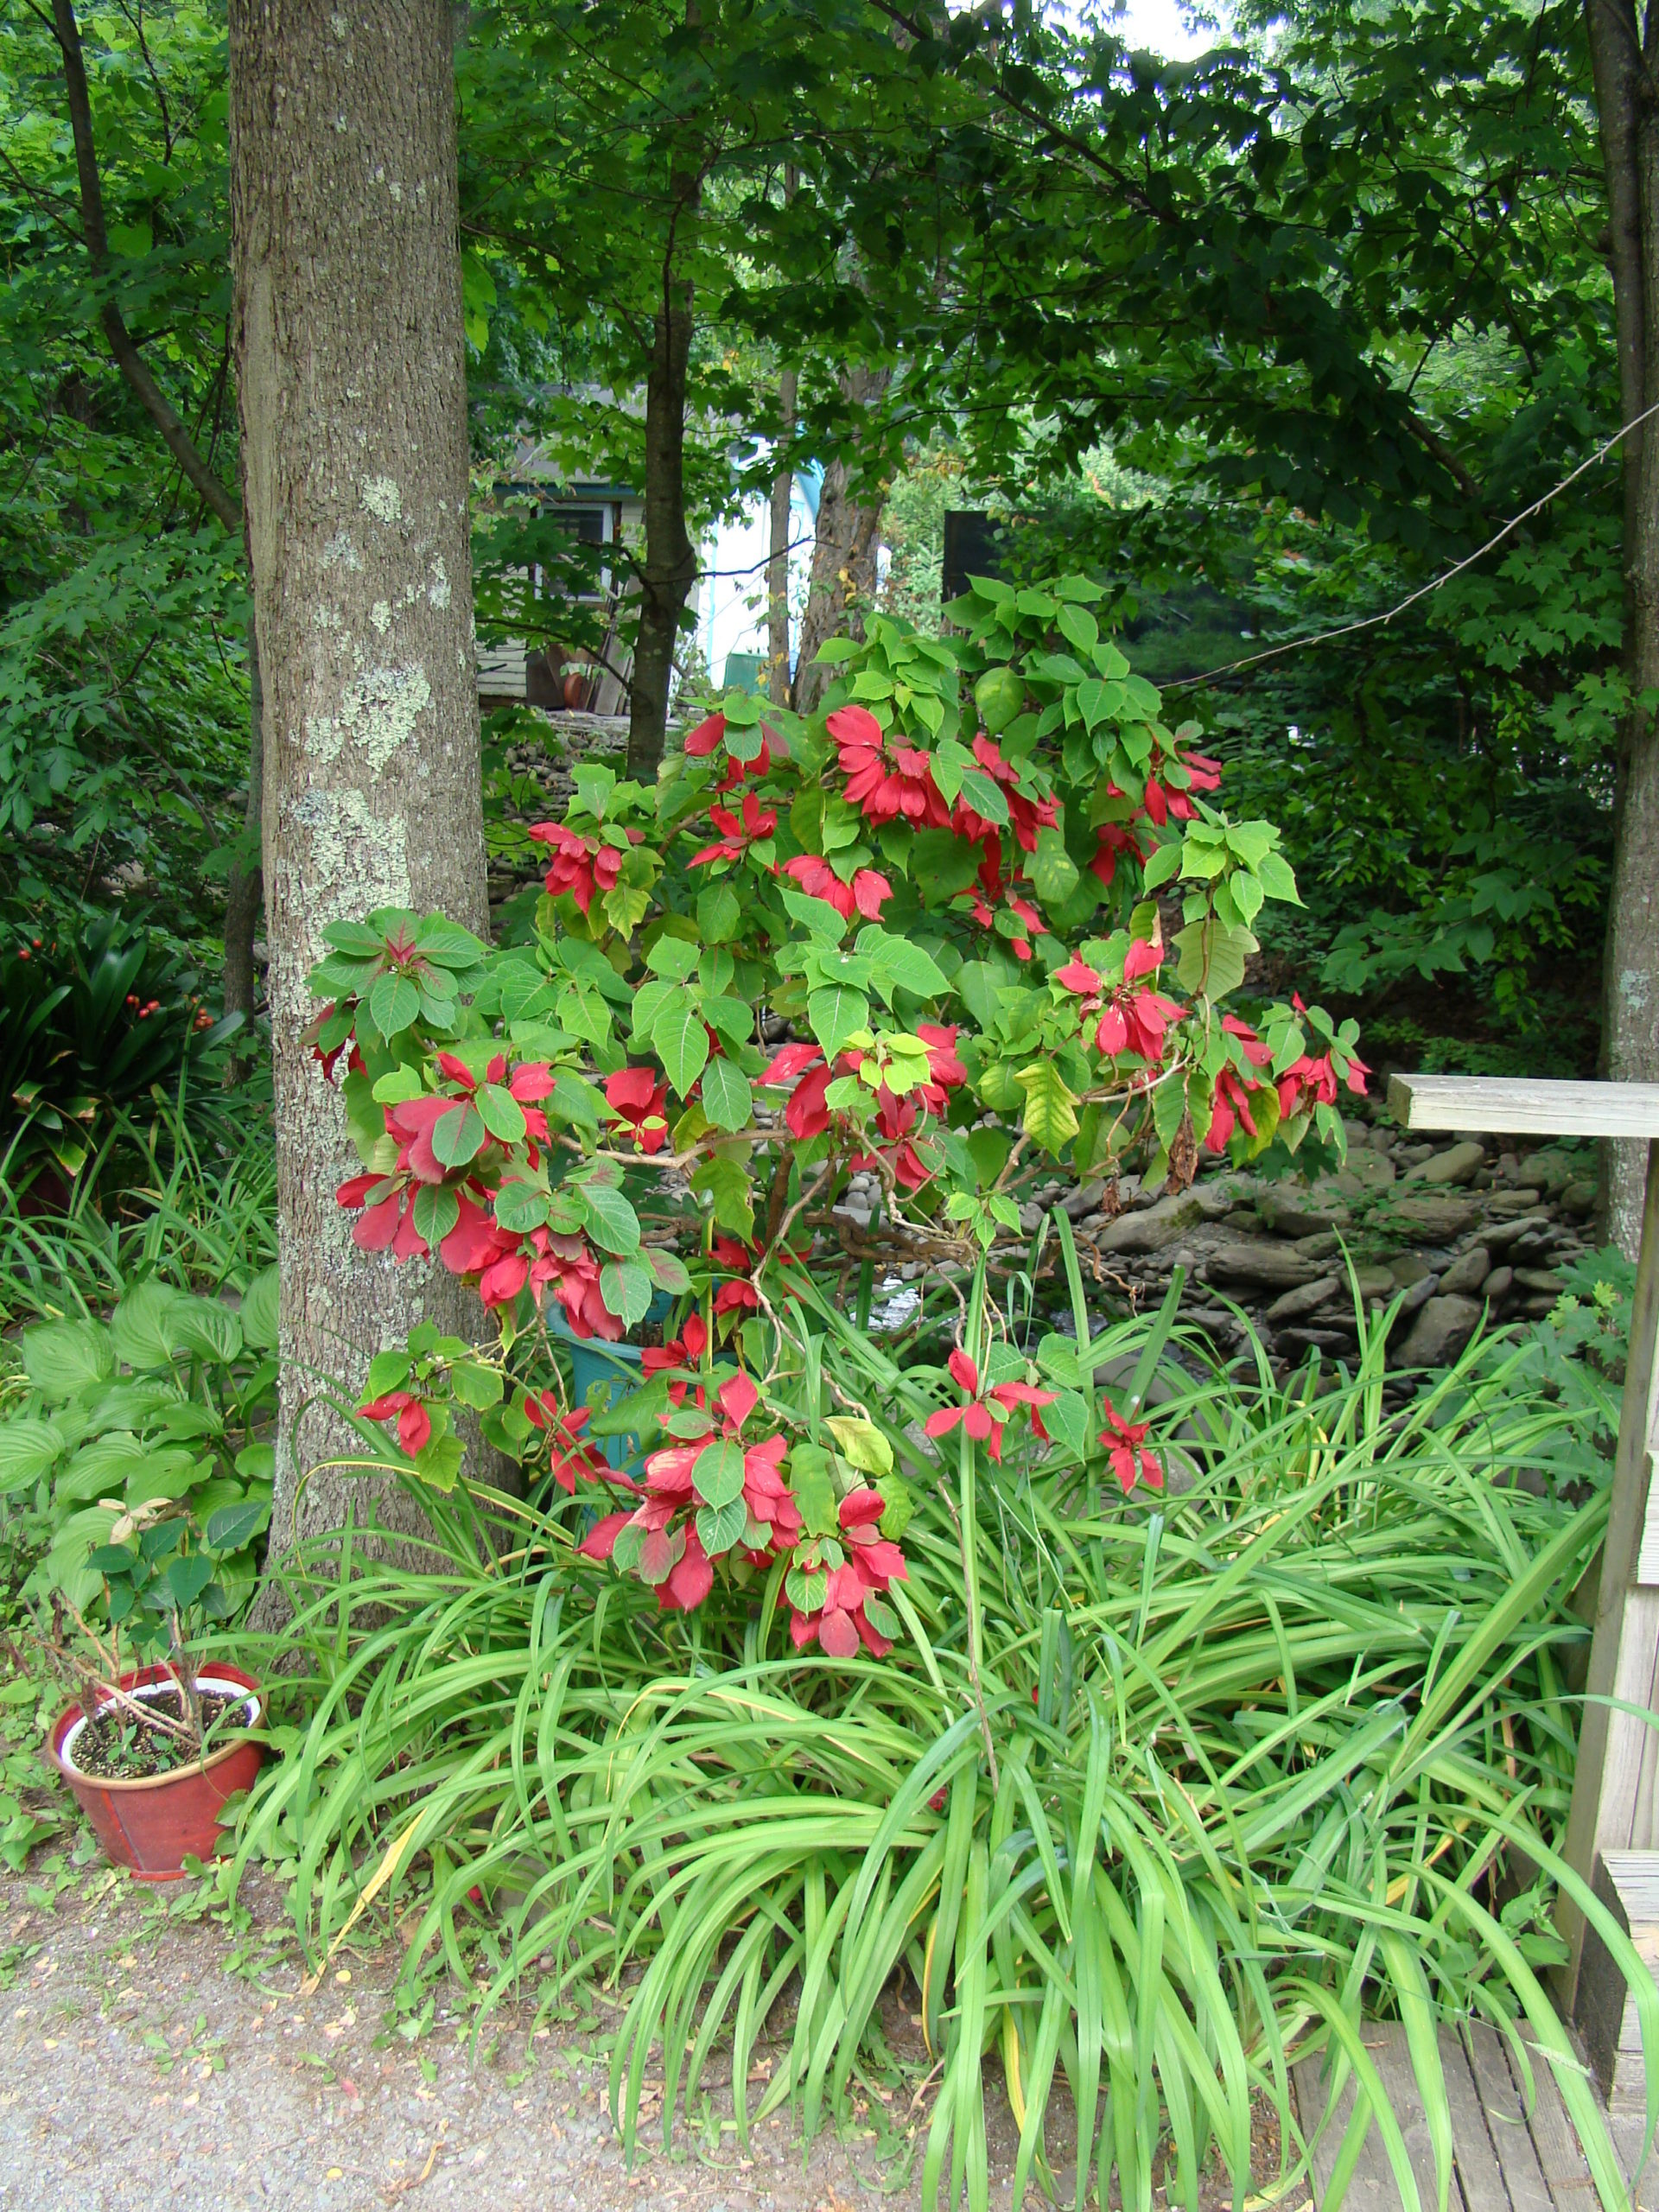
Poinsettias in a local garden in July. This plant would not be a good "reblooming" candidate since it hasn’t been pinched to encourage new shoots. When left alone in the summer garden they get tall and leggy, just like their ancestral relatives. Not unattractive, but not rehabilitatable.
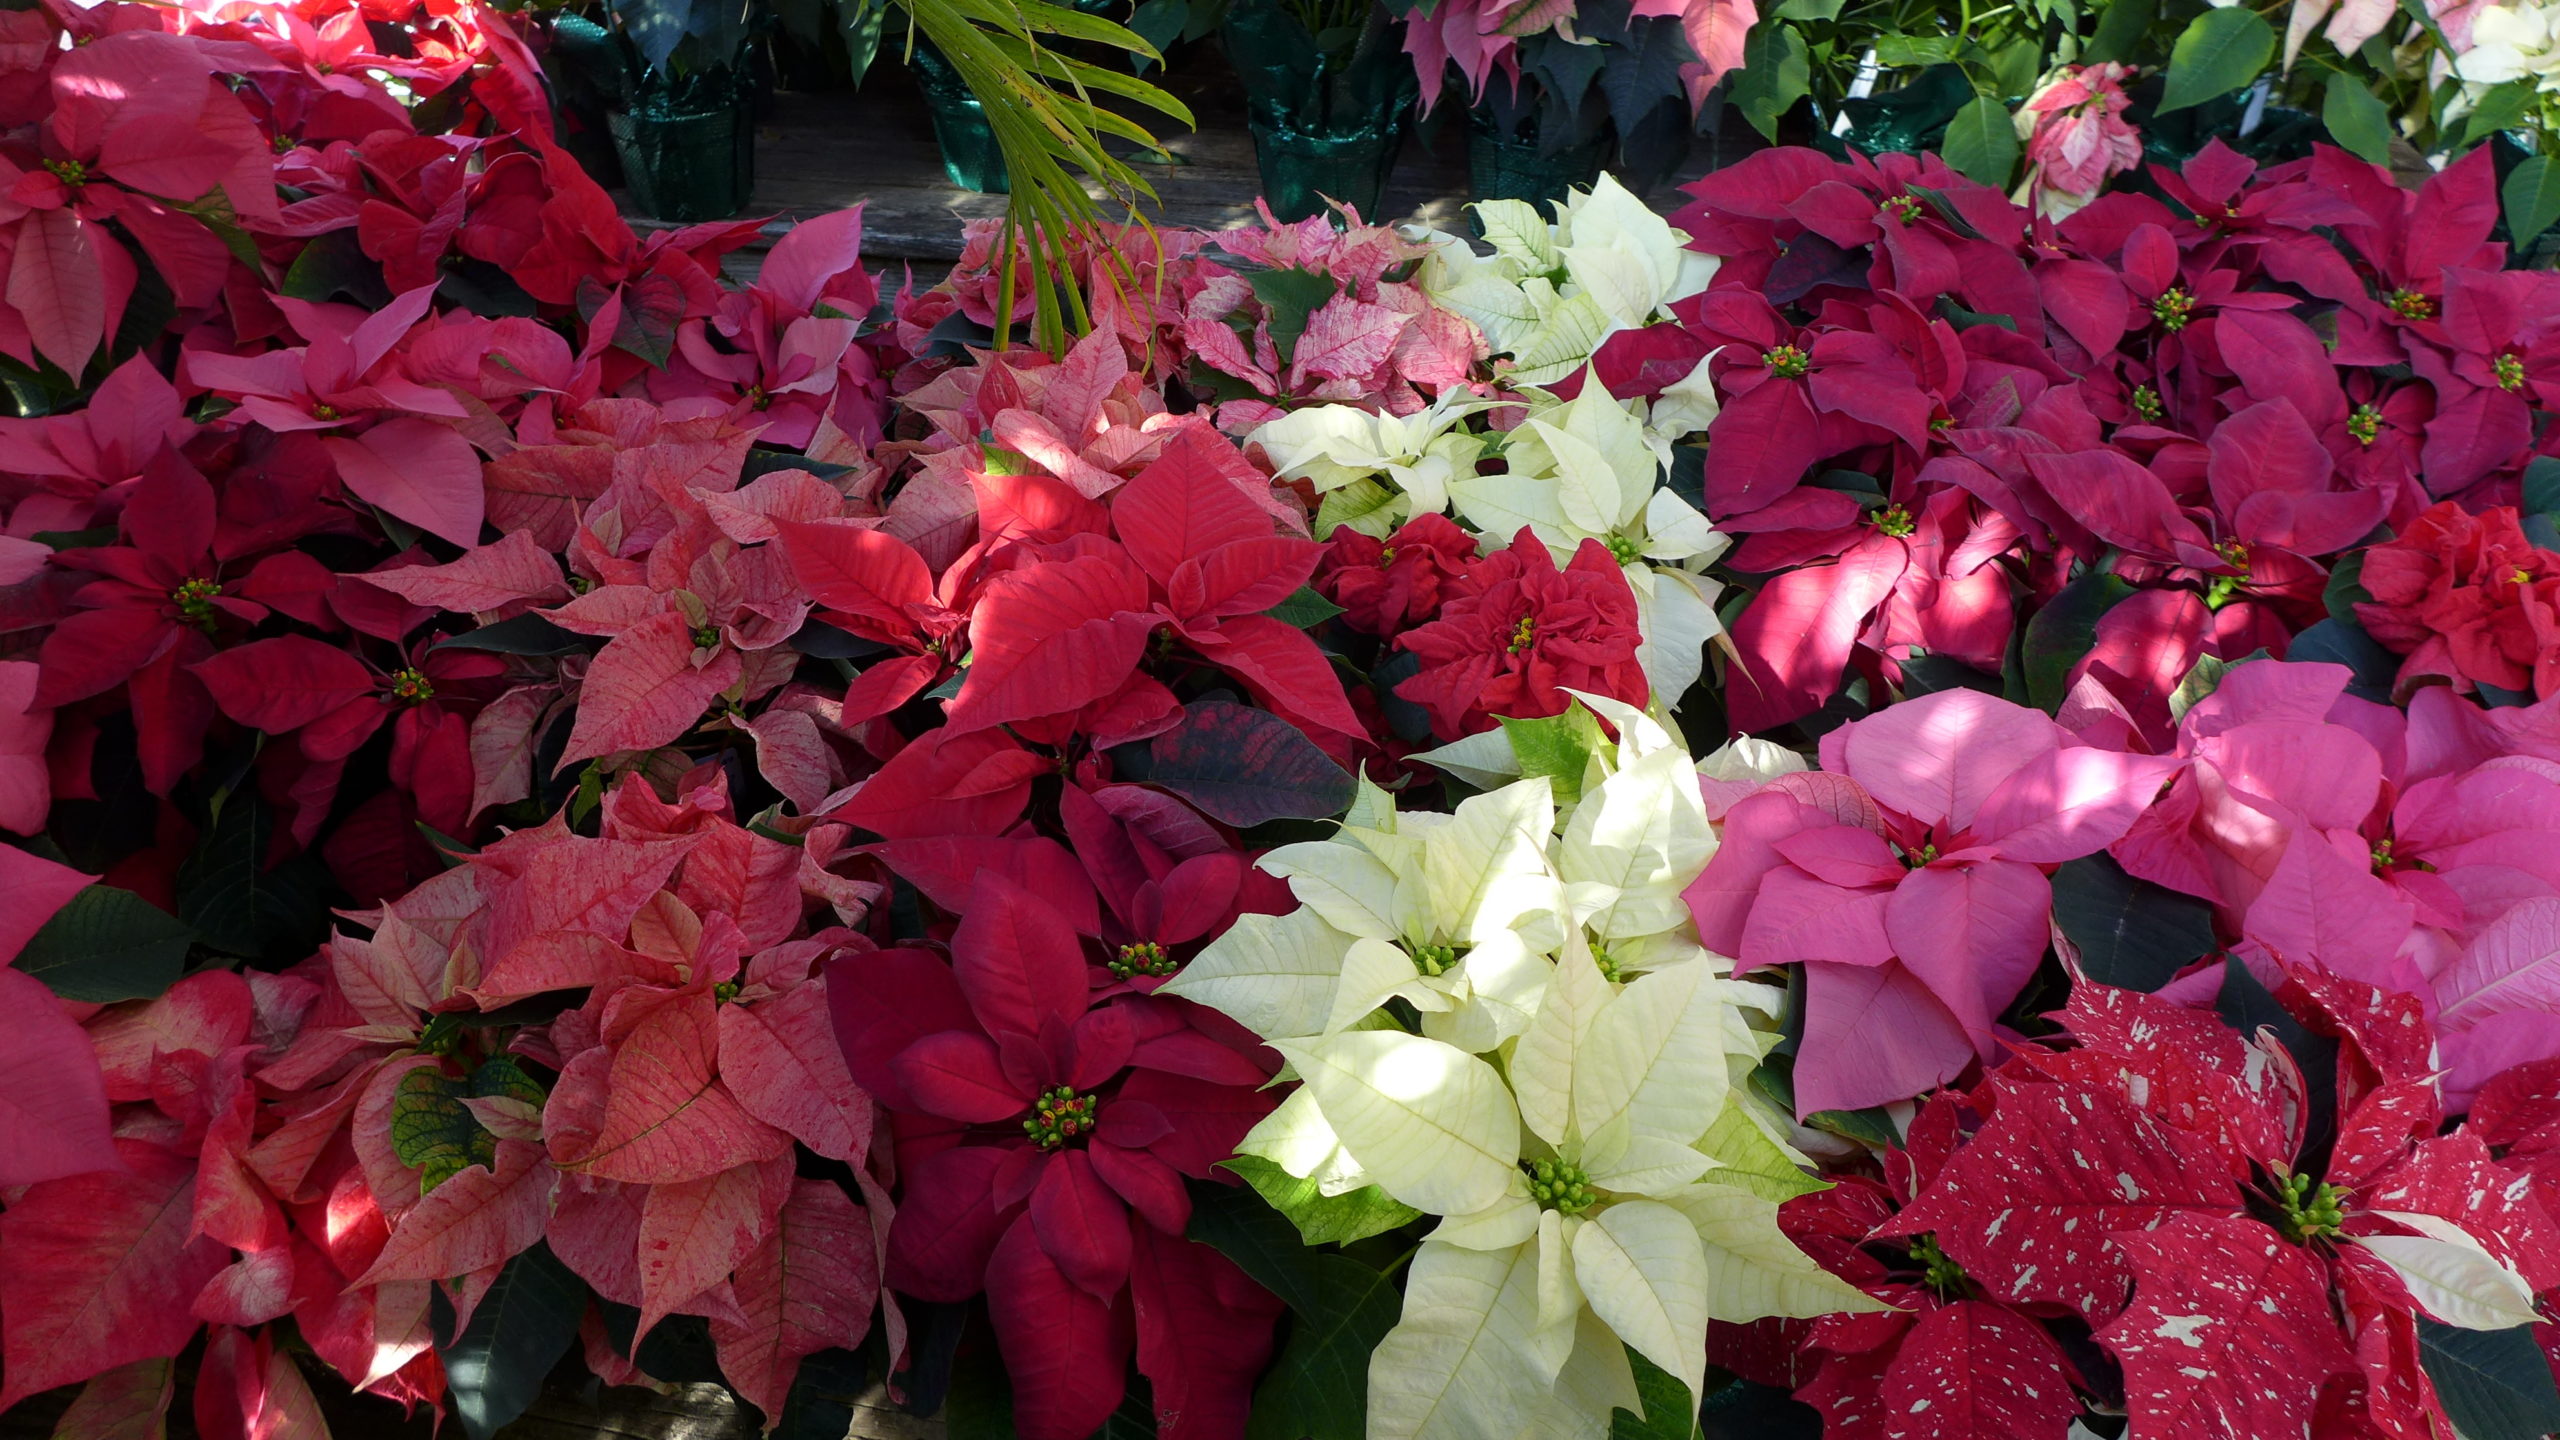
Each of these poinsettias has colored "bracts" that have the genetic trait for that color. Any of these would make great candidates for your reblooming project and will come true to color and variation in the coloration. ANDREW MESSINGER
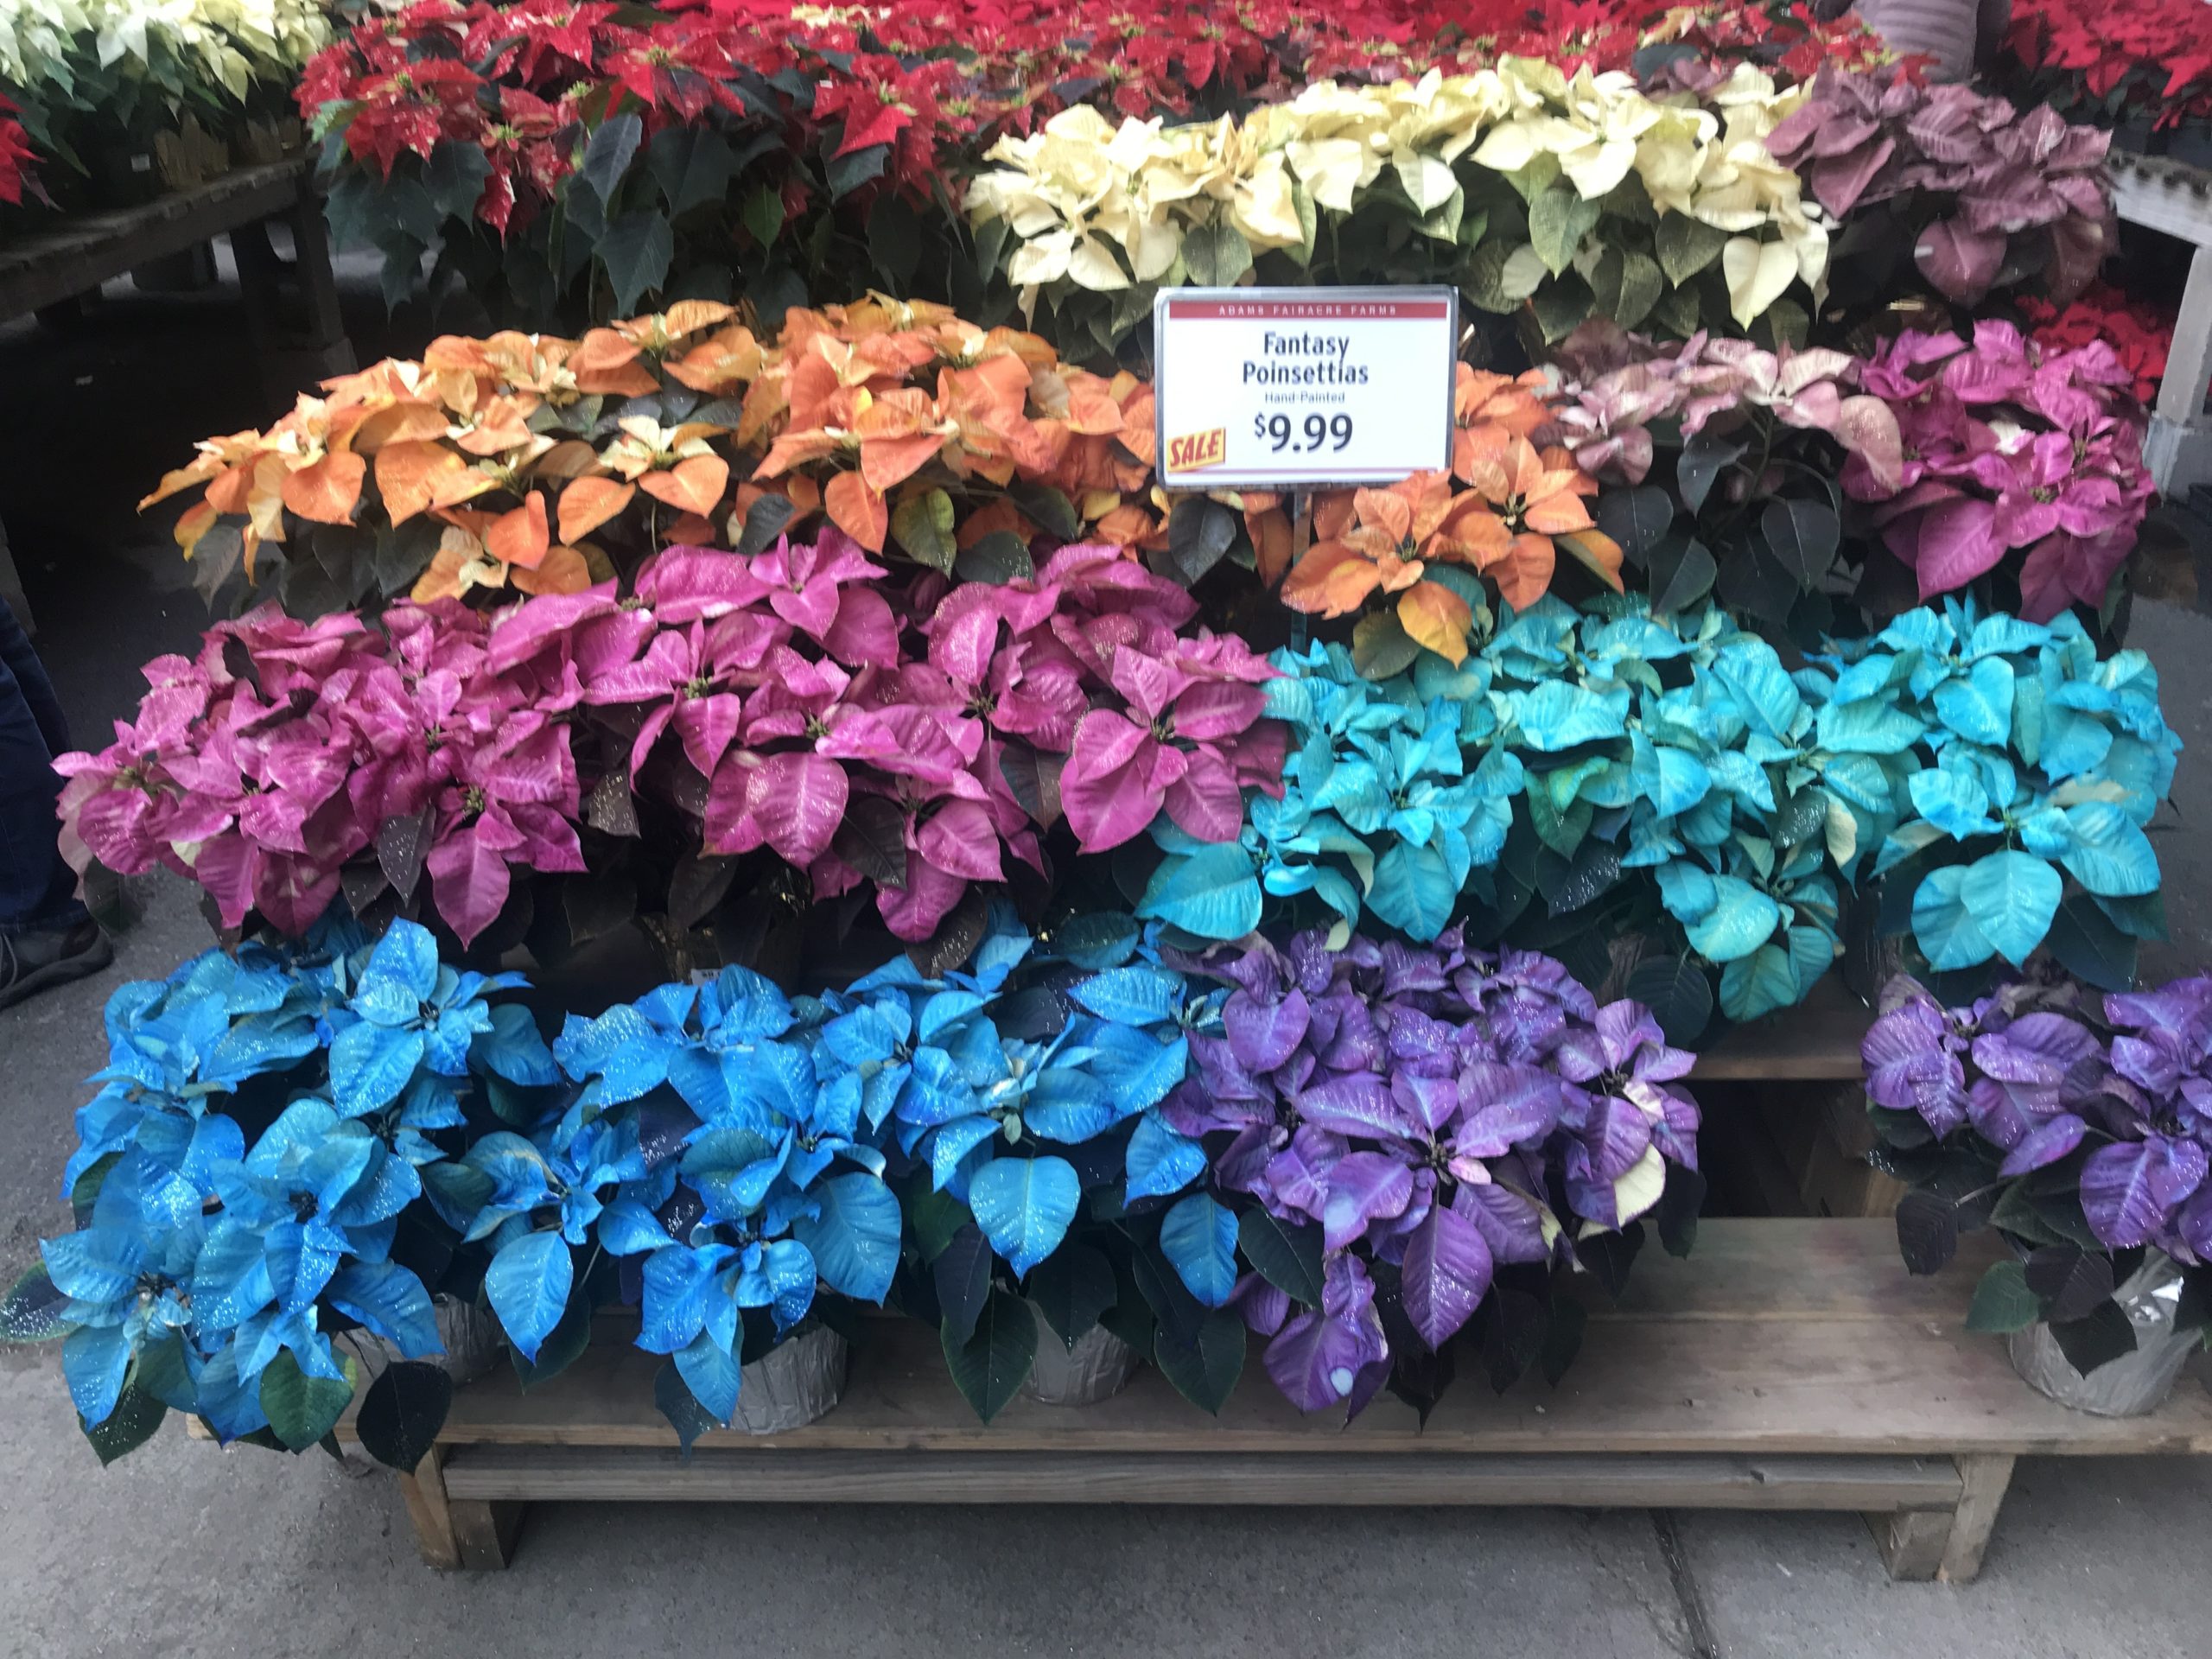
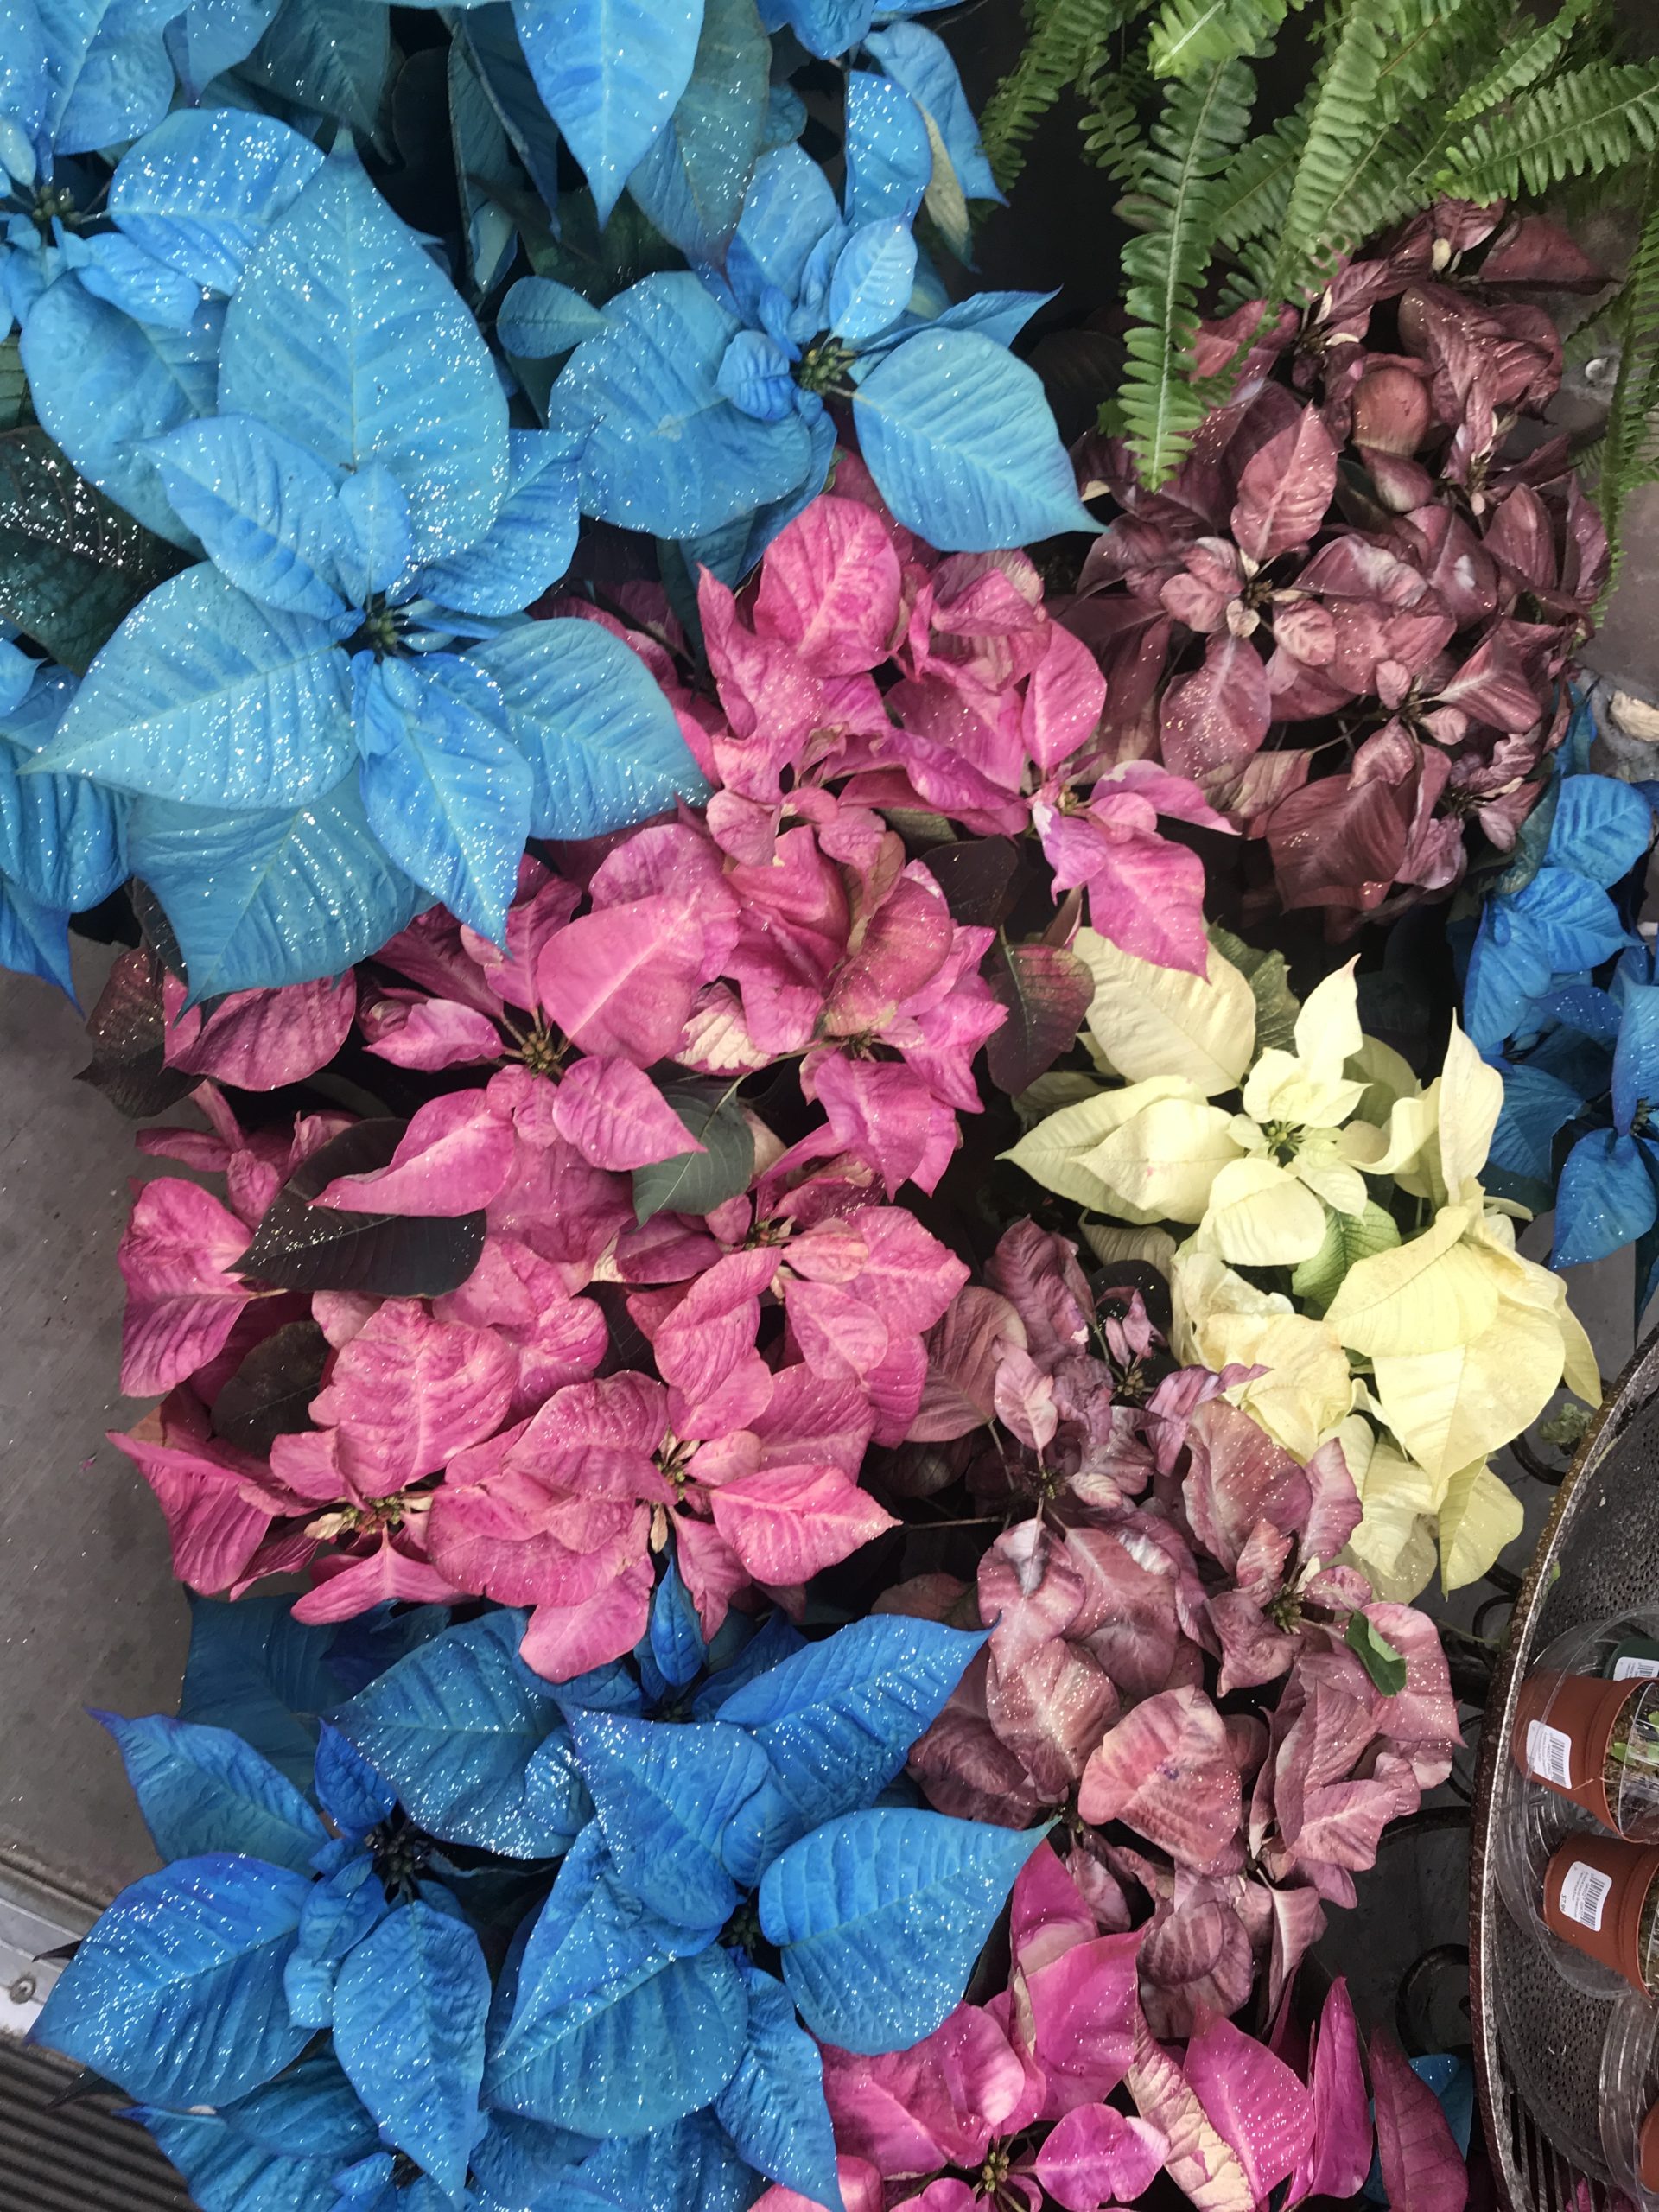
Multi-stemmed and inexpensive, these "Fantasy" poinsettias seem to be hand-painted with glitter. These are not natural or genetic color variations and won’t be good candidates for "reblooming." ANDREW MESSINGER
There’s only one plant in this group that will rebloom true to color. Can you tell which? (Hint: It’s white.) ANDREW MESSINGER

I’ve written so many times about poinsettias over the years that I’ve begun to wonder, is it really worth it?
After all, you buy these holiday plants, and then, most of us either throw them on the compost pile or aim them at the trash. But they can make interesting houseplants and can actually be forced to rebloom again next year. There’s an interesting twist this year with the plants themselves. So, for a few minutes, let’s forget that this is the most popular potted plant on the market and take a closer look at it as a houseplant — albeit a challenging one if your goal is to have it color up again next year. Up for the challenge?
For decades, breeders of this plant have come up with new colors and new color combinations. This is done through breeding and other genetic manipulations. Long gone are the days when these plants only sported red foliage. Yes, it’s the foliage that’s colored and not the flowers. The flowers are actually small and insignificant. You may not notice them at all. It’s actually the flower bract, or a specialized part of the foliage, that shows the color. The native (to Mexico) poinsettias are and always will be red.
The “points” that we see in the stores though can be bi-colored, tri-colored, marbled and speckled or splotched in a range of reds, pinks, whites and even yellow. But this year, purple-, blue- and orange-colored points have made their appearance as have some that are tagged “hand-painted.” The big difference, though, is that these plants have been “infused” or otherwise colored with dyes, and that’s what gives them their new hues, not breeding or genetics.
Now if you want to get a red point to “reflower” next year, or a white one or a pink one, that can be accomplished because it’s the genes in the plant that force the color. With the infused ones, it just isn’t going to happen. The infused dyes will run their course, and any new bracts that develop will inevitably be red or reddish. So, these infused plants may be even more disposable than the traditional colored ones.
So, here’s the challenge: By next December I want you (and other family members) to have your red, pink and other traditional poinsettias in full color. Impossible? No. Easy? No, but doable. Oh yes. So if you’re up to the challenge, here’s the plan. As a dividend, you also get a nice houseplant.
There are actually two parts to the plan. Part A is in keeping the plant healthy and thriving during the growing season. This means the right temperature of between 60 and 70 degrees (cooler is better) and bright light to full sunlight. Feed every time you water with a diluted organic fertilizer or every two weeks at full strength. If you see the stems start to shrivel, it’s a good sign that you’re underwatering.
As we get into late winter, late February or early March, each of the old “flowering” stems should be cut back to 6 to 8 inches with the cut just above a green leaf. This will promote new growth and bushiness that was achieved by the nursery when they used chemical growth inhibitors.
In late spring to early summer, May to mid-June, repot the plant in a pot that’s 2 to 3 inches larger in diameter than the original plant. Make sure the soil is moistened and place the plant in a sunny window. Later in May, when the danger of frost is gone, you can bring the plant outside when the night temperatures don’t drop below 60 degrees. Place the plant in a shaded spot, light shade, for a couple of weeks to allow it to adjust to the brighter and more intense sunlight. After this acclimatization, the plant can be moved to a patio or deck or be planted (in the pot) in the garden. It needs lots of sun, but late afternoon shade is OK.
If planted, make sure you have access to the rim of the pot and give the plant a quarter turn each week. This will keep the plant from rooting through the drainage holes and will also give all of the plant equal amounts of sun.
To end up with a shorter plant that’s more branched and “tight,” pinch out the growing tips at the end of the branches. This will encourage more new growth, which in turn will result in more color come next winter. Leave two or three large, fully expanded leaves below each pinch. This serves as a guide for knowing when the shoots are ready for more pinching. Continue this practice through the summer into mid-August when the plant should have developed a nice shape as well as lots of shooting.
Taking care of the plant means making sure it still gets watered, checking for insects — especially whitefly, which can be managed with soap sprays — and continuing to feed with a fertilizer like 20-20-20. It’s always better to feed with each watering, and you can easily do this by just cutting the label rate by about one-fourth.
Before the night temperatures fall below 55 to 60 degrees, bring the plant indoors to a very sunny location, preferably a south window. Check for slugs and snails under the pot. Getting the point to color up or “flower” requires some precise handling. These plants are photoperiodic. That means that the color is stimulated by certain amounts of light and dark. And this, my friend, is where it gets tricky. It’s short days and long nights that get this plant colorful. Without the long nights, it ain’t gonna happen. And no cheating. Any stray light from a crack in a closed door or a streetlight outside the house will ruin all your work.
In mid to late September, the plant needs at least 12 hours of total — as in absolute — darkness each night. This means getting it into a dark closet or putting a dark bag over the plant at 5 every evening and not giving it any light until 8 the next morning. This should continue from September until December 15. Once you see the “flowers” developing, the floral bracts should start to show color. The darkness regime should continue until the bracts are fully colored.
Temperatures should be no less than 55 degrees and no more than 70 degrees. Give the plant as much light as possible and continue to feed lightly and water as needed.
See, it’s that easy. But of course you can just go to the store again next December and buy a new one. But what’s the fun in that? Just think of how satisfied you’ll feel if you’re successful. And please let me know if you are. Keep growing
More Posts from Andrew Messinger


