


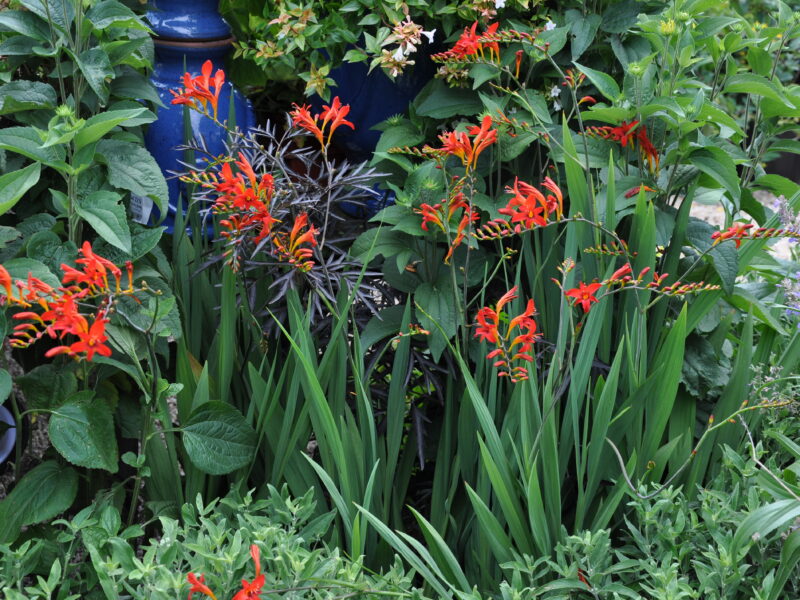
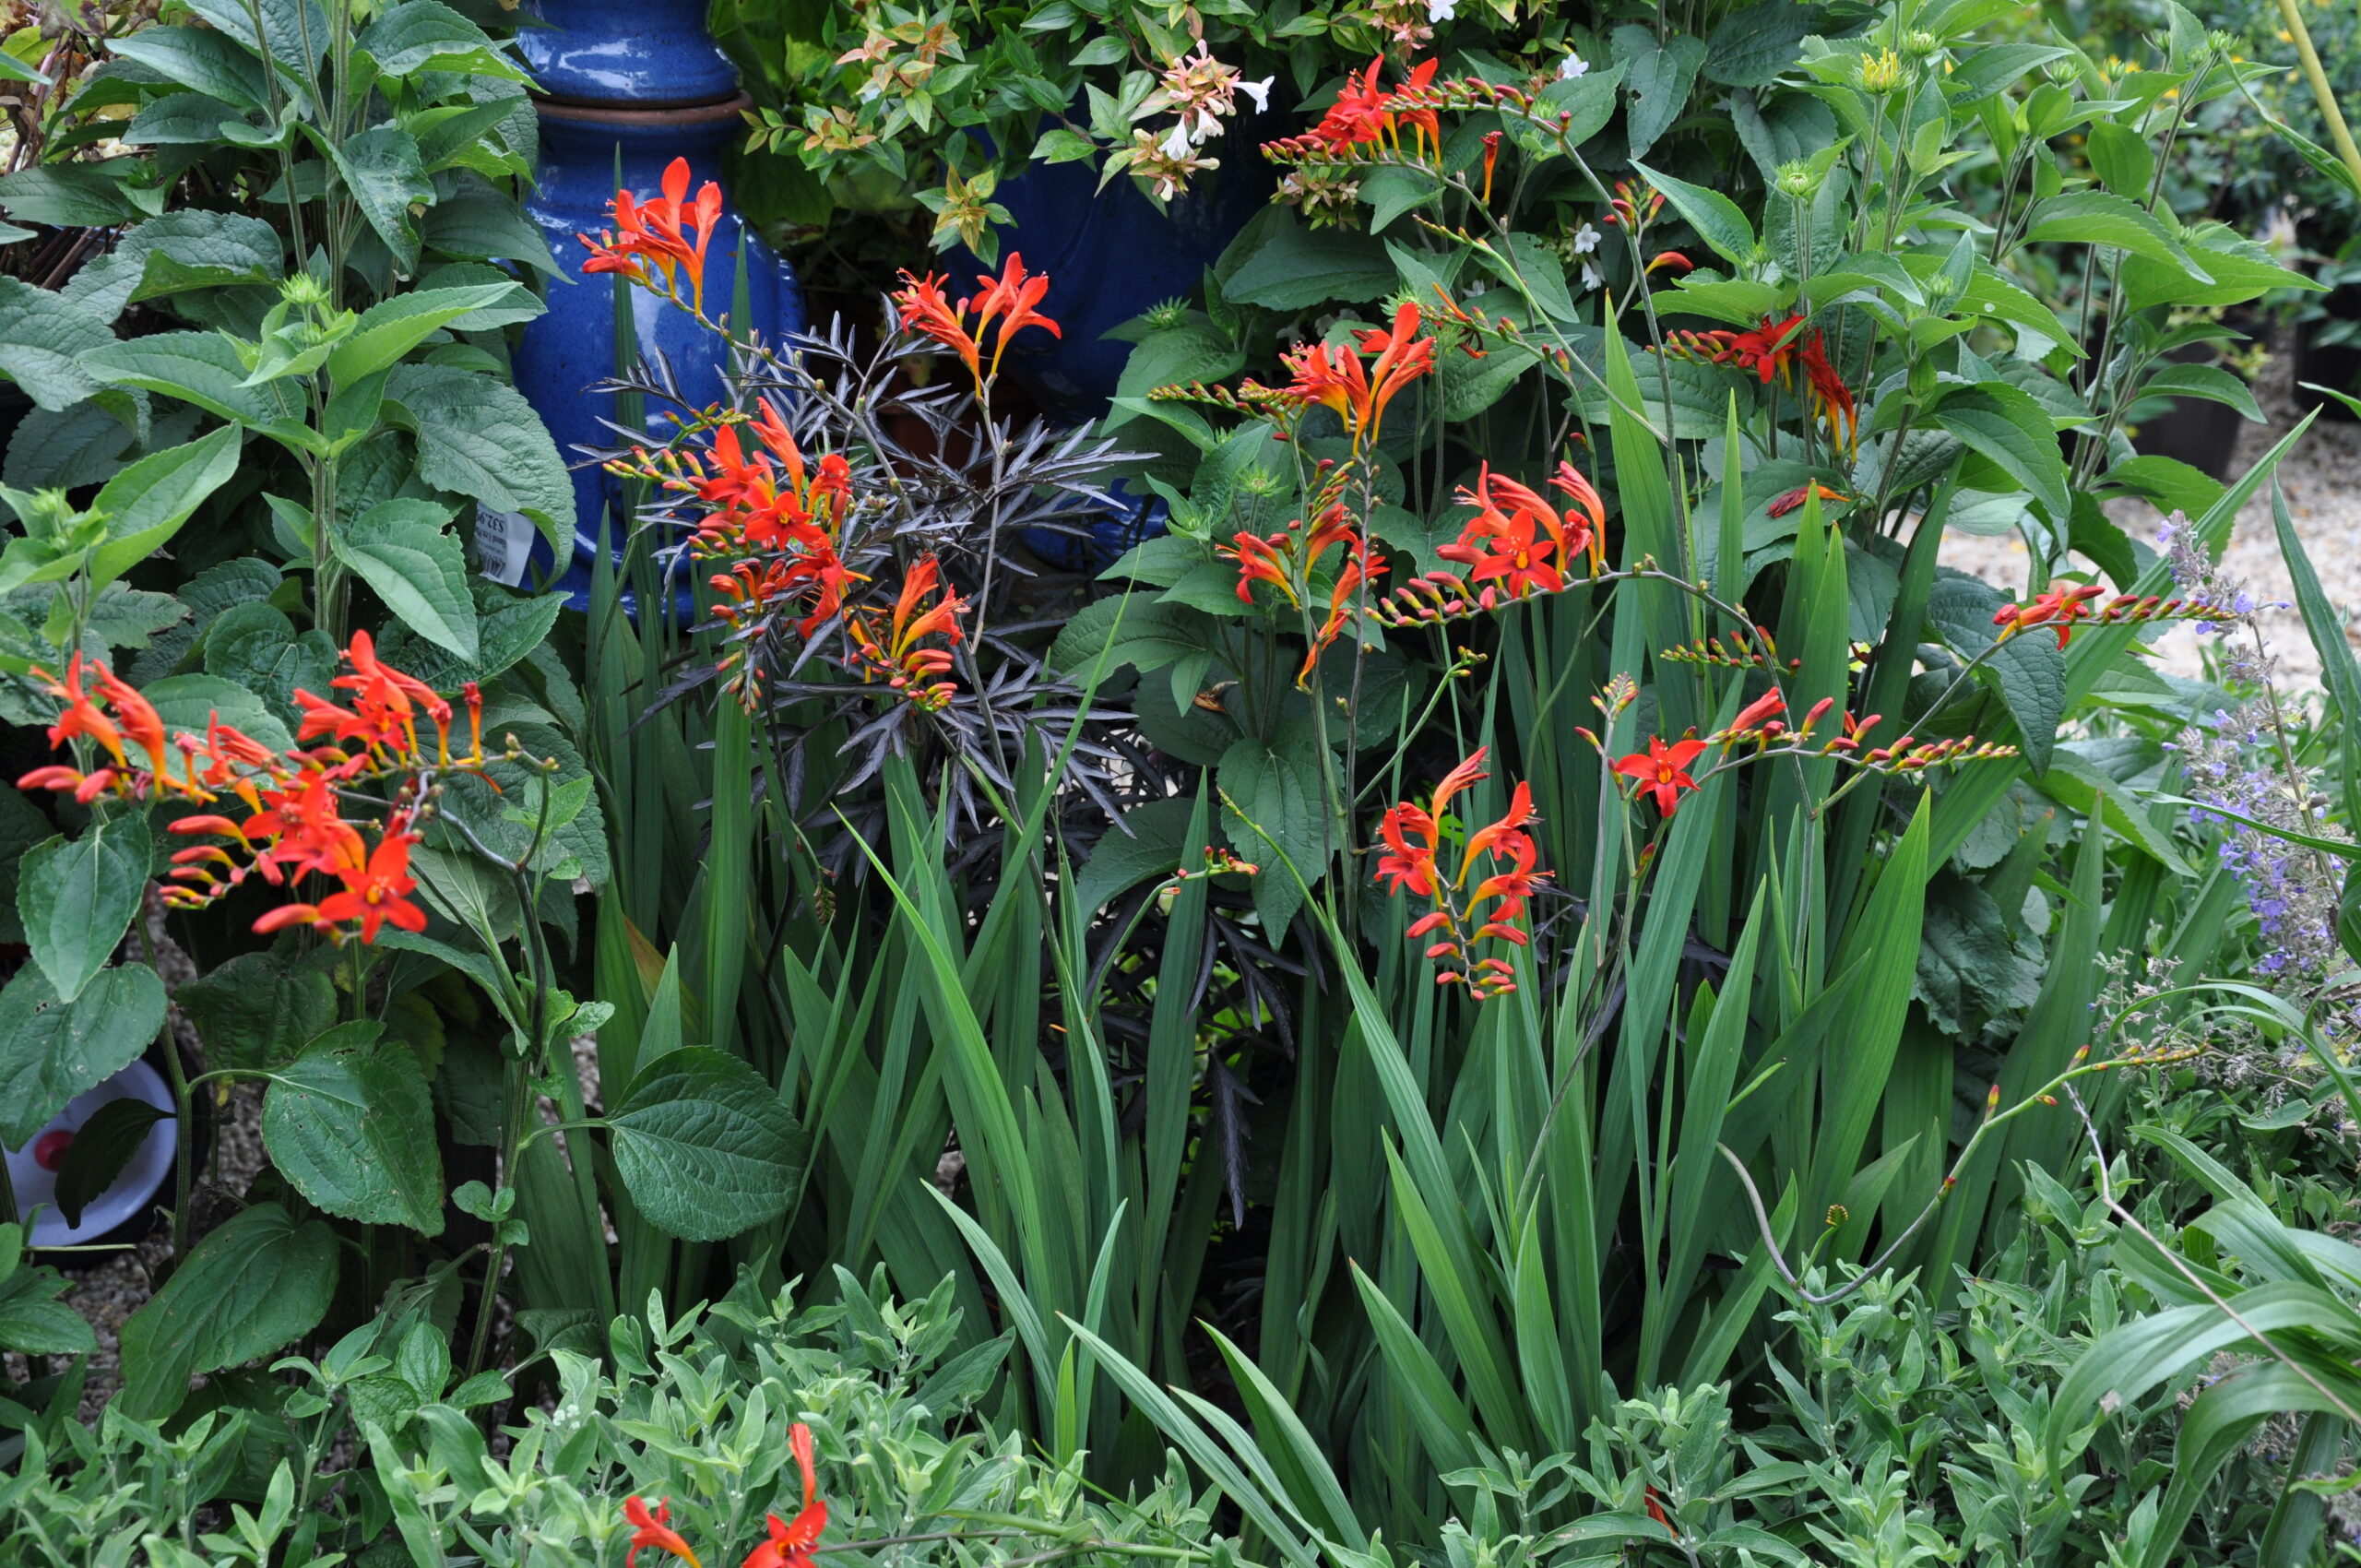
Crocosmia "Lucifer" in bloom in a mixed summer border. ANDREW MESSINGER
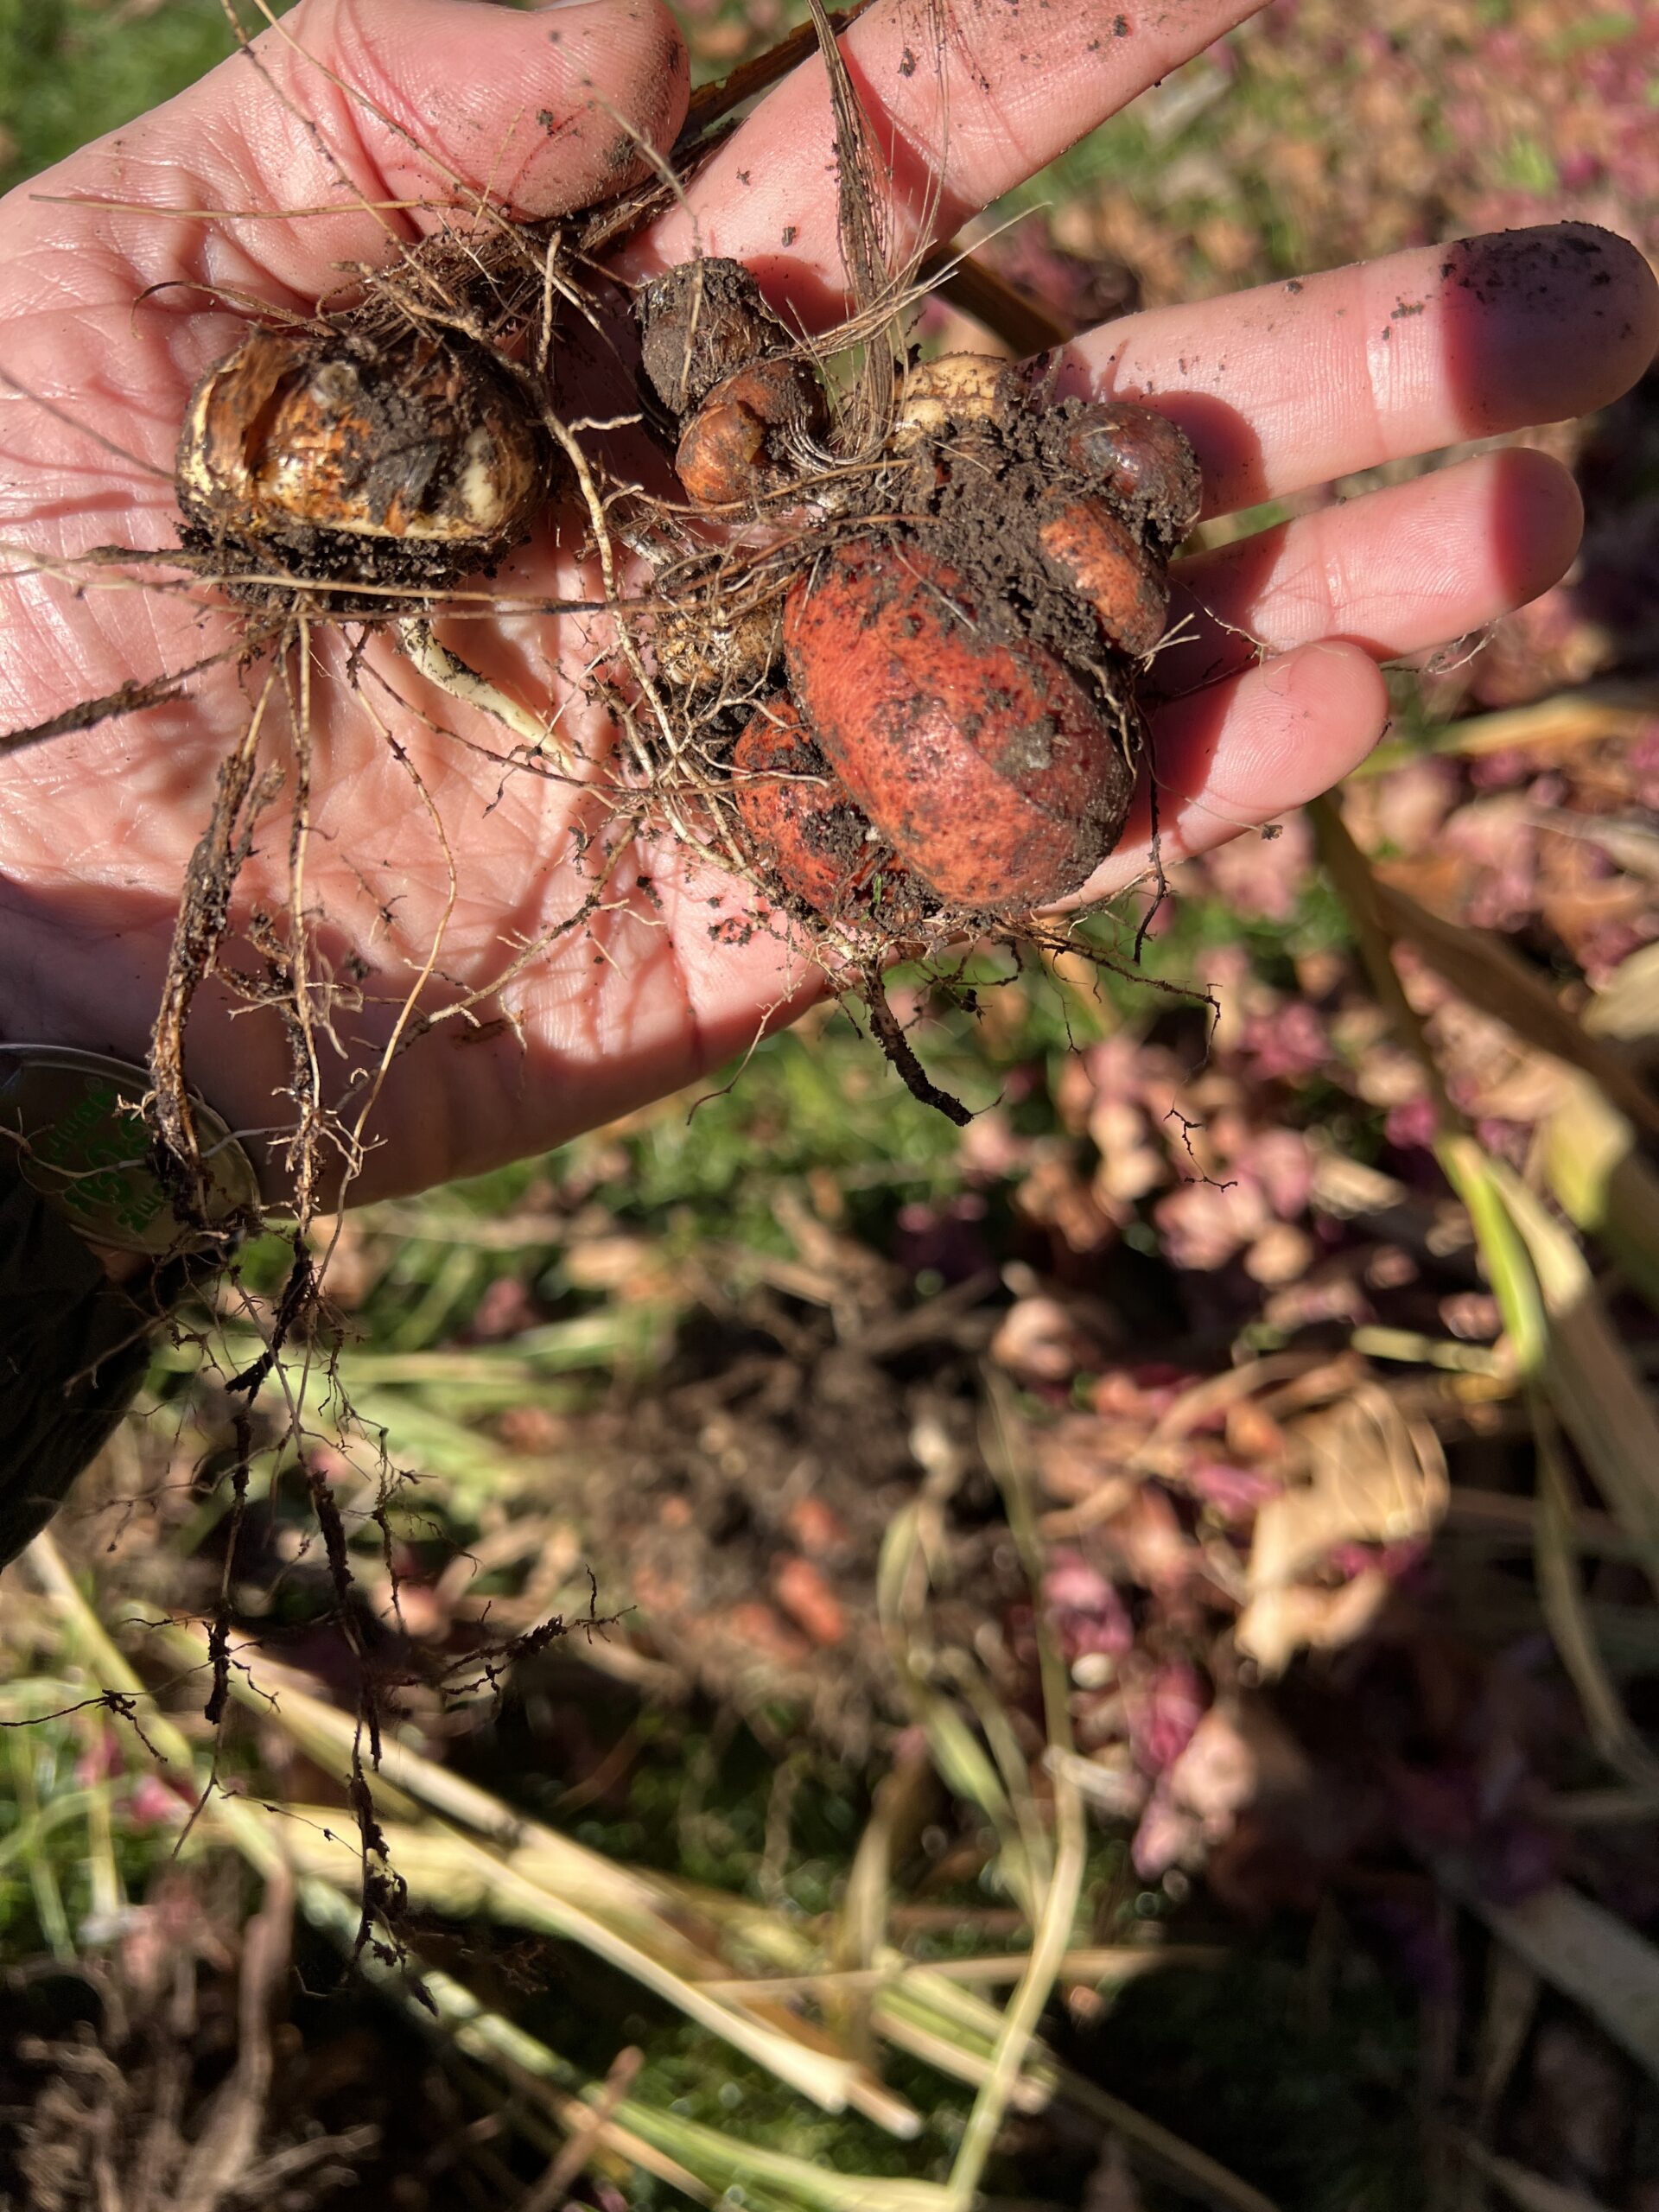
On the left is a single corm. On the right are about eight corms, all the children of the smaller corm on the bottom right. Based on the growth pattern it looks like the second year yielded the largest corm, which means that in the third year it produced the most flower-rich stems. ANDREW MESSINGER
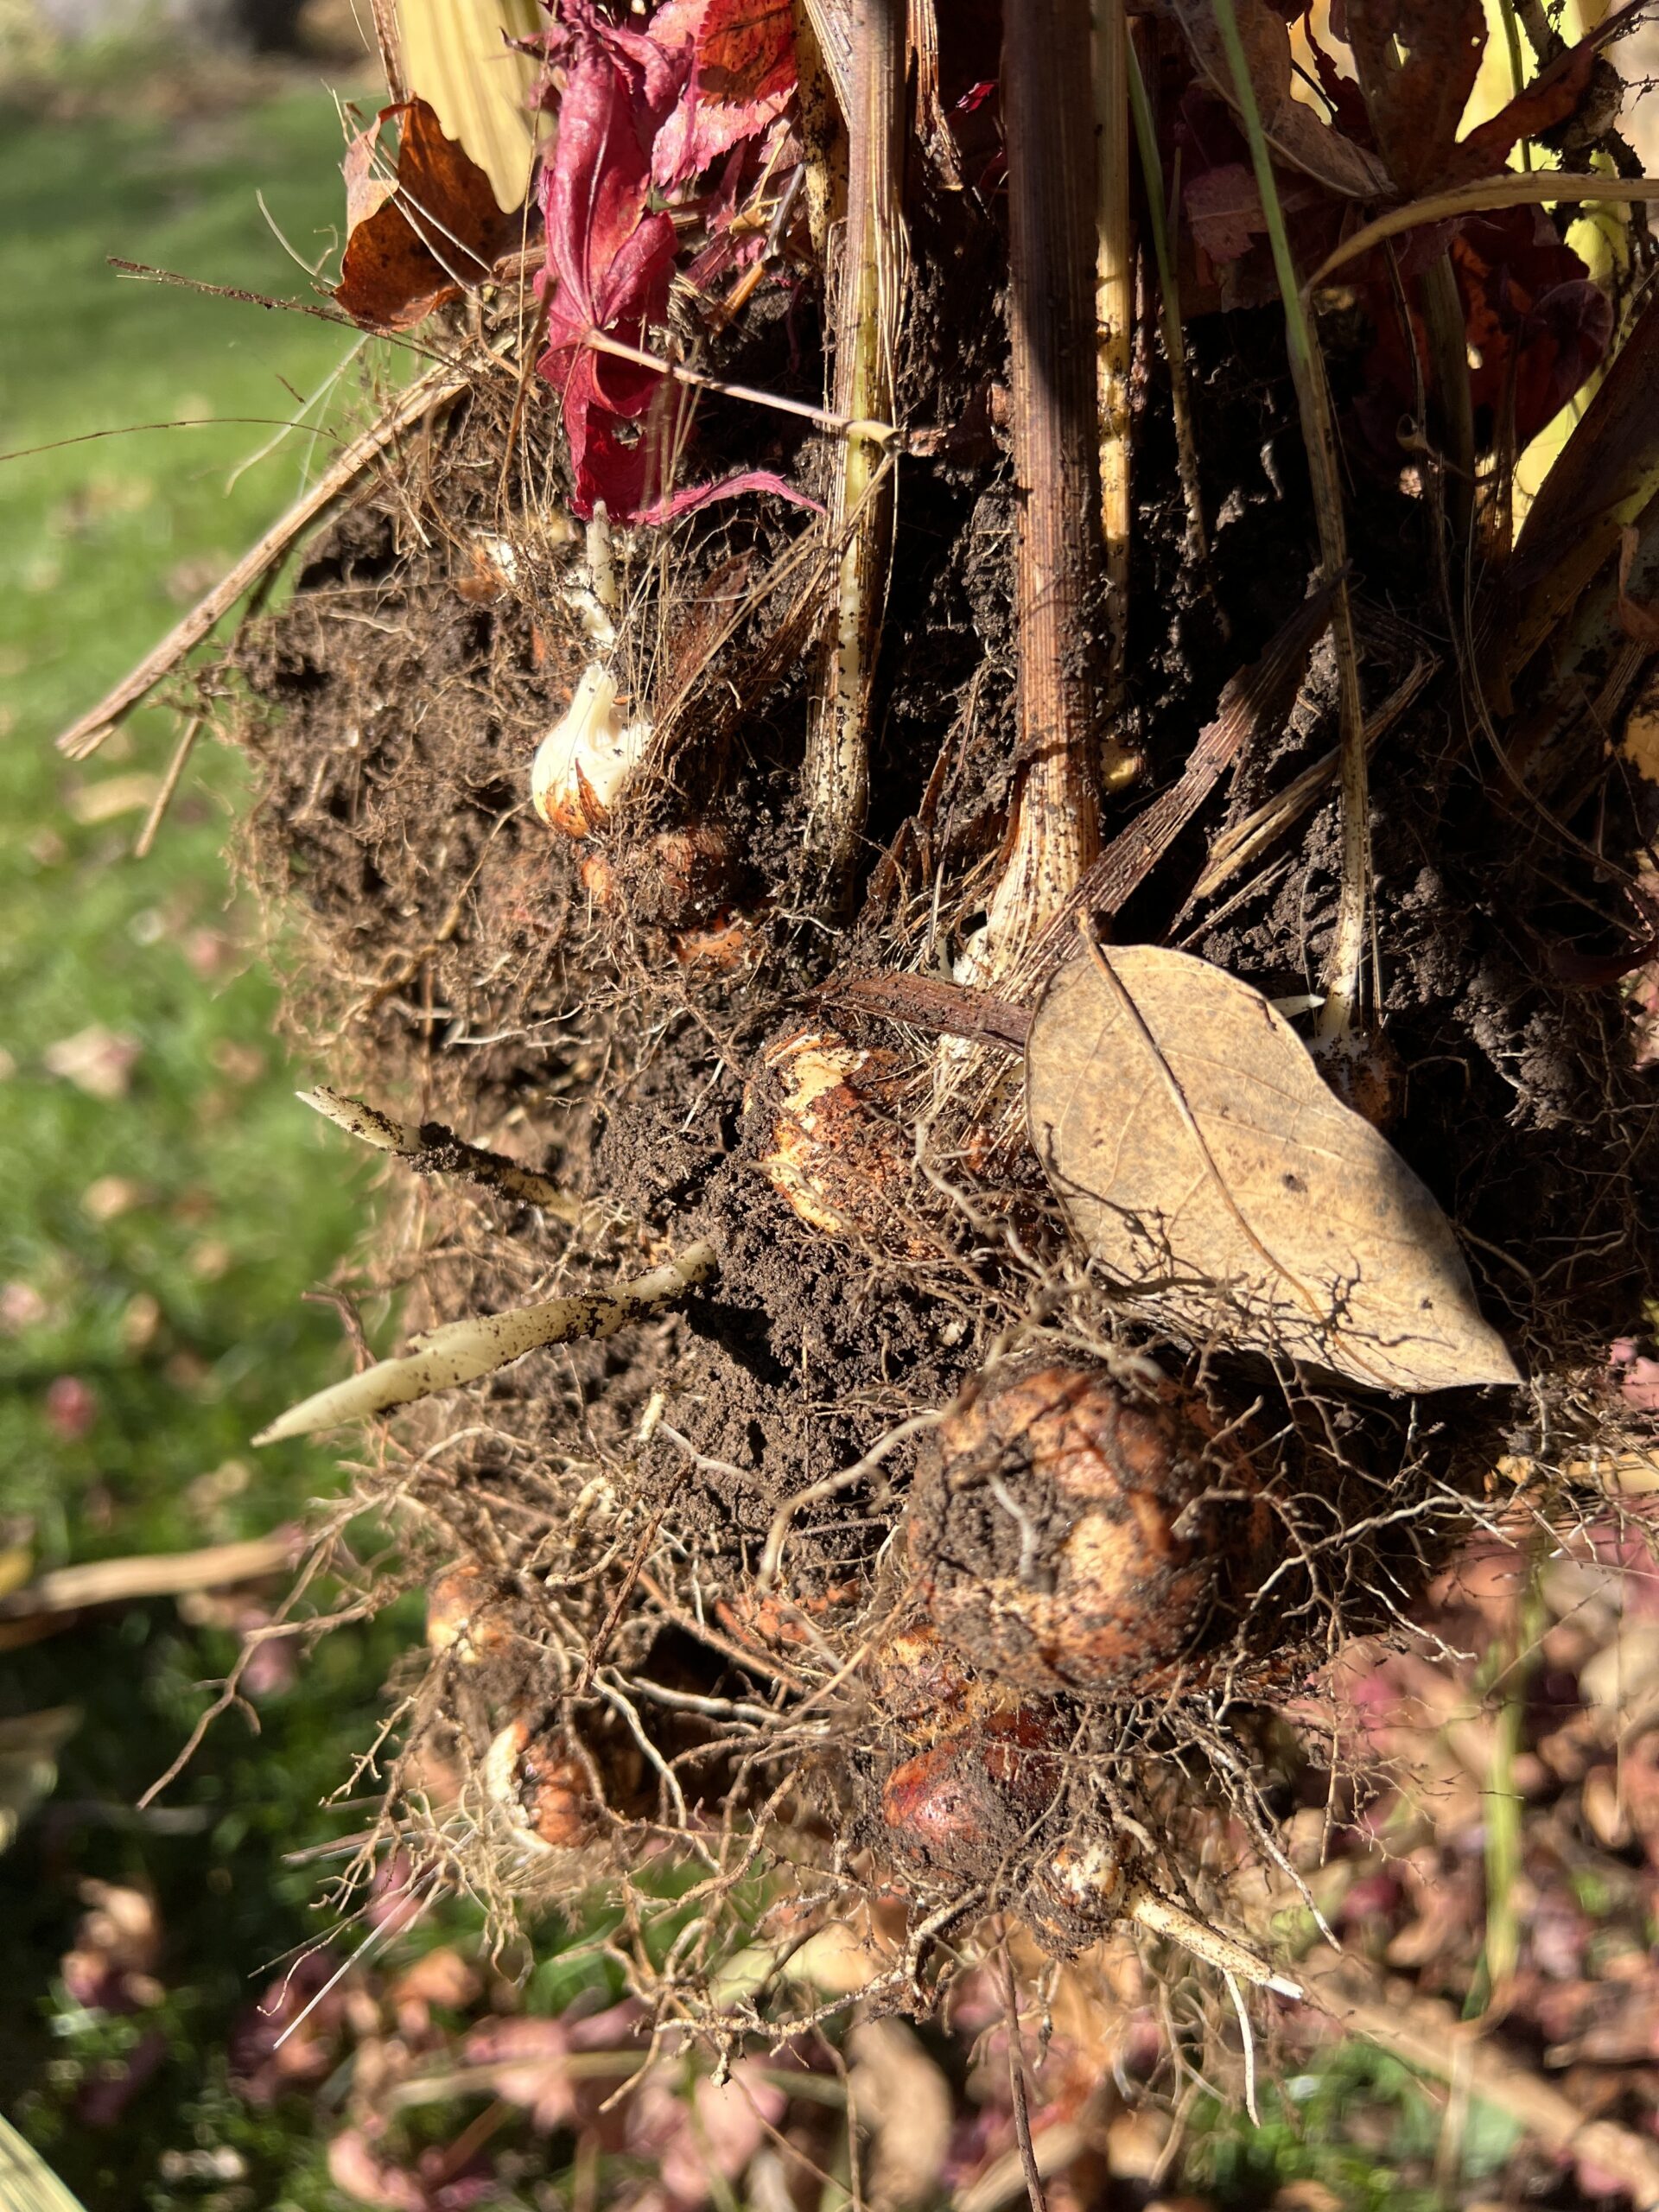
A mass of Crocosmia stems with the corms still attached and hanging below. In this one group there were about 25 corms. ANDREW MESSINGER
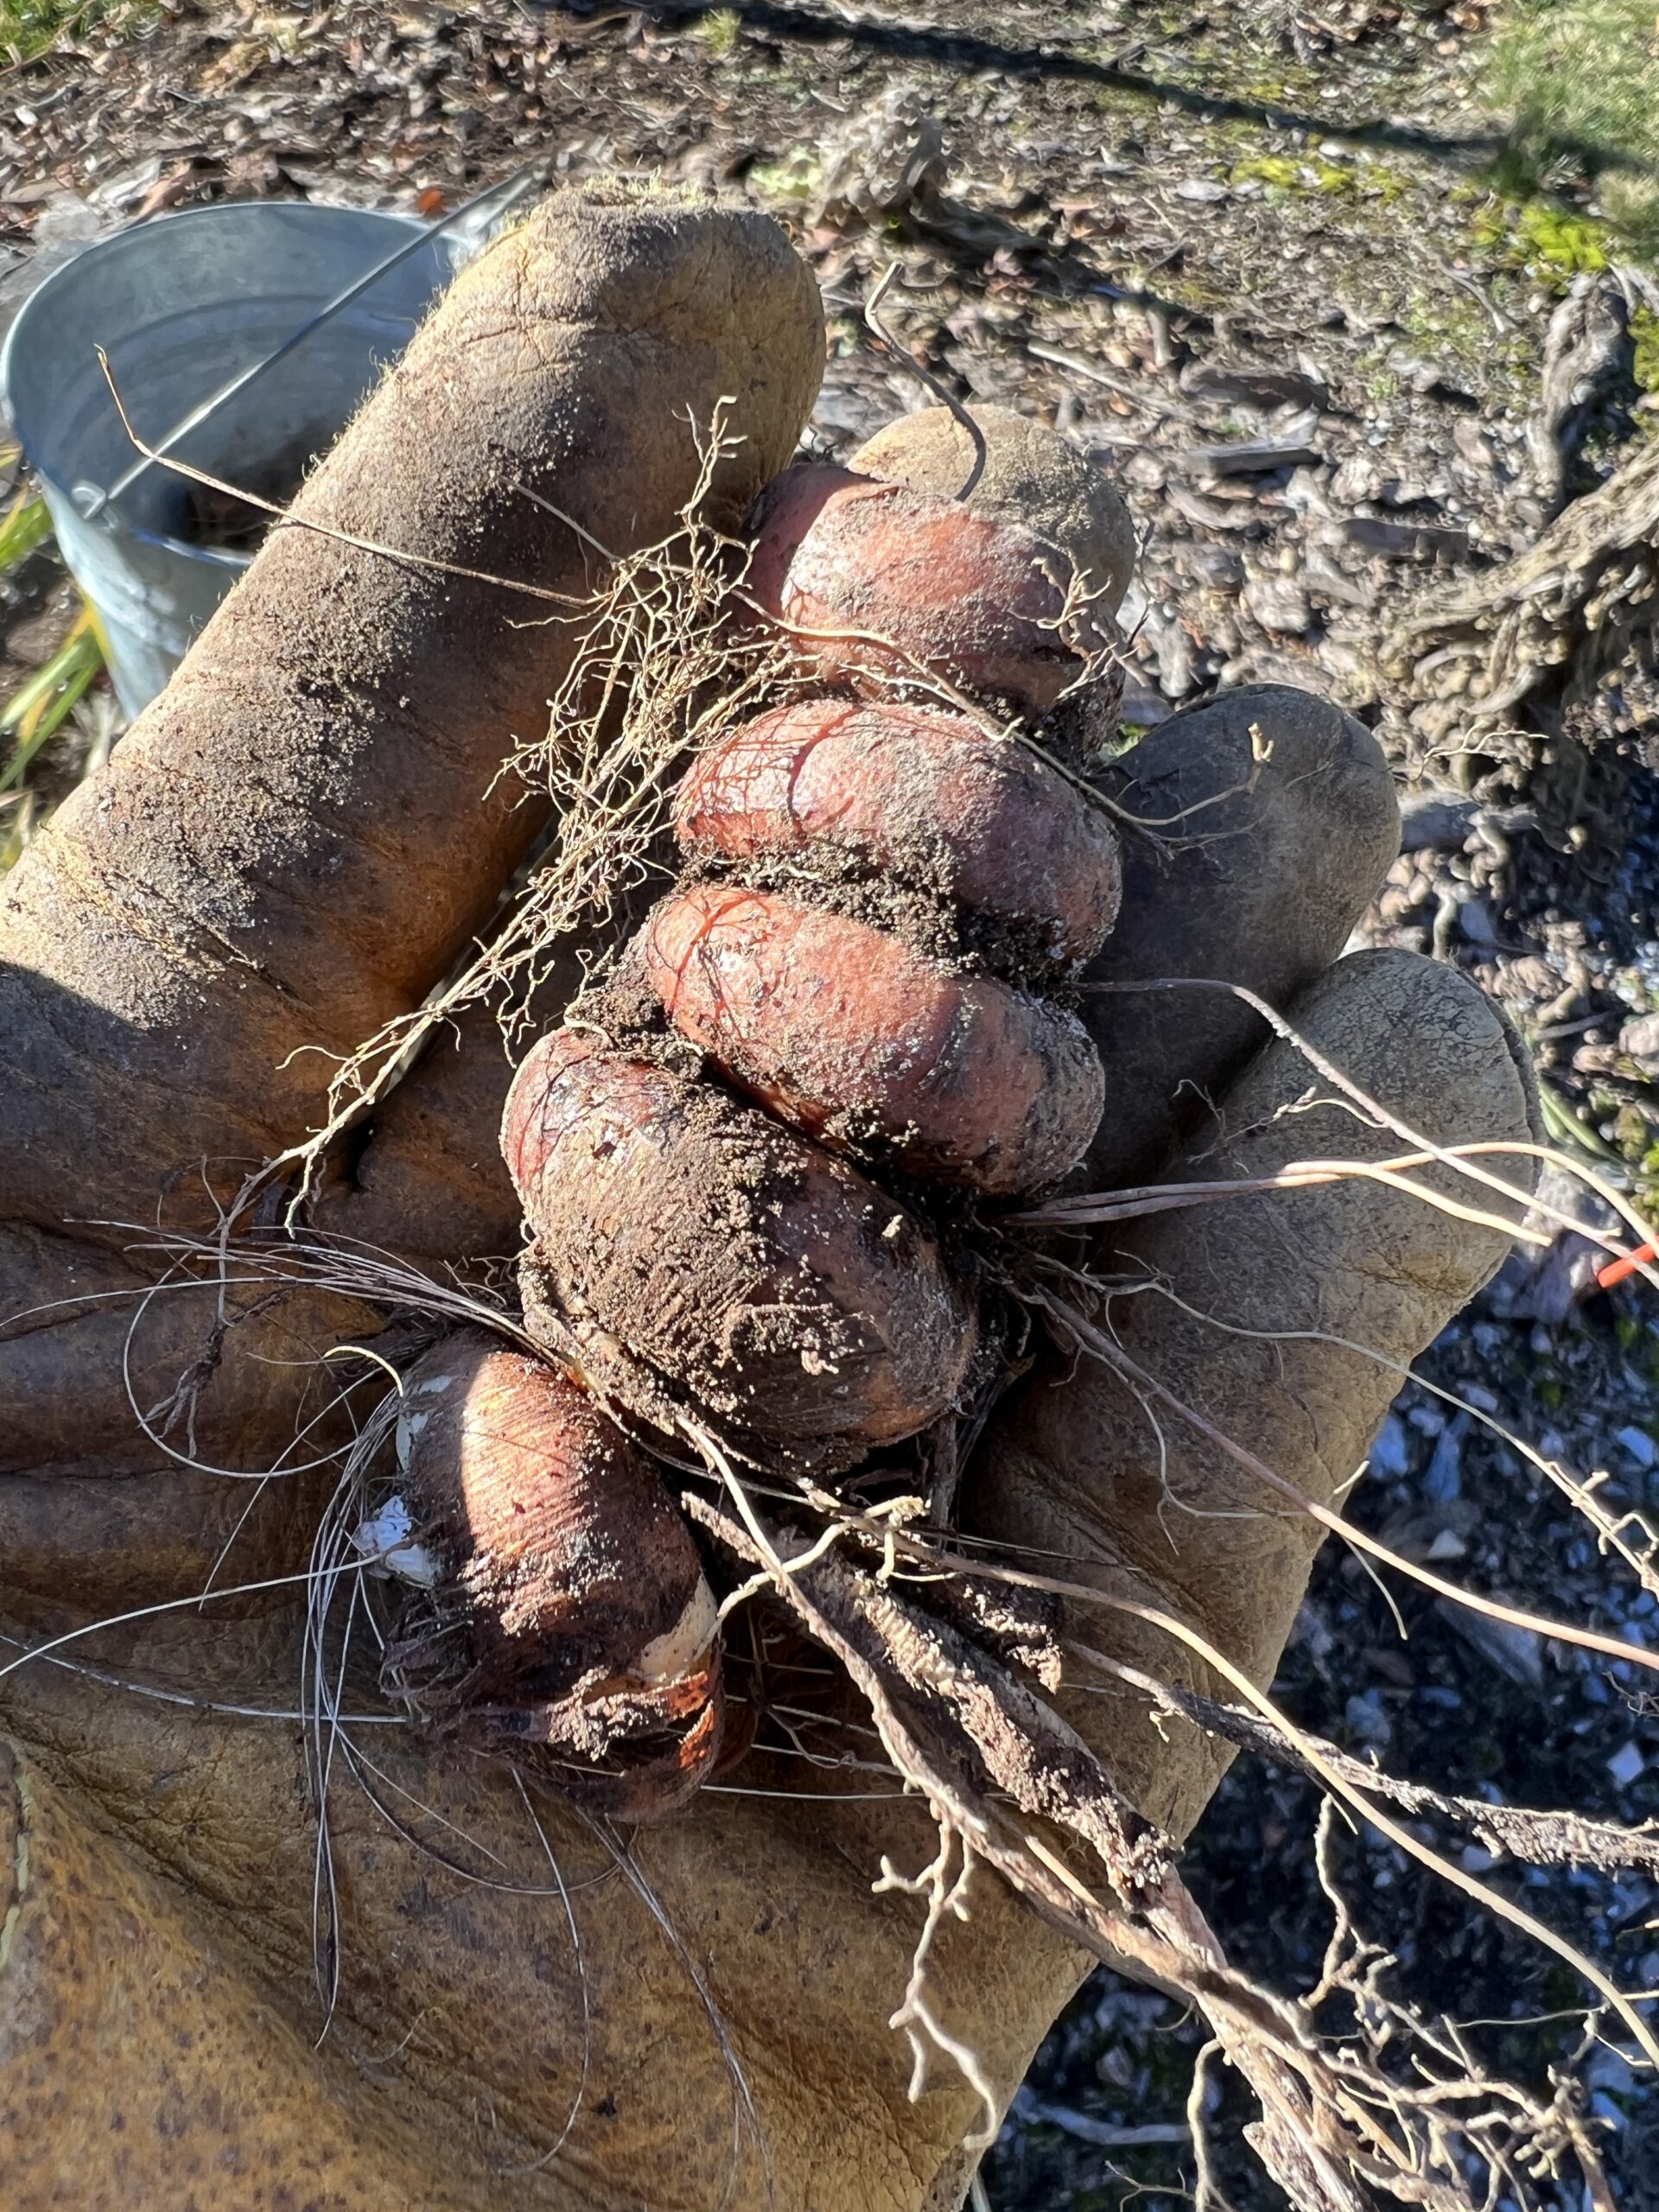
Five generations of Crocosmia corms. The second corm from the second year was slightly larger than the first but notice that each year, each generation, the corms got smaller. Remember to divide and replant after the third year. ANDREW MESSINGER
The original planting of three 1-gallon pots that were planted with Crocosmia bulbs. Six years later over 200 corms were harvested. ANDREW MESSINGER

It was the end of November after a very long but very interesting gardening year. Time to put just about everything to sleep or away.
The tractors were settled into their winter roosts in the barn, the mowers cleaned and the engines run dry, garden tools clean and oiled. The garlic got its last few inches of winter mulch and on the last warmish day of the season there was just one thing left on the list: Crocosmia.
I don’t know where or when I first became interested in this plant. I do recall that about 25 years ago I tried growing it in Westchester, but it didn’t overwinter. Donald Wyman in his epic gardening encyclopedia (last updated in 1998) referred to them as only being hardy to zone 7. This means they may have been present in East End gardens, but I don’t remember them in the 1970s or 1980s.
What I do know is that I bought three 1-gallon pots of them at what is now Fowler’s in Southampton around 2017. I was still wary about their hardiness so for a true test I planted the three pots (about five corms per pot) and they thrived in my zone 5 garden. That was until this year. This past summer the foliage emerged and became thick and full, but the flowering was thin and lackluster. Over the years they’d become a bit shaded, but I loved their brilliant fiery red summer flowers on stems reaching a couple of feet high amid the sword-like foliage.
Both the corms and the foliage are reminiscent of gladiolas except the corms are a bit smaller. With more updated information, Alan Armitage notes that he’s found that at least the variety Lucifer is now hardy in upstate New York and into New England, and I would attribute this to climate change. However, Armitage lists 35 hybrids in cultivation. Few of these are hardy so they would need to be lifted every year, but I can attest to the hardiness of both Lucifer and Emberglow as being hardy down to zone 6. Emberglow is more of an orange red while Lucifer is closer to a true red — but both are striking.
My plan was to use a pitch fork (aka garden fork) to dig the area where the Crocosmia foliage had finally been done in by our one night of temps down in the teens. Within days the foliage began to brown and at this point I either had to wait until spring to dig or get it done now. I pushed the fork tines straight down into the cold soil, pulled back on the handle and slowly and gently coaxed the soil so that as I pushed down and back on the fork handle the large clump, about 24 inches around, began to loosen and rise.
Having not planted the corms originally — rather a mass of soil and roots with some foliage that came out of the gallon pots years ago — I had little idea of what to expect. Once the soil was loosened I thought it best to do the rest of the work with my bare hands. Pushing my fingers deep into the cold clayey soil I began to extract bunches of corms that were well rooted and still had foliage and stems attached. This made extraction a bit easier since I could gently pull the foliage while scooping the corms and roots with my other hand.
It was a gold mine and an education. The soil was full of corms. Some were individuals but most were corms about a half inch in diameter and on top of each corm was another, then another then another. Once the original corms had flowered in their first year they developed a second corm attached and on top of the first. Each year, since 2018 a corm developed atop the previous year’s corm while all the original corms remained intact. I put all my gems on the lawn and shook off as much soil as I could, still amazed at this treasure trove I’d dug up.
I now understood why the more recent literature says these plants should be dug every two to three years. As the corms continue to duplicate each year they become smaller and smaller and less productive at flowering time. This accounted for my thin showing last summer.
My plan was to try to store most of the corms in our cool basement for the winter and replant late in the spring. I did leave a dozen or so corms in the ground though for insurance. If my winter storage didn’t work at least I’d get some plants reemerging next year from the corms that were divided and left behind.
The dug corms were cut from their stems and as much soil removed from the corm masses and roots as possible. I didn’t want to wash them as this would promote potential pathogen issues so I allowed them to air dry in the sun. Most of the parent corms had six to eight generations of corms attached to them so I began to separate as many corms as I could. When I was done I estimated there were between 200 and 300 corms of various sizes and ages. That translates to $200 to $900 worth of corms depending on their size.
The lifted and dried corms will go into mesh bags or wooden flats filled and covered with either peat moss or another safe packing material. I’ll keep them cool, below 45 degrees, in storage until the soil outdoors warms in late May. Then replant, except this time I’ll have enough Crocosmia corms to plant in several areas and I can’t wait.
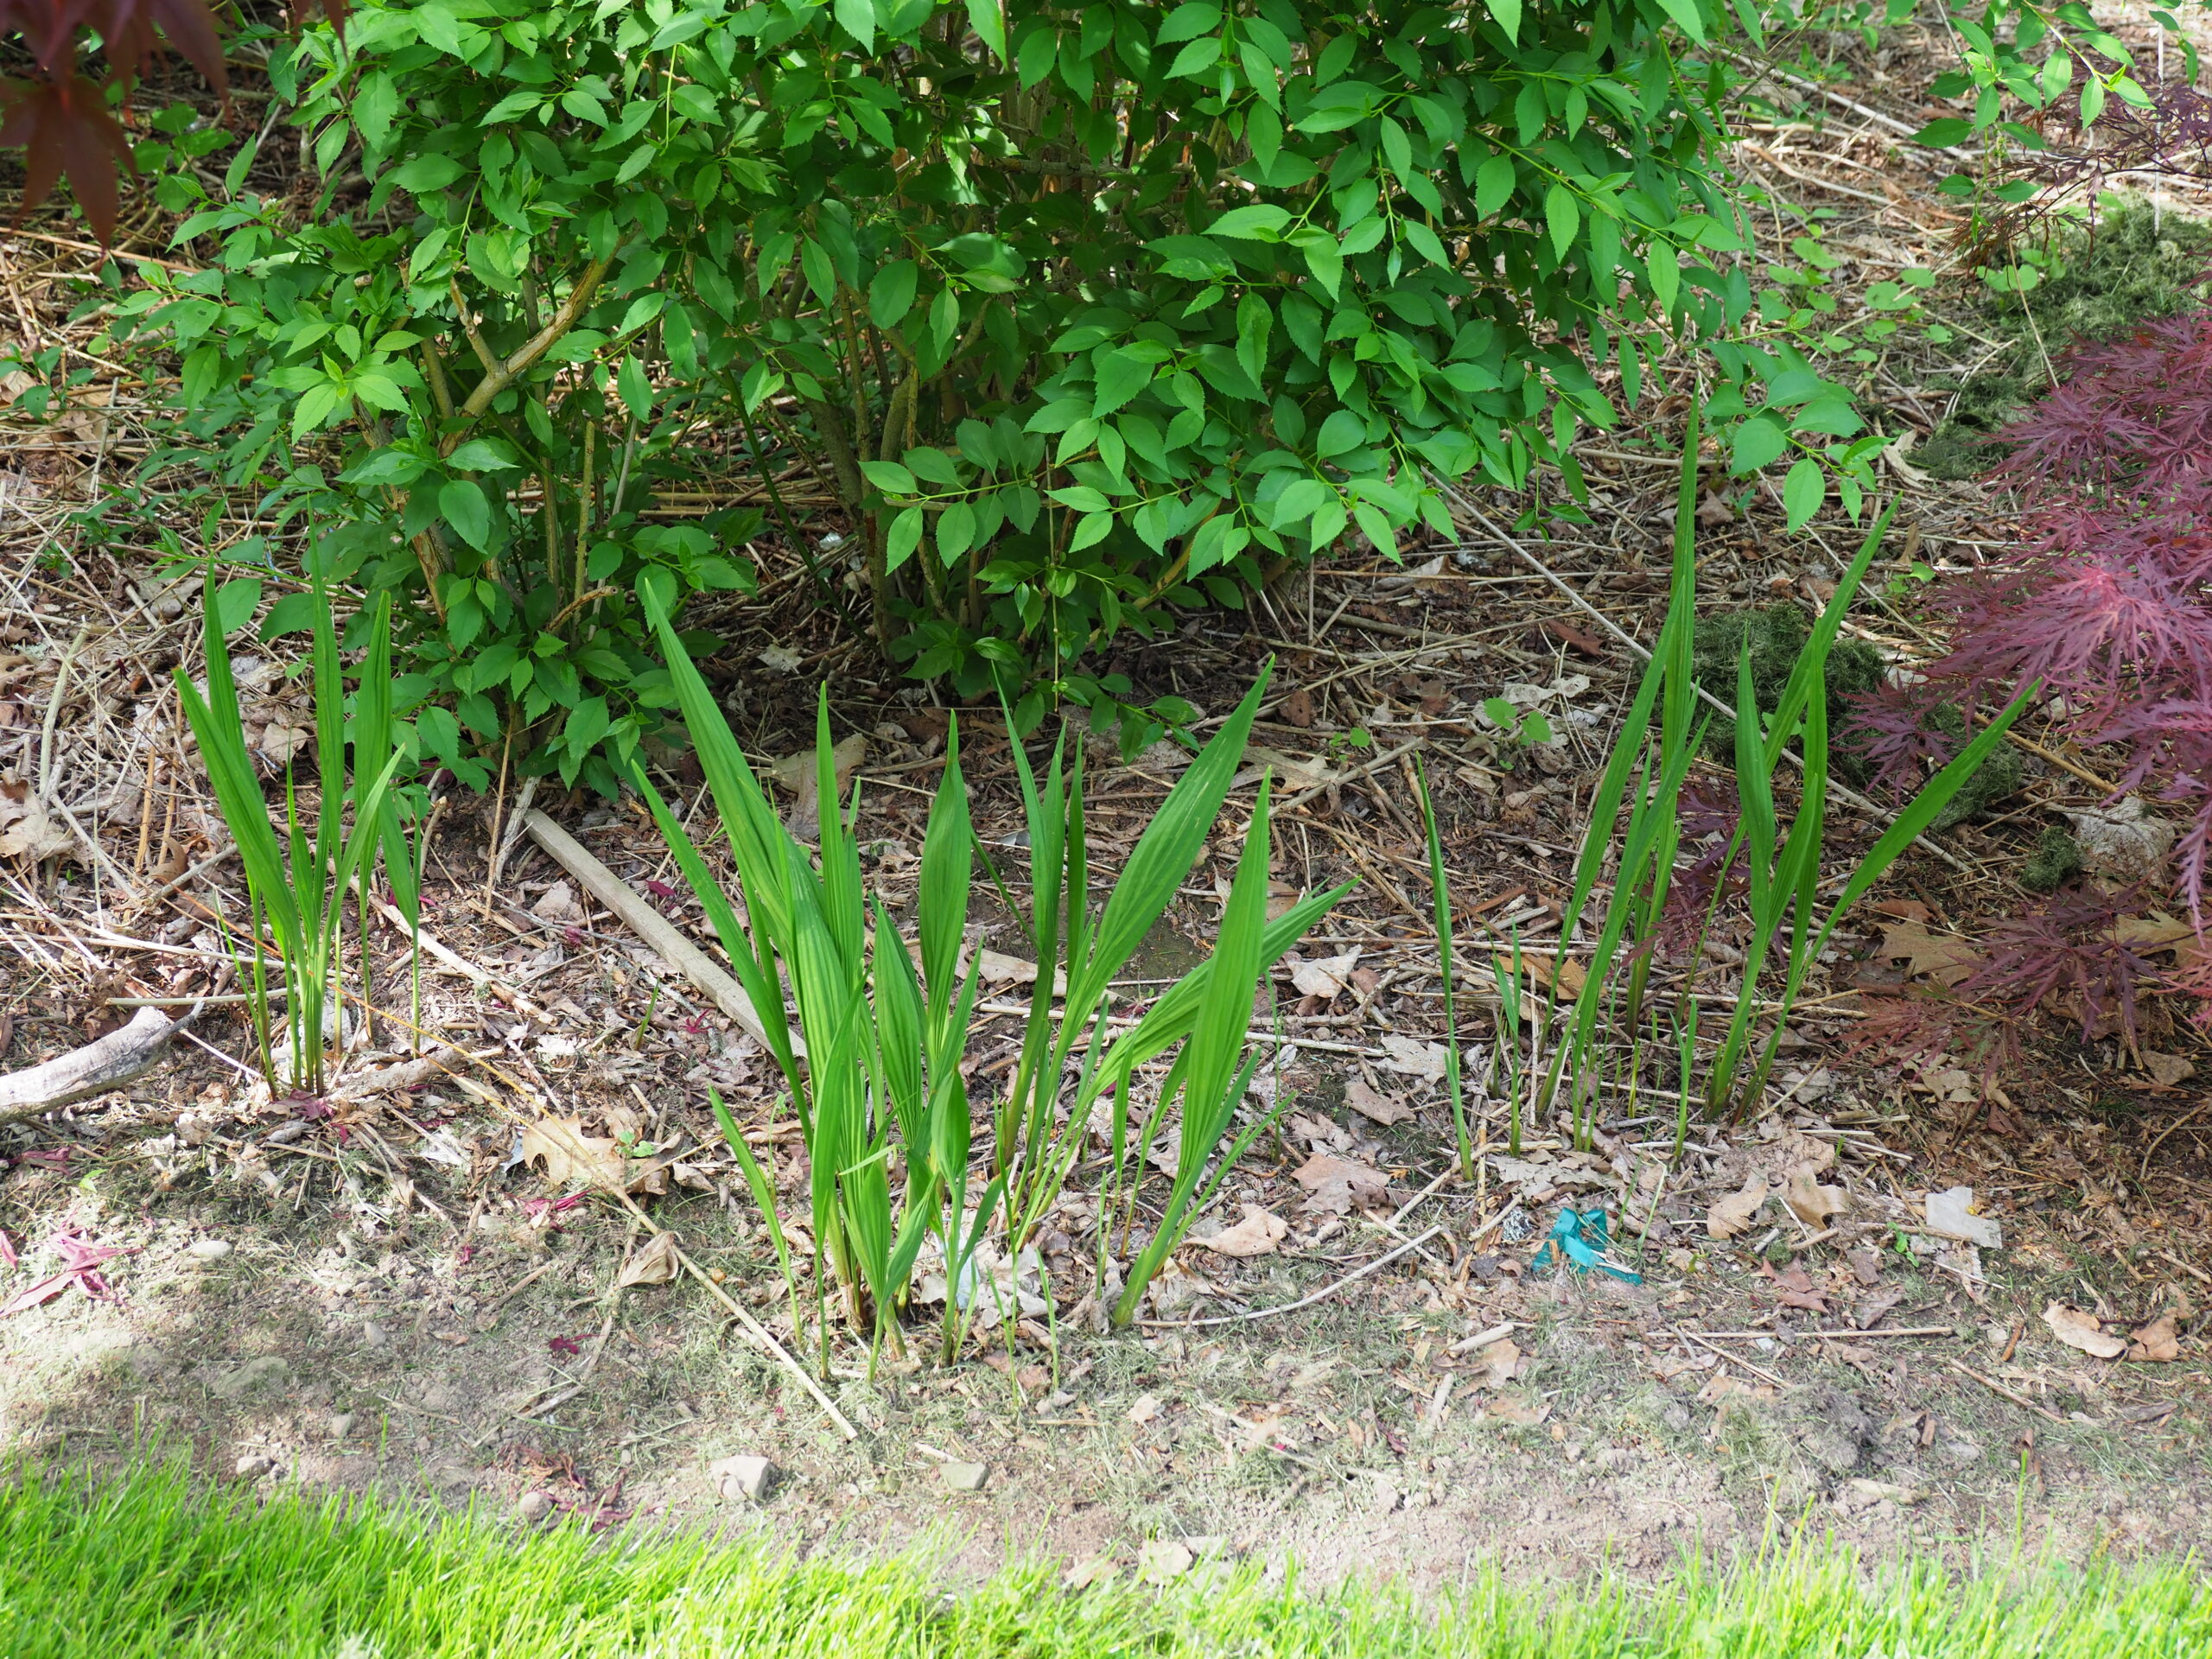
Crocosmia culture is pretty easy. They thrive in heat and shouldn’t be planted until the soil is warm, so mid to late May out here. Plant them 3 to 4 inches deep on 4-inch centers. The foliage emerges very late (Emberglow two weeks later than Lucifer) in the spring or early summer so tag the planting spot and watch for the foliage emerging as tiny green blades.
The plants do best in full sun. If or when they become shaded the foliage tends to get a bit lanky and this can result in the flower stalks getting too long and top heavy. I’ve gotten into the habit of surreptitiously running a single strand of green garden twine around the foliage mass to keep it neat throughout the summer.
The general planting area should get fertilized with an organic fertilizer when the foliage is about a foot tall. Use a fertilizer with a ratio of about 1-2-1, and only one application should be necessary. Plan on renovating the planting every two to three years by digging and storing some of the corms and leaving a few in the ground.
I’ve had no insect or disease problems with one exception. In hot, dry summers two-spotted spider mites will show up on the foliage. It’s critical to keep them in control, and this is very easy with strong, fine water sprays from the top of the sword leaves toward the bottom.
Most online bulb companies sell Crocosmia corms but they don’t become available until December and January since they are generally harvested in November. If they arrive in the middle of winter just keep them in a cool dry spot until planting time.
Crocosmias make great cut flowers and should be cut early in the morning. They attract hummingbirds, and if allowed to stay on the stalks the flowers should produce seed pods. The hard black seeds can be planted in flats the following spring and the resulting plants will develop corms that will flower the following year.
Buy the largest (sorry, but also the most expensive) corms you can find. Stay away from the cheaper and smaller corms or they can put on disappointing shows. Order now — they do sell out quickly — and of course, keep growing.
More Posts from Andrew Messinger


