


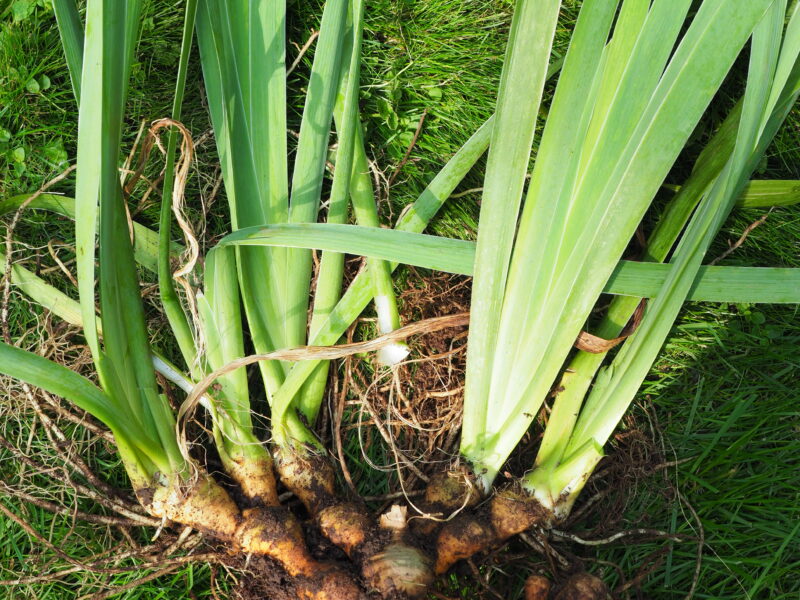
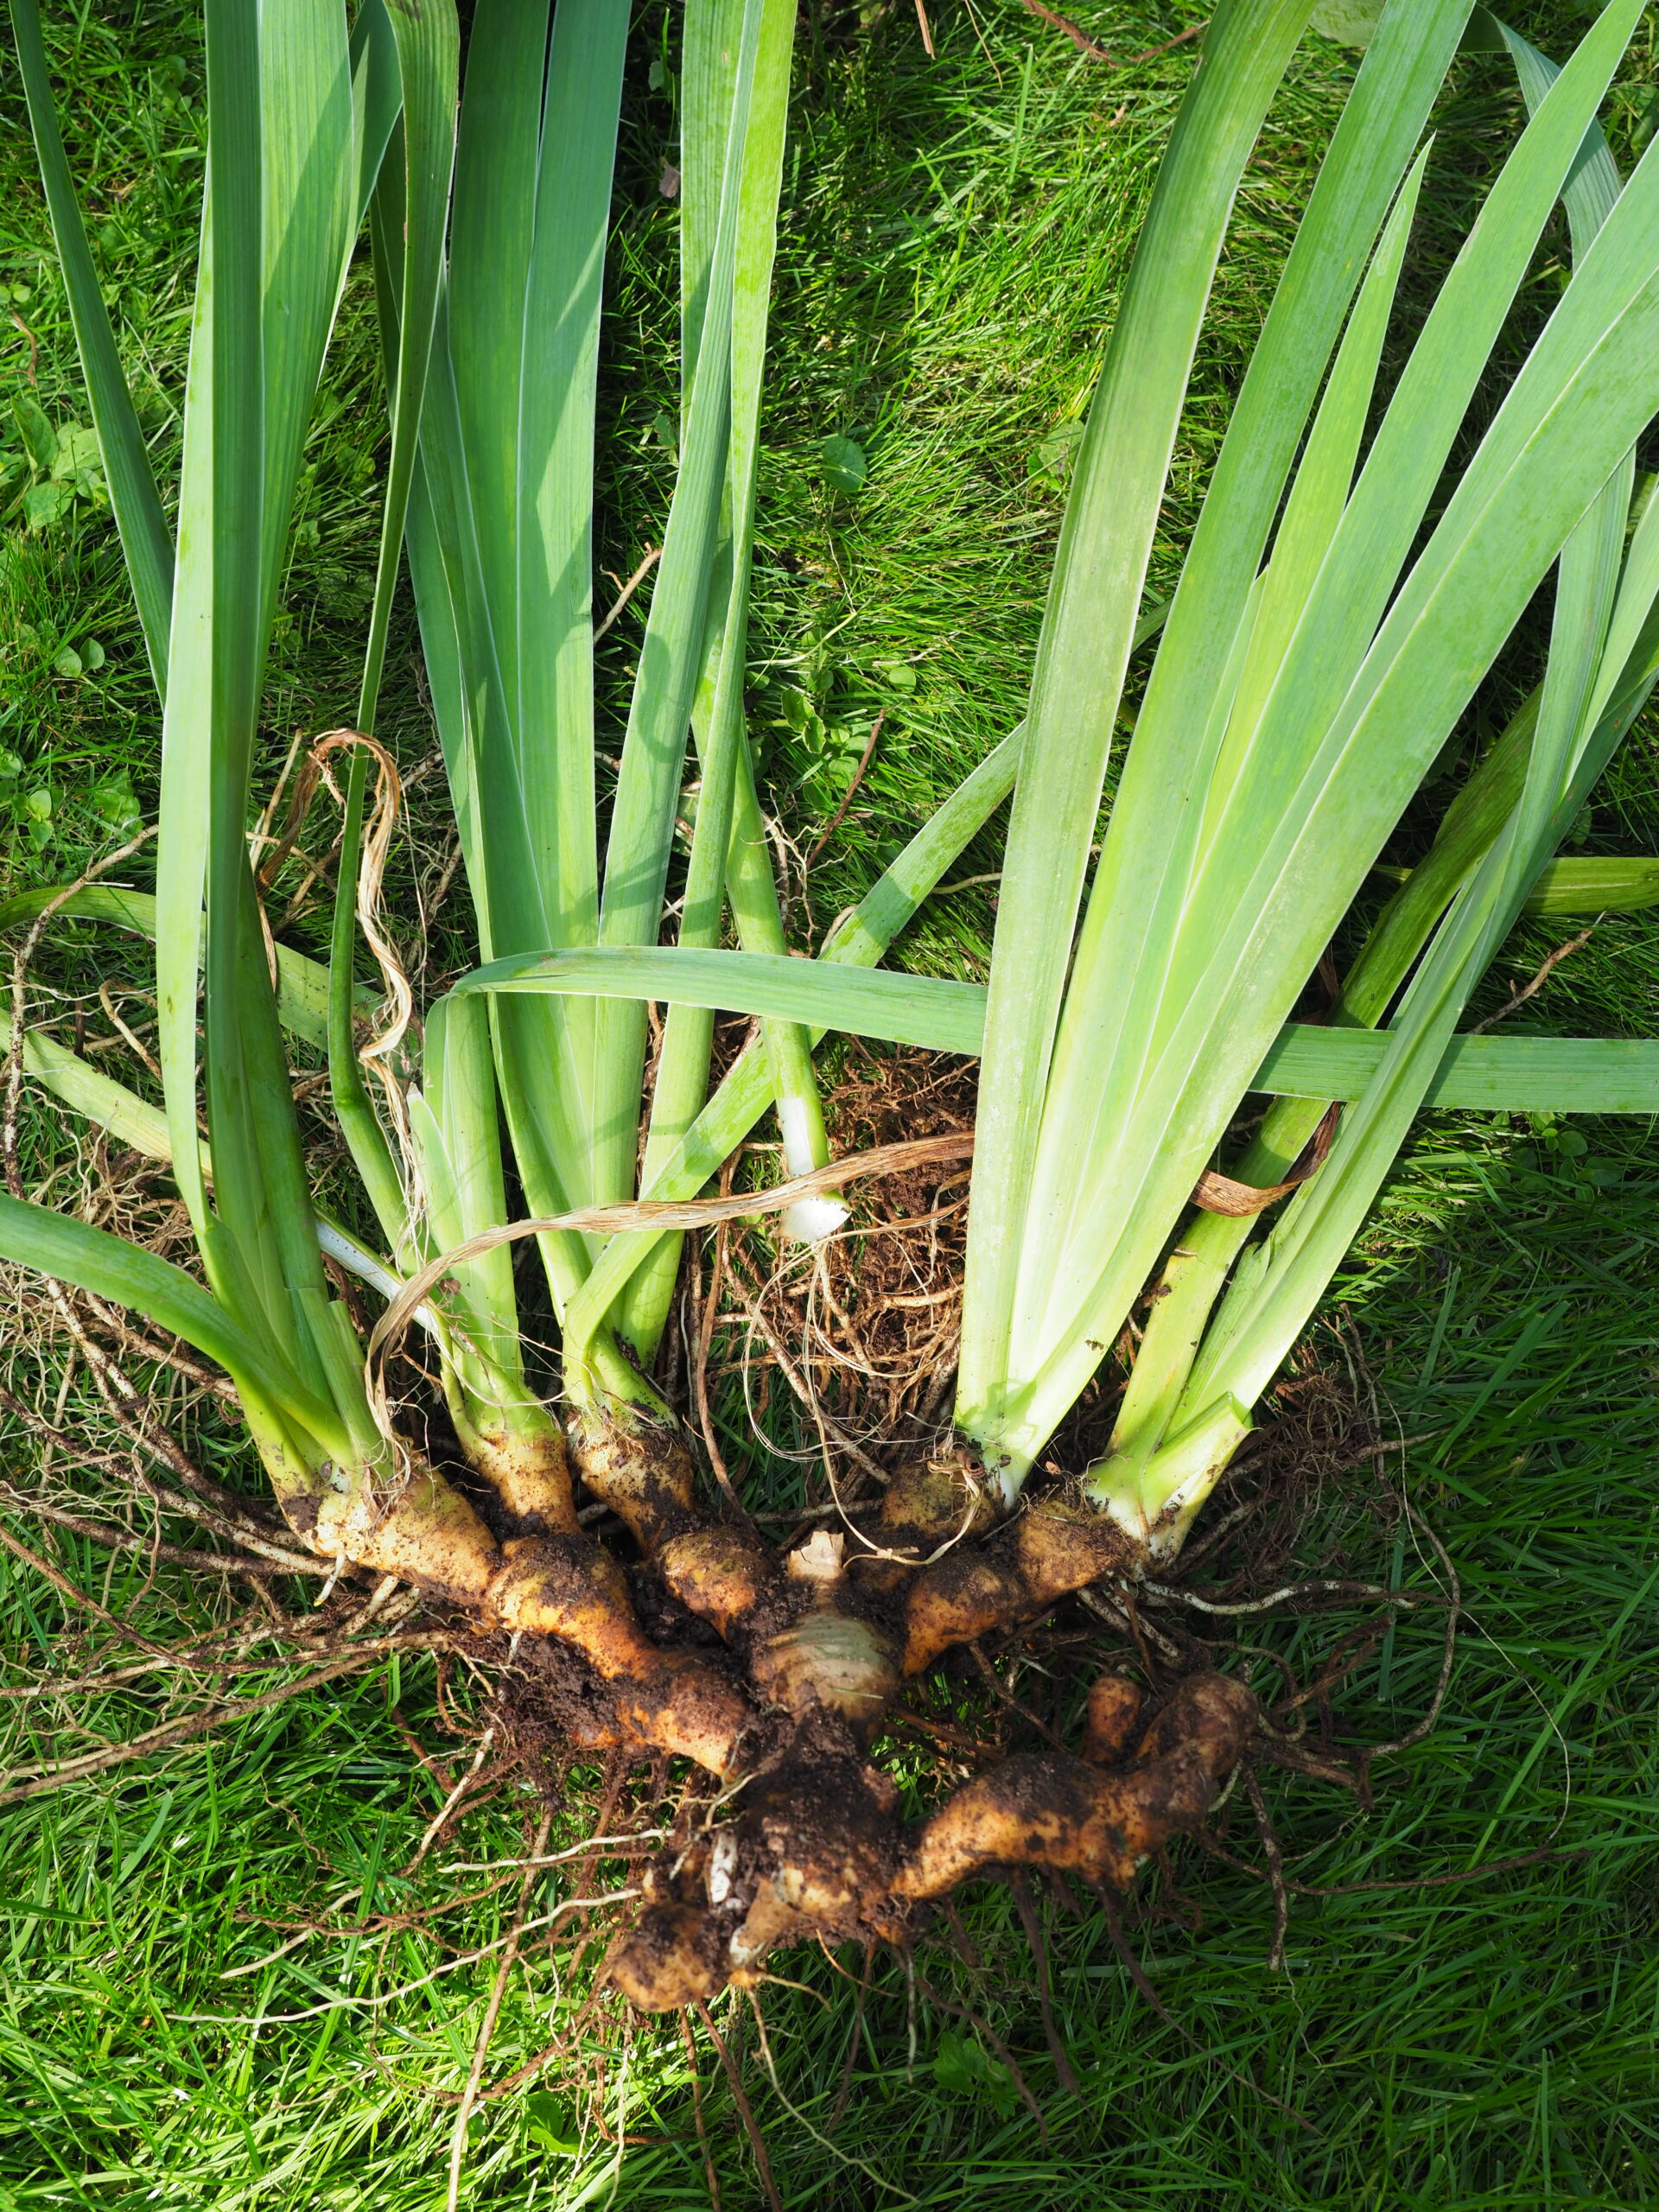
A large clump of old rhizomes from a bearded iris. The fan arrangement gives a bit of a clue that this group would divide nicely as one three-fan and one two-fan divisions. Much of the rhizome on the left side will be discarded. ANDREW MESSINGER
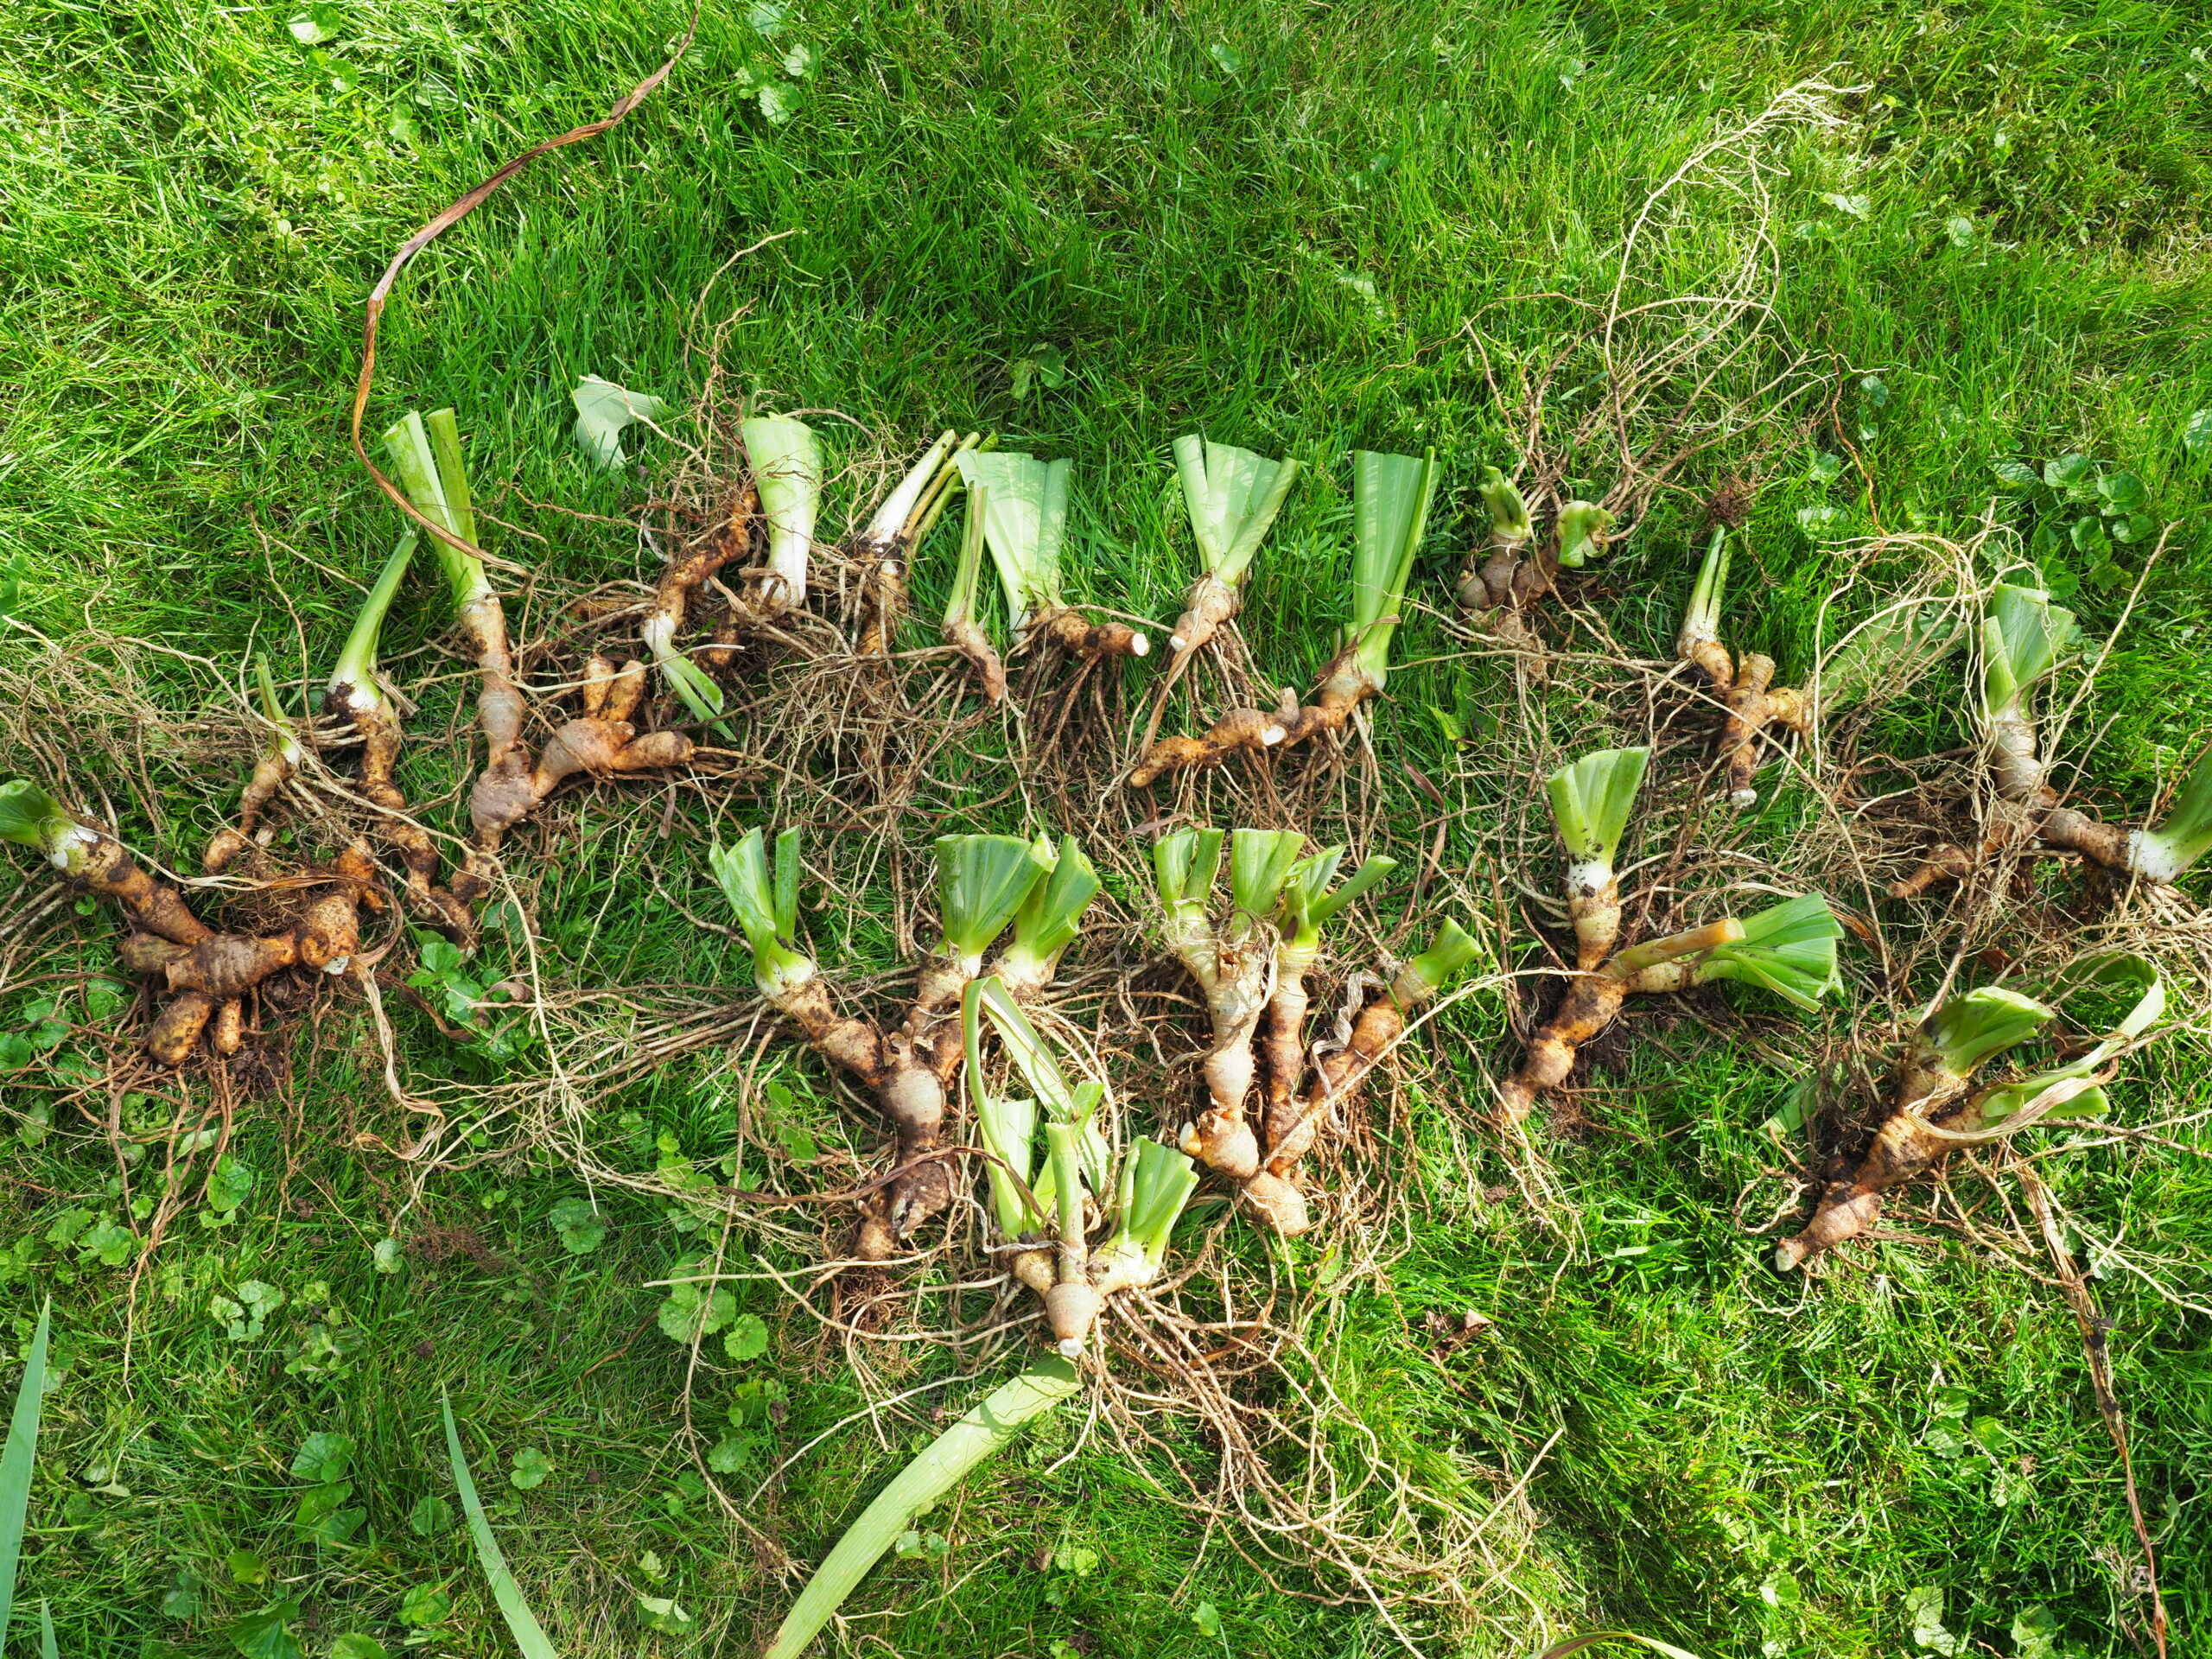
Once dug, the rhizomes are separated, trimmed to remove damage then organized by number of fans. The top row shows single-fan divisions while the bottom row shows mostly two-fan divisions and a three-fan (center bottom). ANDREW MESSINGER
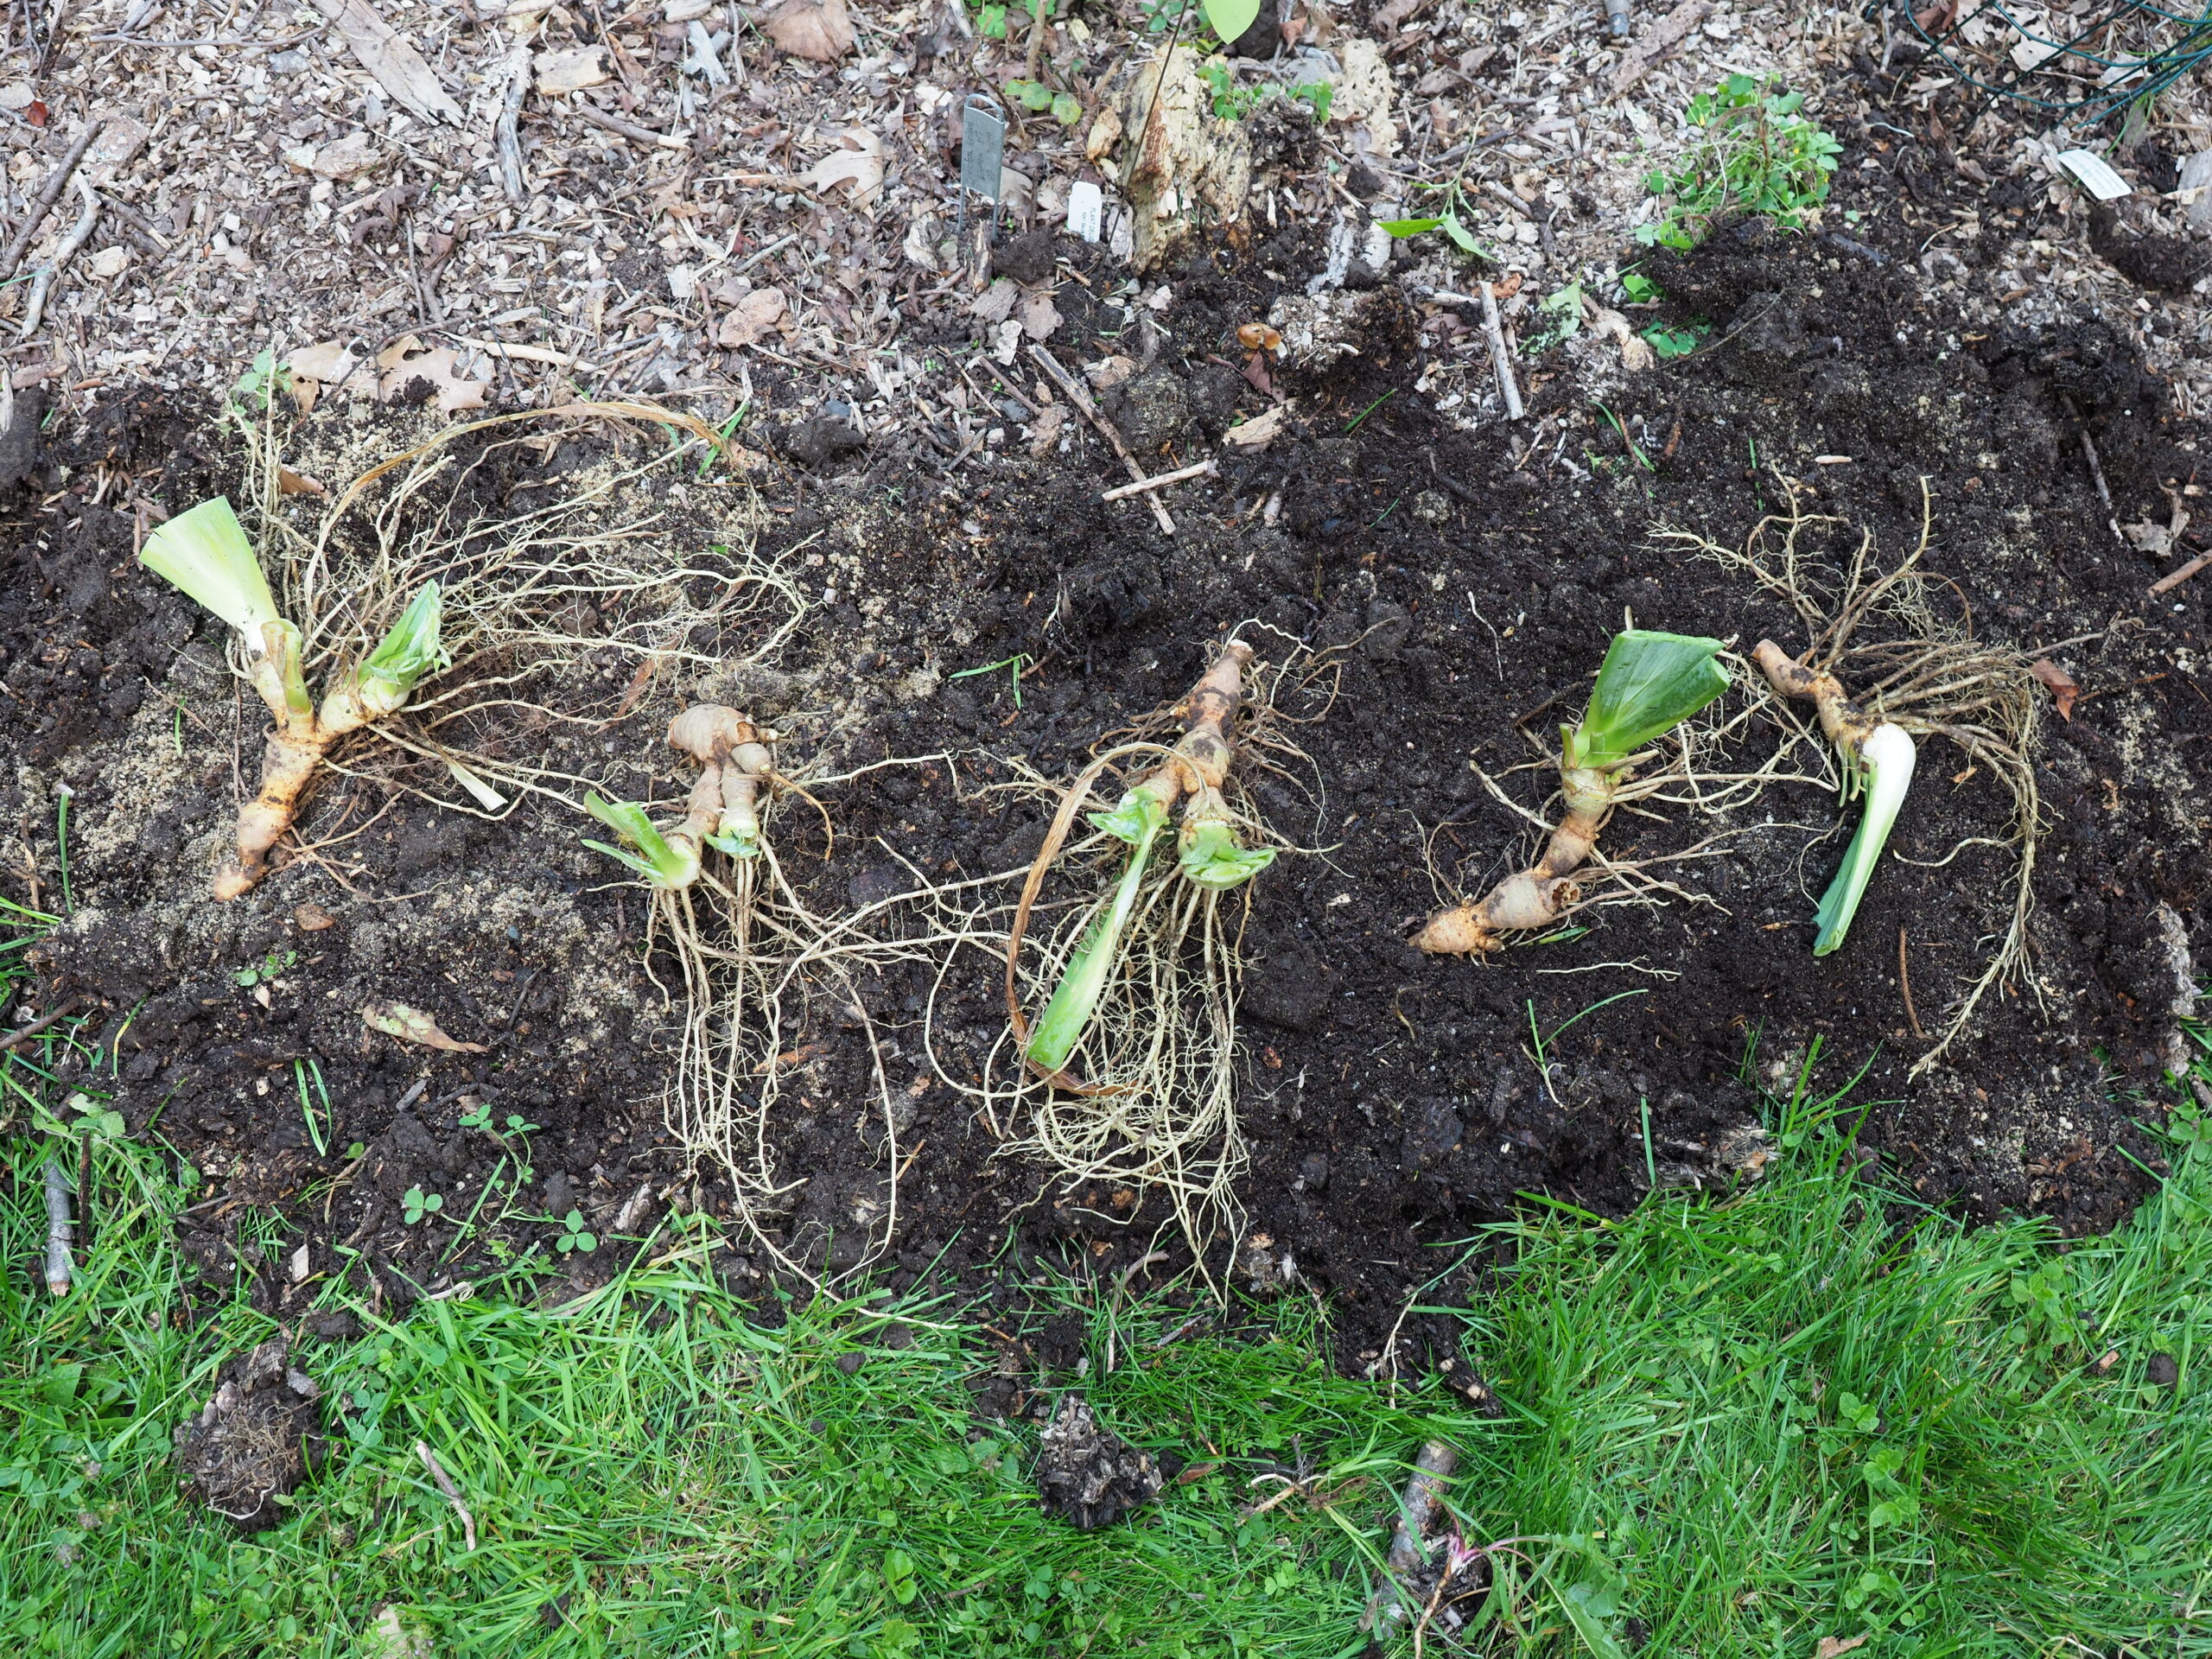
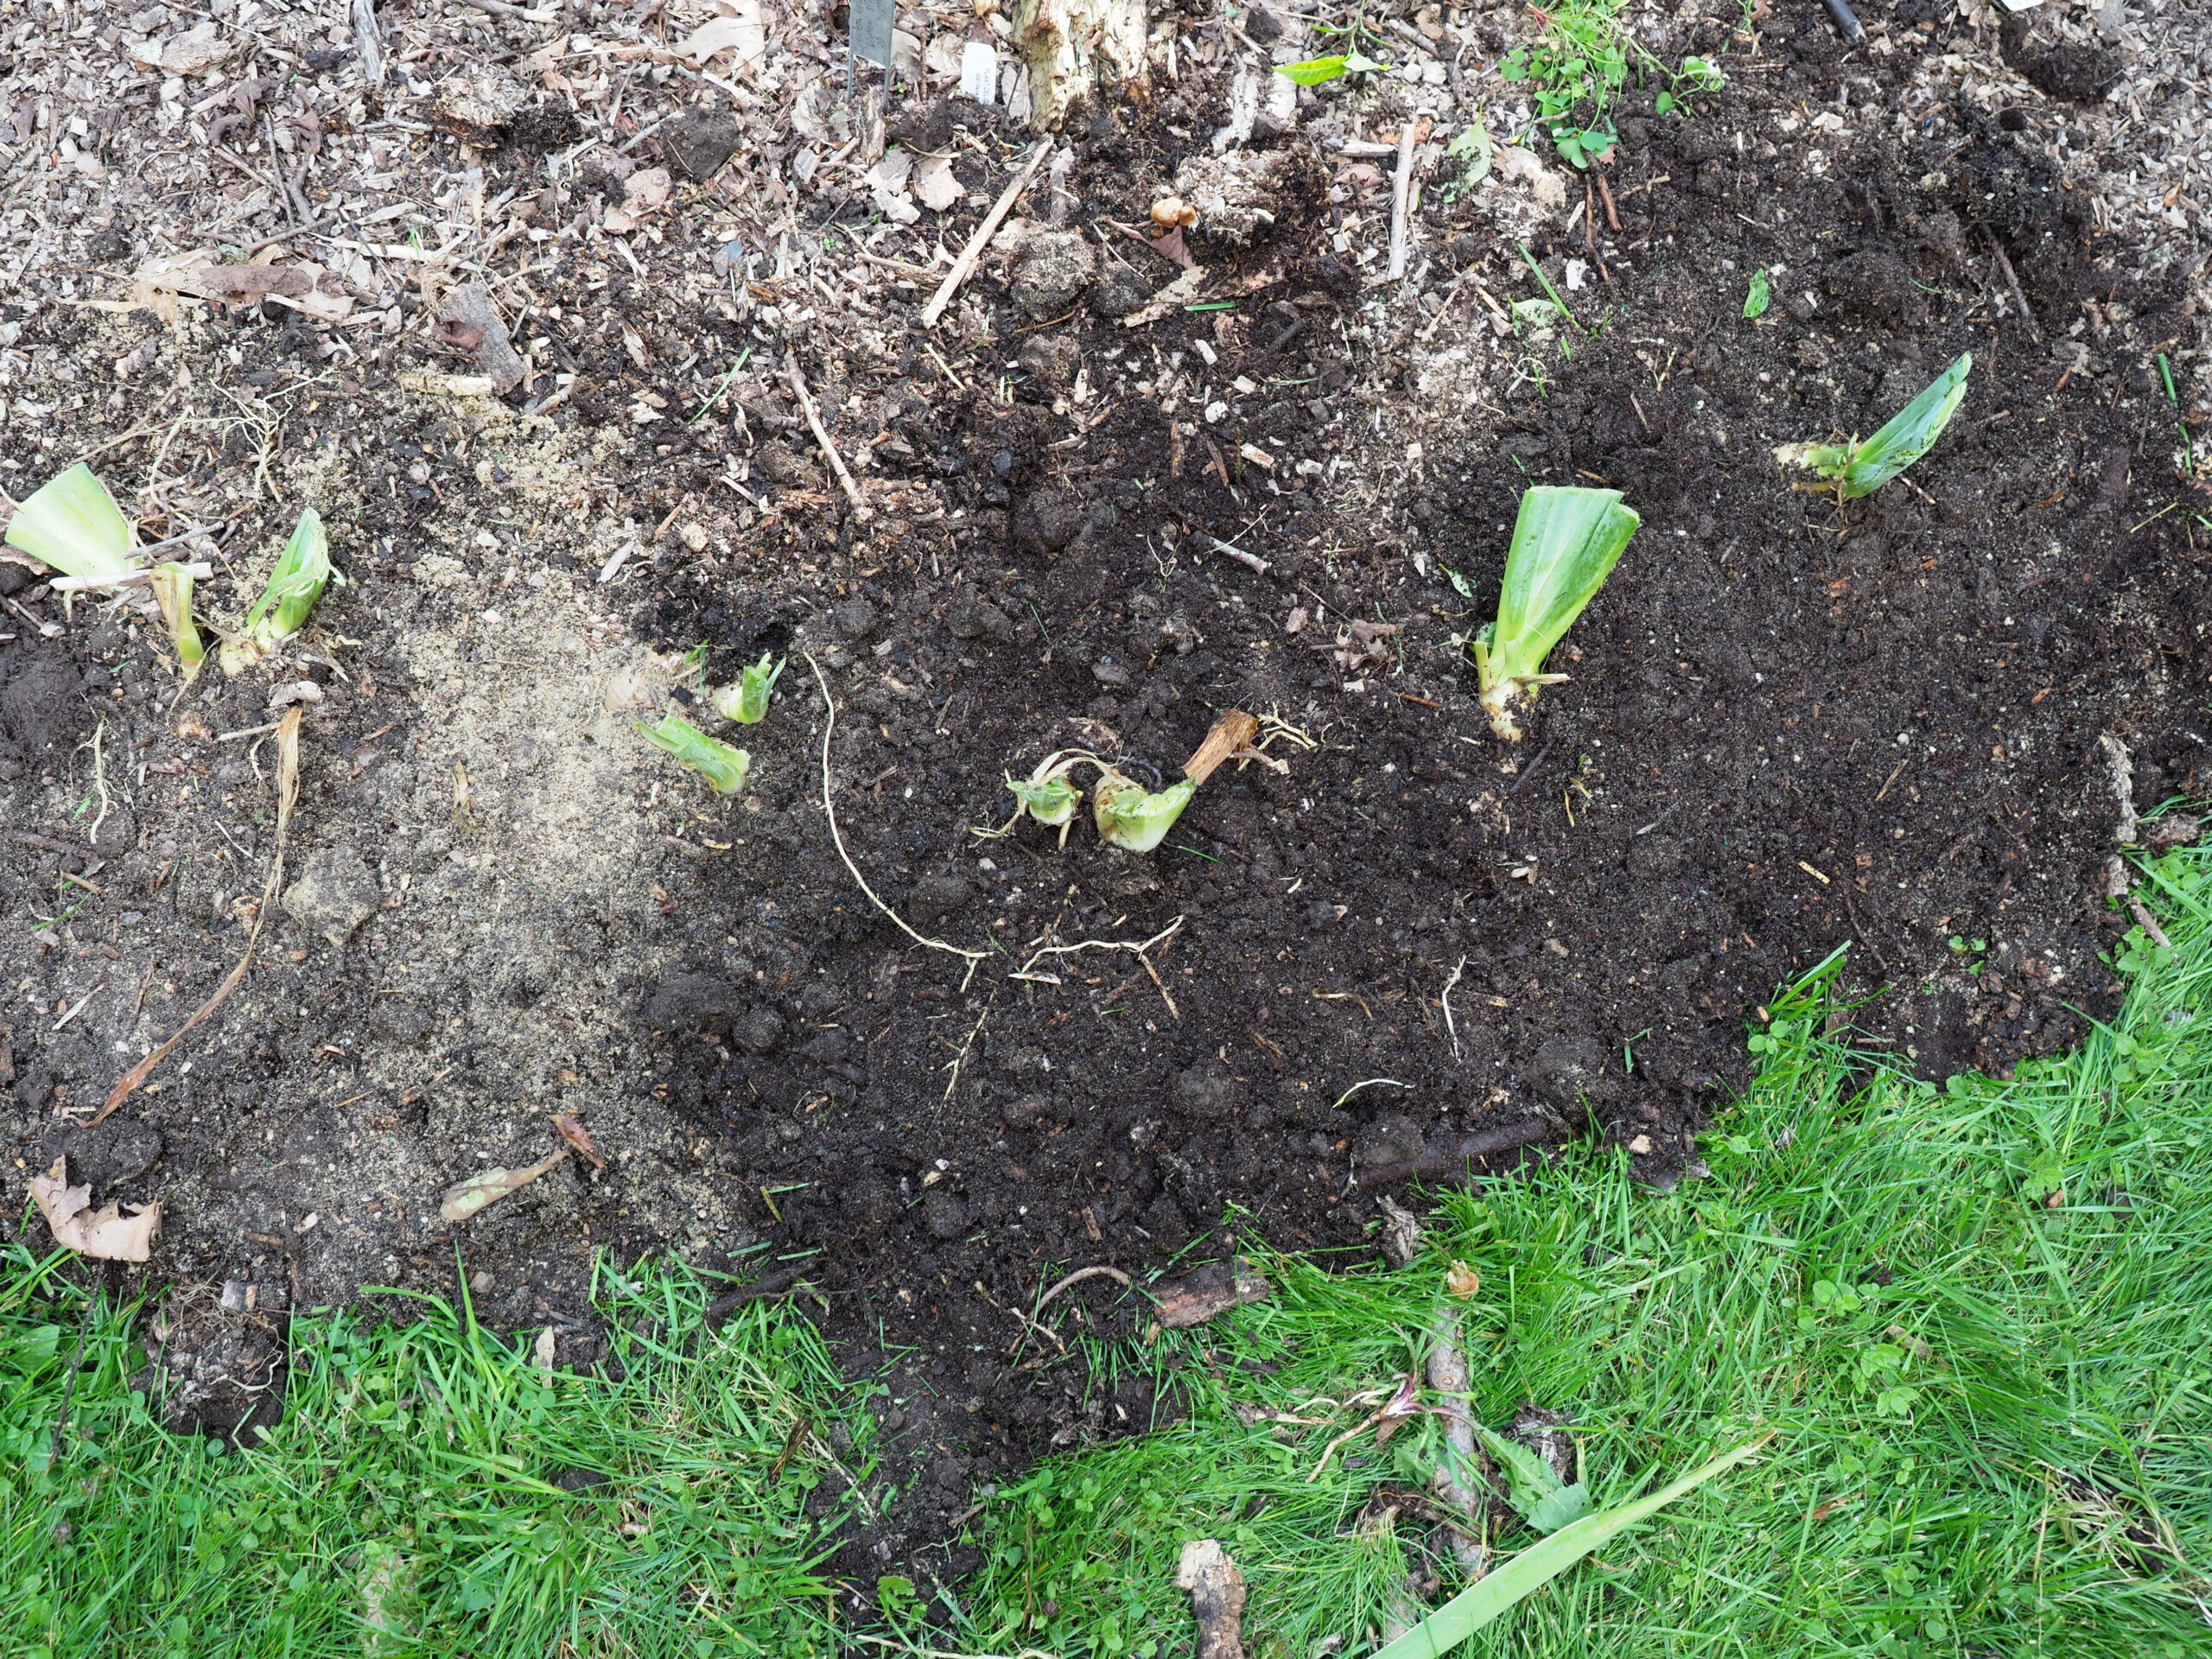
These rhizomes are being set into a shallow trench. Soil will be used to backfill the trench. Then, with gentle fingers, the rhizome can be turned and adjusted so the fan is pointing upward and the roots are covered with soil. ANDREW MESSINGER
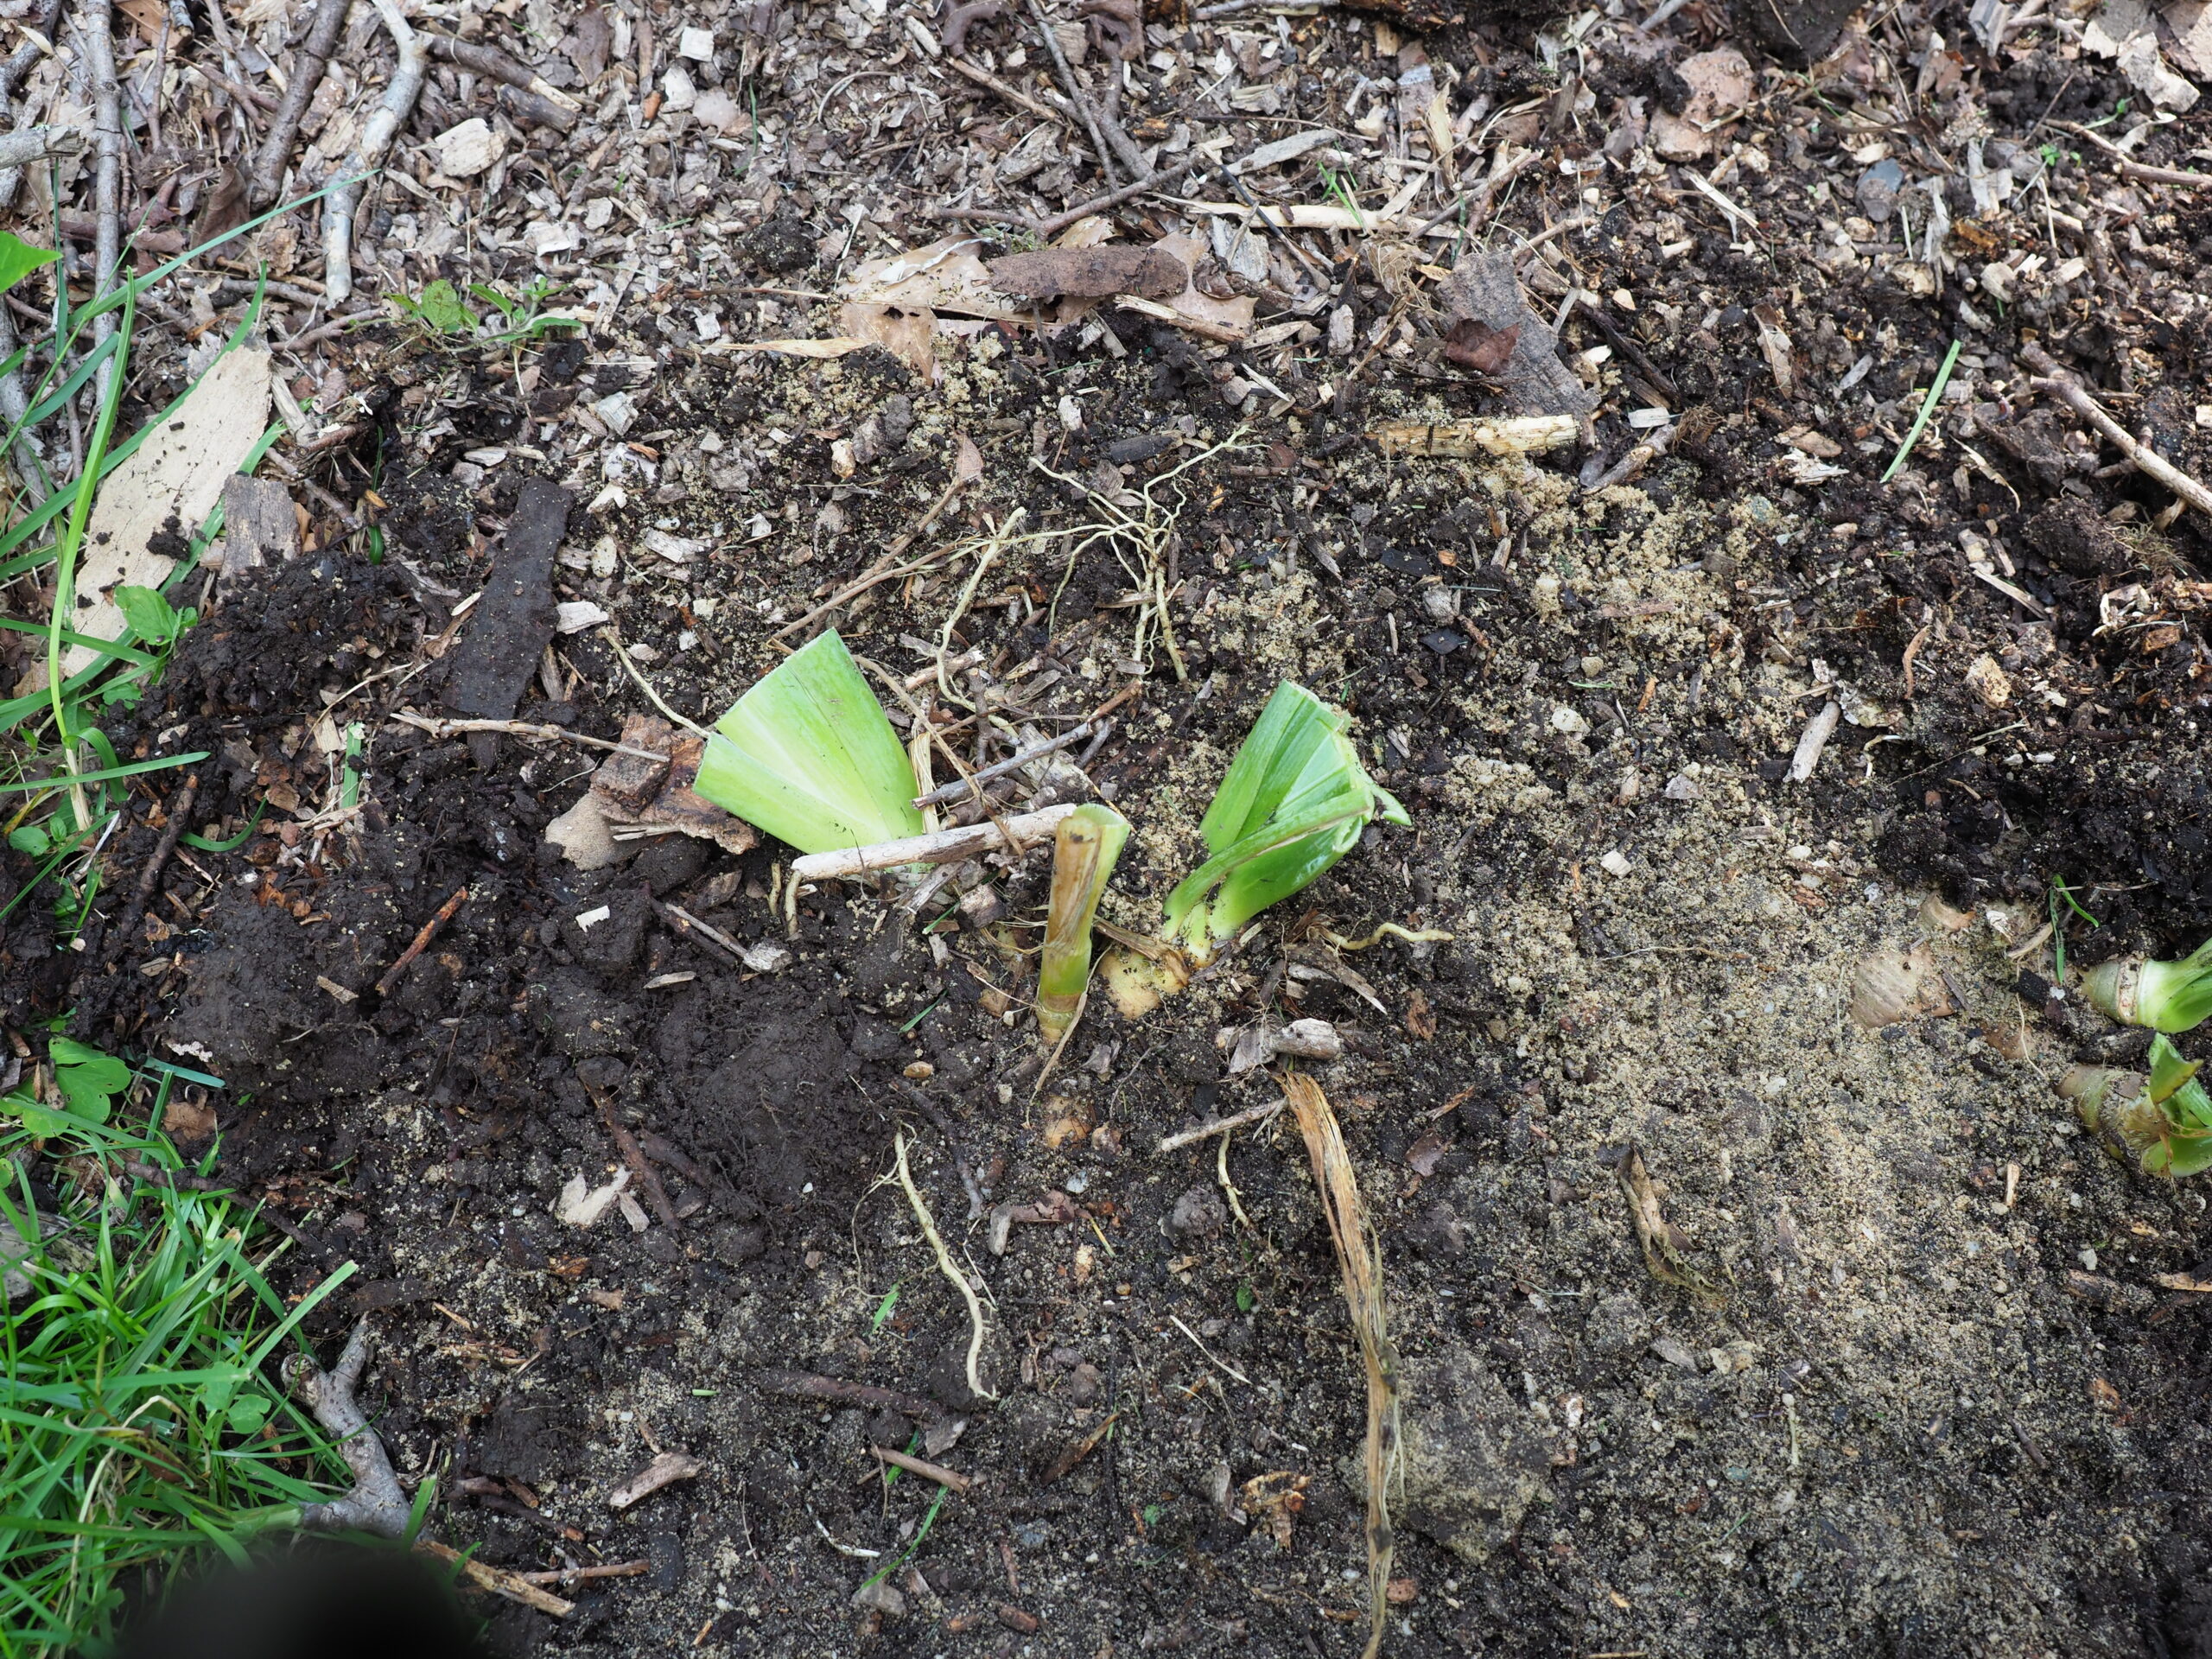
Roots set, soil backfilled and a light watering will settle the rhizome into its new home. Note that the rhizome is and should be visible and not totally covered with soil. ANDREW MESSINGER
A 4-foot row of a newly planted Iris "Immortality. Note the mix of single- and double-fan divisions being used.
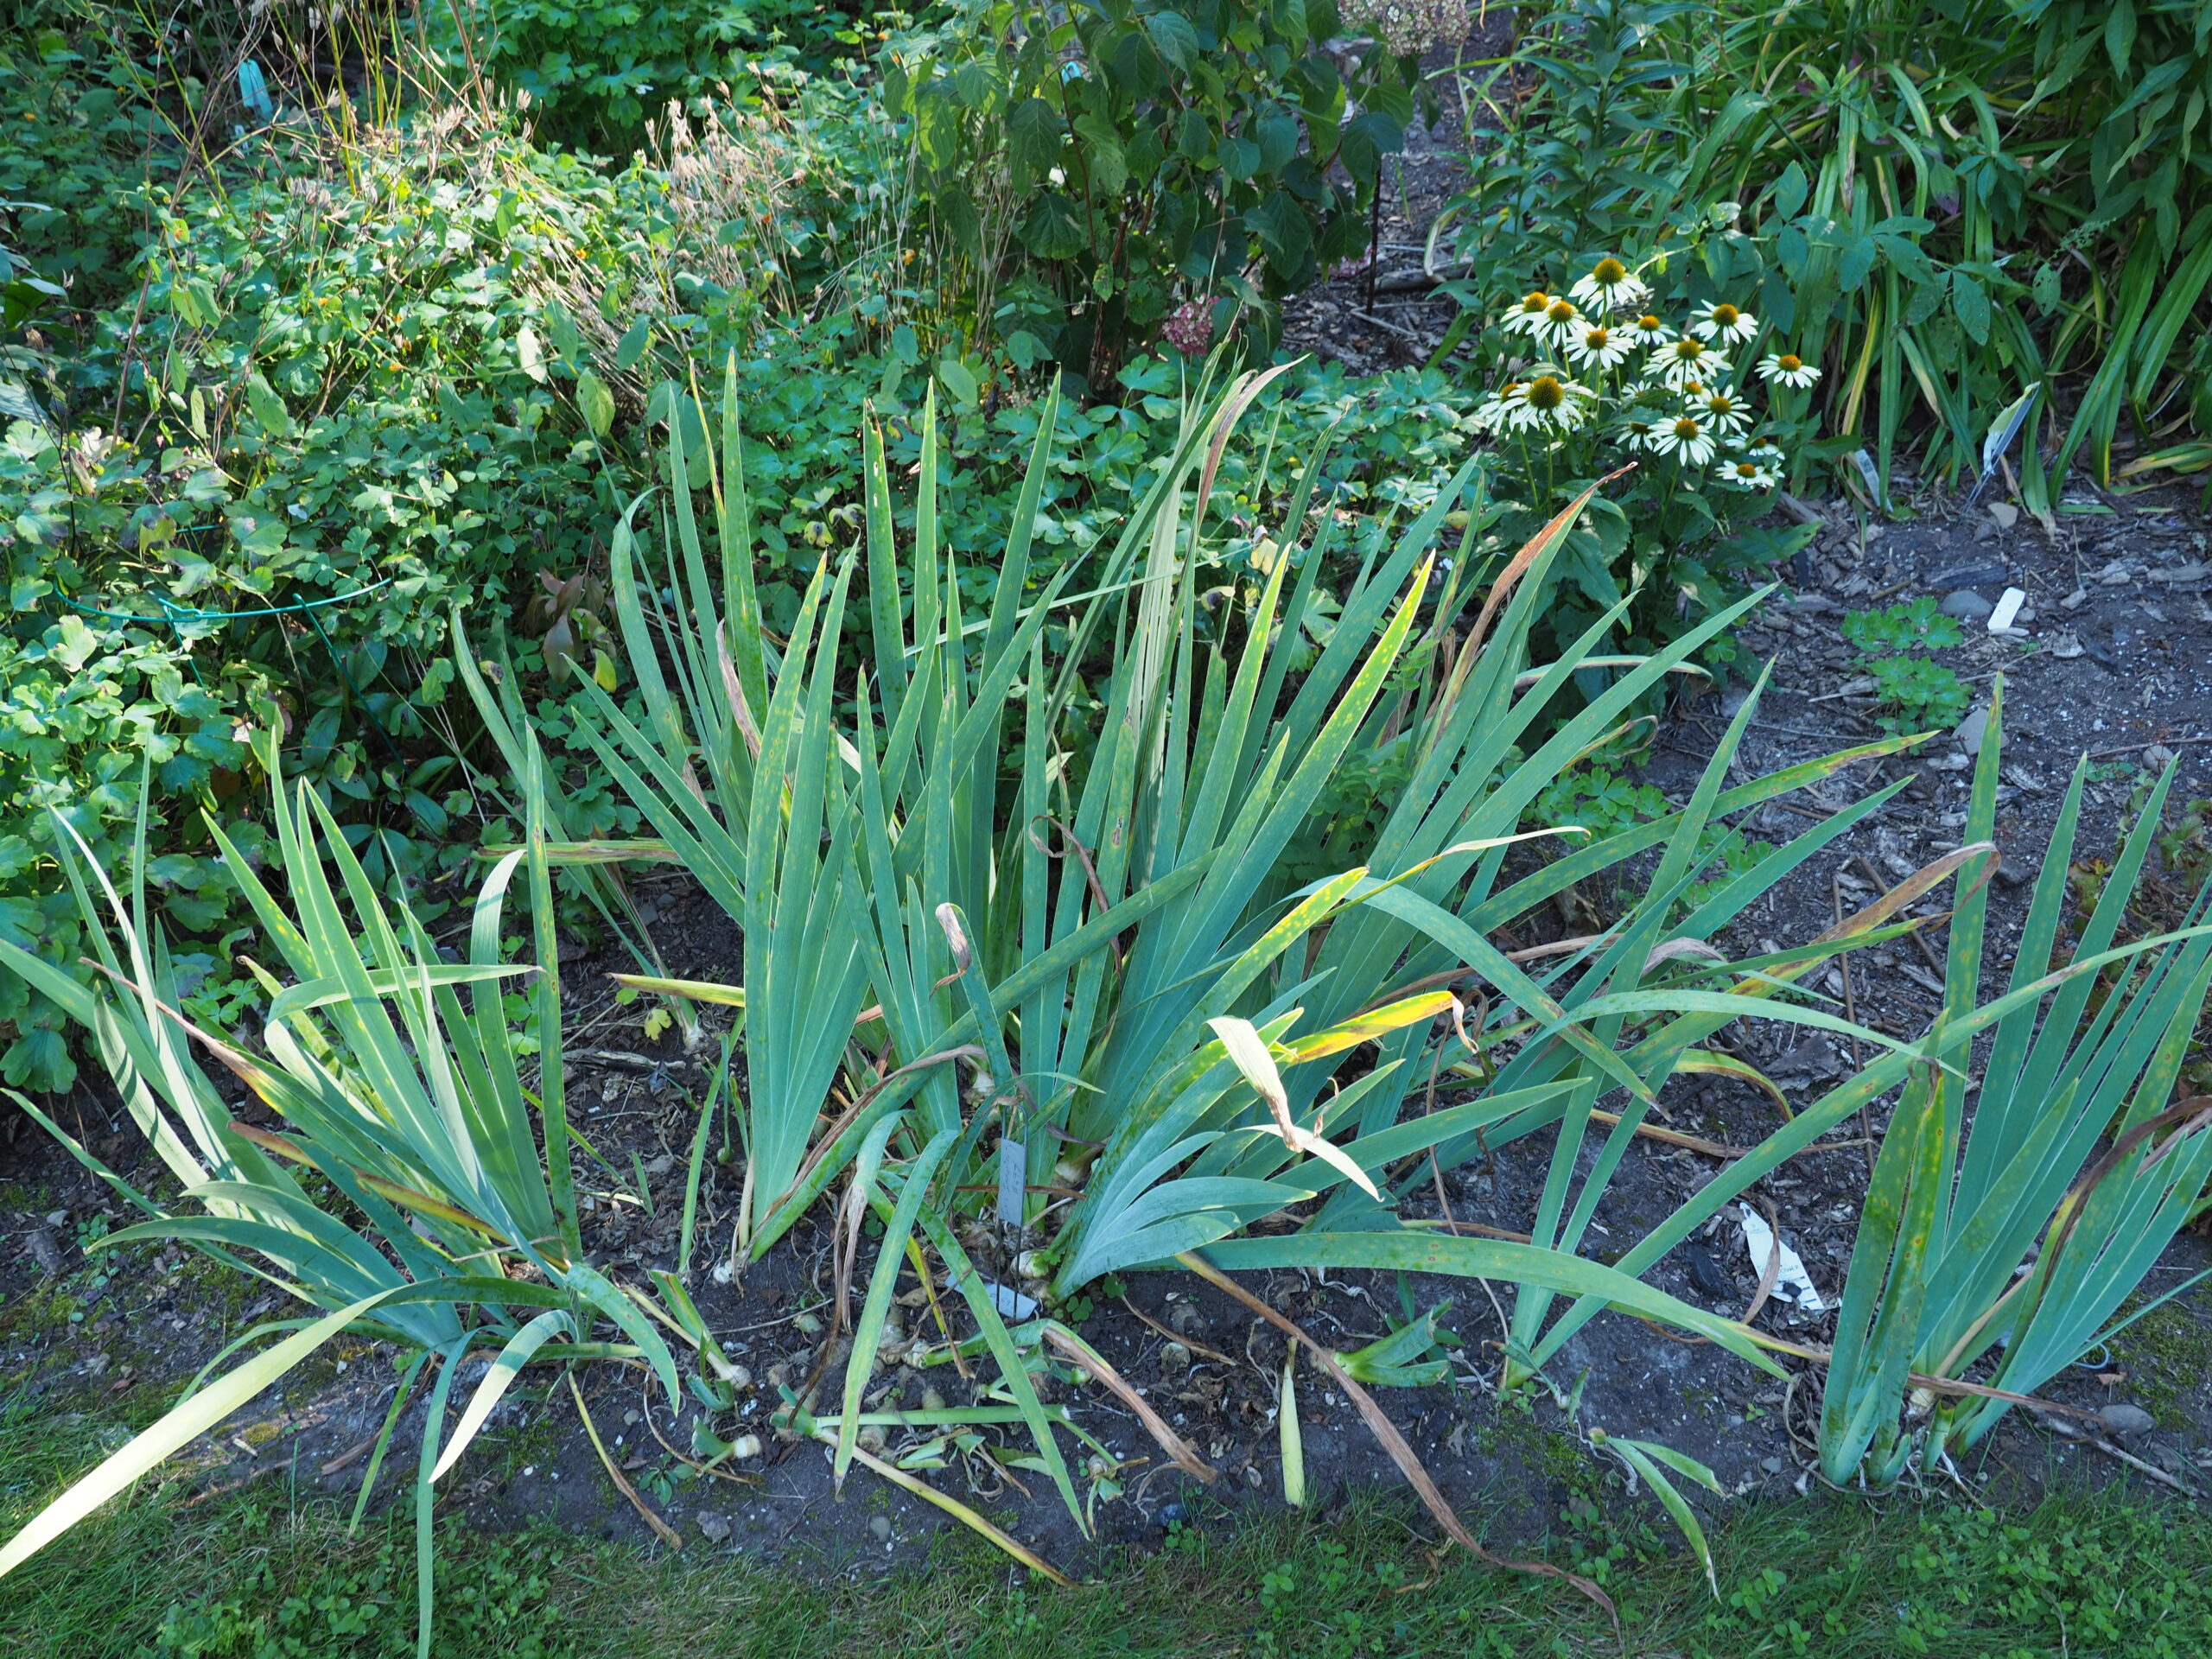
The same rhizomes from Iris "Immortality," a double bloomer, several years after the original divisions seen in the other pictures. These may flower again around September 15 with pure white, bearded flowers. First flowering takes place in mid to late May. ANDREW MESSINGER

I’ve got bearded irises growing in three spots in my gardens. They’re not one of my favorite plants but certainly look nice in the spring garden with their sword-like foliage and are available in a wide range of colors and color combinations. Unlike other perennials, irises need or rather demand some attention every few years or they tend to stop flowering. Mine have, and this year they need help.
This help comes in the form of digging the iris beds, dividing the rhizomes, which grow horizontally, and then replanting them. It’s a fairly easy task, and it needs to be done every three to five years or your irises will slowly, but certainly, flower less and less, then not at all.
Nothing like a long weekend to do this work. Don’t delay. The plants need time to reestablish before the ground gets cold.
Before I get into the way to take care of this task, let’s chat a bit about double-blooming irises. These double bloomers are said to bloom once in the spring and again in the fall. They’re referred to as “remontants.” My experience with these is that a few actually do bloom in spring and fall. I have only one semi-reliable rebloomer. The literature says that they are more likely to rebloom in colder areas. The other thing to be aware of is that the true rebloomers grow faster than other bearded irises and may need division every two to three years instead of every three to five years. The variety “Immortality” is a pure white rebloomer and of my group the somewhat reliable one.
Now to the actual process of dividing the clumps. Plan ahead. It’s easy but can be a several-day process. Because of our ongoing drought the process will involve a few extra steps. One of the irises that I have that’s in need of division is a 3-foot-by-5-foot area of an iris that I discovered several years ago on an abandoned farm. The area where I dug the rhizomes from hadn’t flowered in decades so I had no idea what I was going to end up with. The few pieces I started with were originally dug in 2014, last divided in 2017 and now in need of division again.
Just based on the 15-square-foot section that needs rejuvenation, the divisions could easily replant an area three to four times the size. But I don’t want a larger display of this variety. I simply want what I have to flower again. So I’ve lined up four other gardeners who will get divisions that they can then plant in their gardens. The alternative is to throw away some of the divisions or to plant a new area elsewhere on the property.
Since we’ve been in a drought, I want to make sure the rhizomes are well hydrated a couple of days before doing the digging and cutting back. I’ll water them well, then do it again a day later. On the third day the rhizomes should have been able to soak up enough water so the digging and division can begin.
You’ll need either a digging fork or a spade as well as a knife with at least a 4-inch blade. To reduce the transplanting shock, the first action is to cut back the leaves to about 4 inches. With this done, begin working the planted area from the outside toward the inside by loosening the soil. I find this best done with a small tine fork. Try to keep the tines away from the rhizomes and insert the tines straight down into the ground to a depth of 6 to 8 inches. Push back on the handle and this will force the tines to go under the rhizomes and gently lift them.
Try to extract clumps of rhizomes that are as large as possible. Once the clumps are liberated from the soil, use your hands to gently pull up the rhizomes and roots. Don’t divide the clumps that come up just yet. Get all of them out of the ground and into a shady area. You can pull apart the tangle of rhizomes and roots with your fingers. Inspect what you have for signs of rhizome damage and rot. With your knife, cut out these areas leaving smooth, clean cuts and you’ll find that the rhizomes almost naturally separate. Each rhizome that you want to replant should have at least one “fan” of leaf stubs attached. A one-fan division will rebloom in two years while two- and three-fan sections will bloom sooner — but these larger divisions will also need to be divided sooner than one-fan divisions. Maybe a mix of one-, two- and three-fan divisions would work well?
Once divided, the fans should be left in a shady, dry spot to allow the cut areas to heal.
A day is plenty of time for this. While this healing is taking place, decide if you’ll replant in the same spot, expand the spot or plant new spots. Depending on the size of the divisions you’ll want to give each new section a growing area of 12 to 18 inches. Make sure that the fans from one division set are facing away from the fans of other sets.
Now comes the tricky part, but you only need to get it right once, then you’ll know forever how deep the rhizomes get planted. Not deep at all. The planting soil should be worked well before planting so it’s friable. You can add some bone meal to the bottom of the planting area and this will act as a fertilizer for next year — and will be the only fertilizer the plants will ever need.
You can dig a shallow hole with a small mound in the center. The roots will trail down the sides of the mound and the rhizome should sit atop the mount so that when the area is backfilled the top of the rhizome will still be visible. When in doubt, plant high, and the rhizome should never be completely buried. Remember, the rhizome is planted vertically. New growth will start from the end where the fan or fans are.
Water lightly the first time and let the divisions settle in. If you see they are sinking too much and the rhizome is getting buried then slide your fingers under the rhizome and gently raise it while pushing soil under it. Keep the area watered for about two weeks. You don’t need to drench the soil, just keep it damp without drying out. No fertilizer is ever needed again, but plan on doing this process about every five years to keep the blooms coming. The rhizomes are remarkably hardy and should never, ever be mulched.
Go forth and divide. And of course, keep growing.
Garden Notes
This is usually the period when I say it’s time to sow grass seed. A very iffy proposition during a drought year, and to make things worse grass seed prices have nearly doubled. Keep in mind that the seed won’t germinate without water so maybe just some overseeding or small projects instead of the entire lawn?
The drought should also come into play when you’re making decisions about new shrub and tree plantings. Were the plants well watered in the nursery? Did the plants come from growers where the drought is even worse than here? Whatever you plant will need lots of water unless the weather pattern changes and we get an inch or more of rain every single week.
Most larger trees and shrubs that are planted by the garden center or nursery will come with a two-year warranty. In light of our water issues, though, you may want to ask for or insist on a third-year extension.
Expect leaf drop from deciduous trees to be earlier than normal, but drought years also tend to make fall foliage colors much more vivid.
Always use safety glasses when spraying your plants. I’d gotten out of the habit since I spray much less and only use organics. But a small amount of pyrethrin, an organic which you may be using on a fruit tree or a rose bush, can do lots of damage if just a small amount gets blown back toward your face and into your eye. The best safety glasses for gardeners don’t have to be expensive but they should wrap around as much as possible.
Gardeners should always have an eye wash kit available, and this can be as simple as a bottle of eye wash solution and an eye cup. Also have a first aid kit with bandages, alcohol wipes, gauze patches, tape and an antiseptic. Be up to date with your tetanus shots as well. Those allergic to bee stings should consult with your physician to determine what you should have available and remember: Those stinging, angry yellow jackets are just days away.
More Posts from Andrew Messinger


