


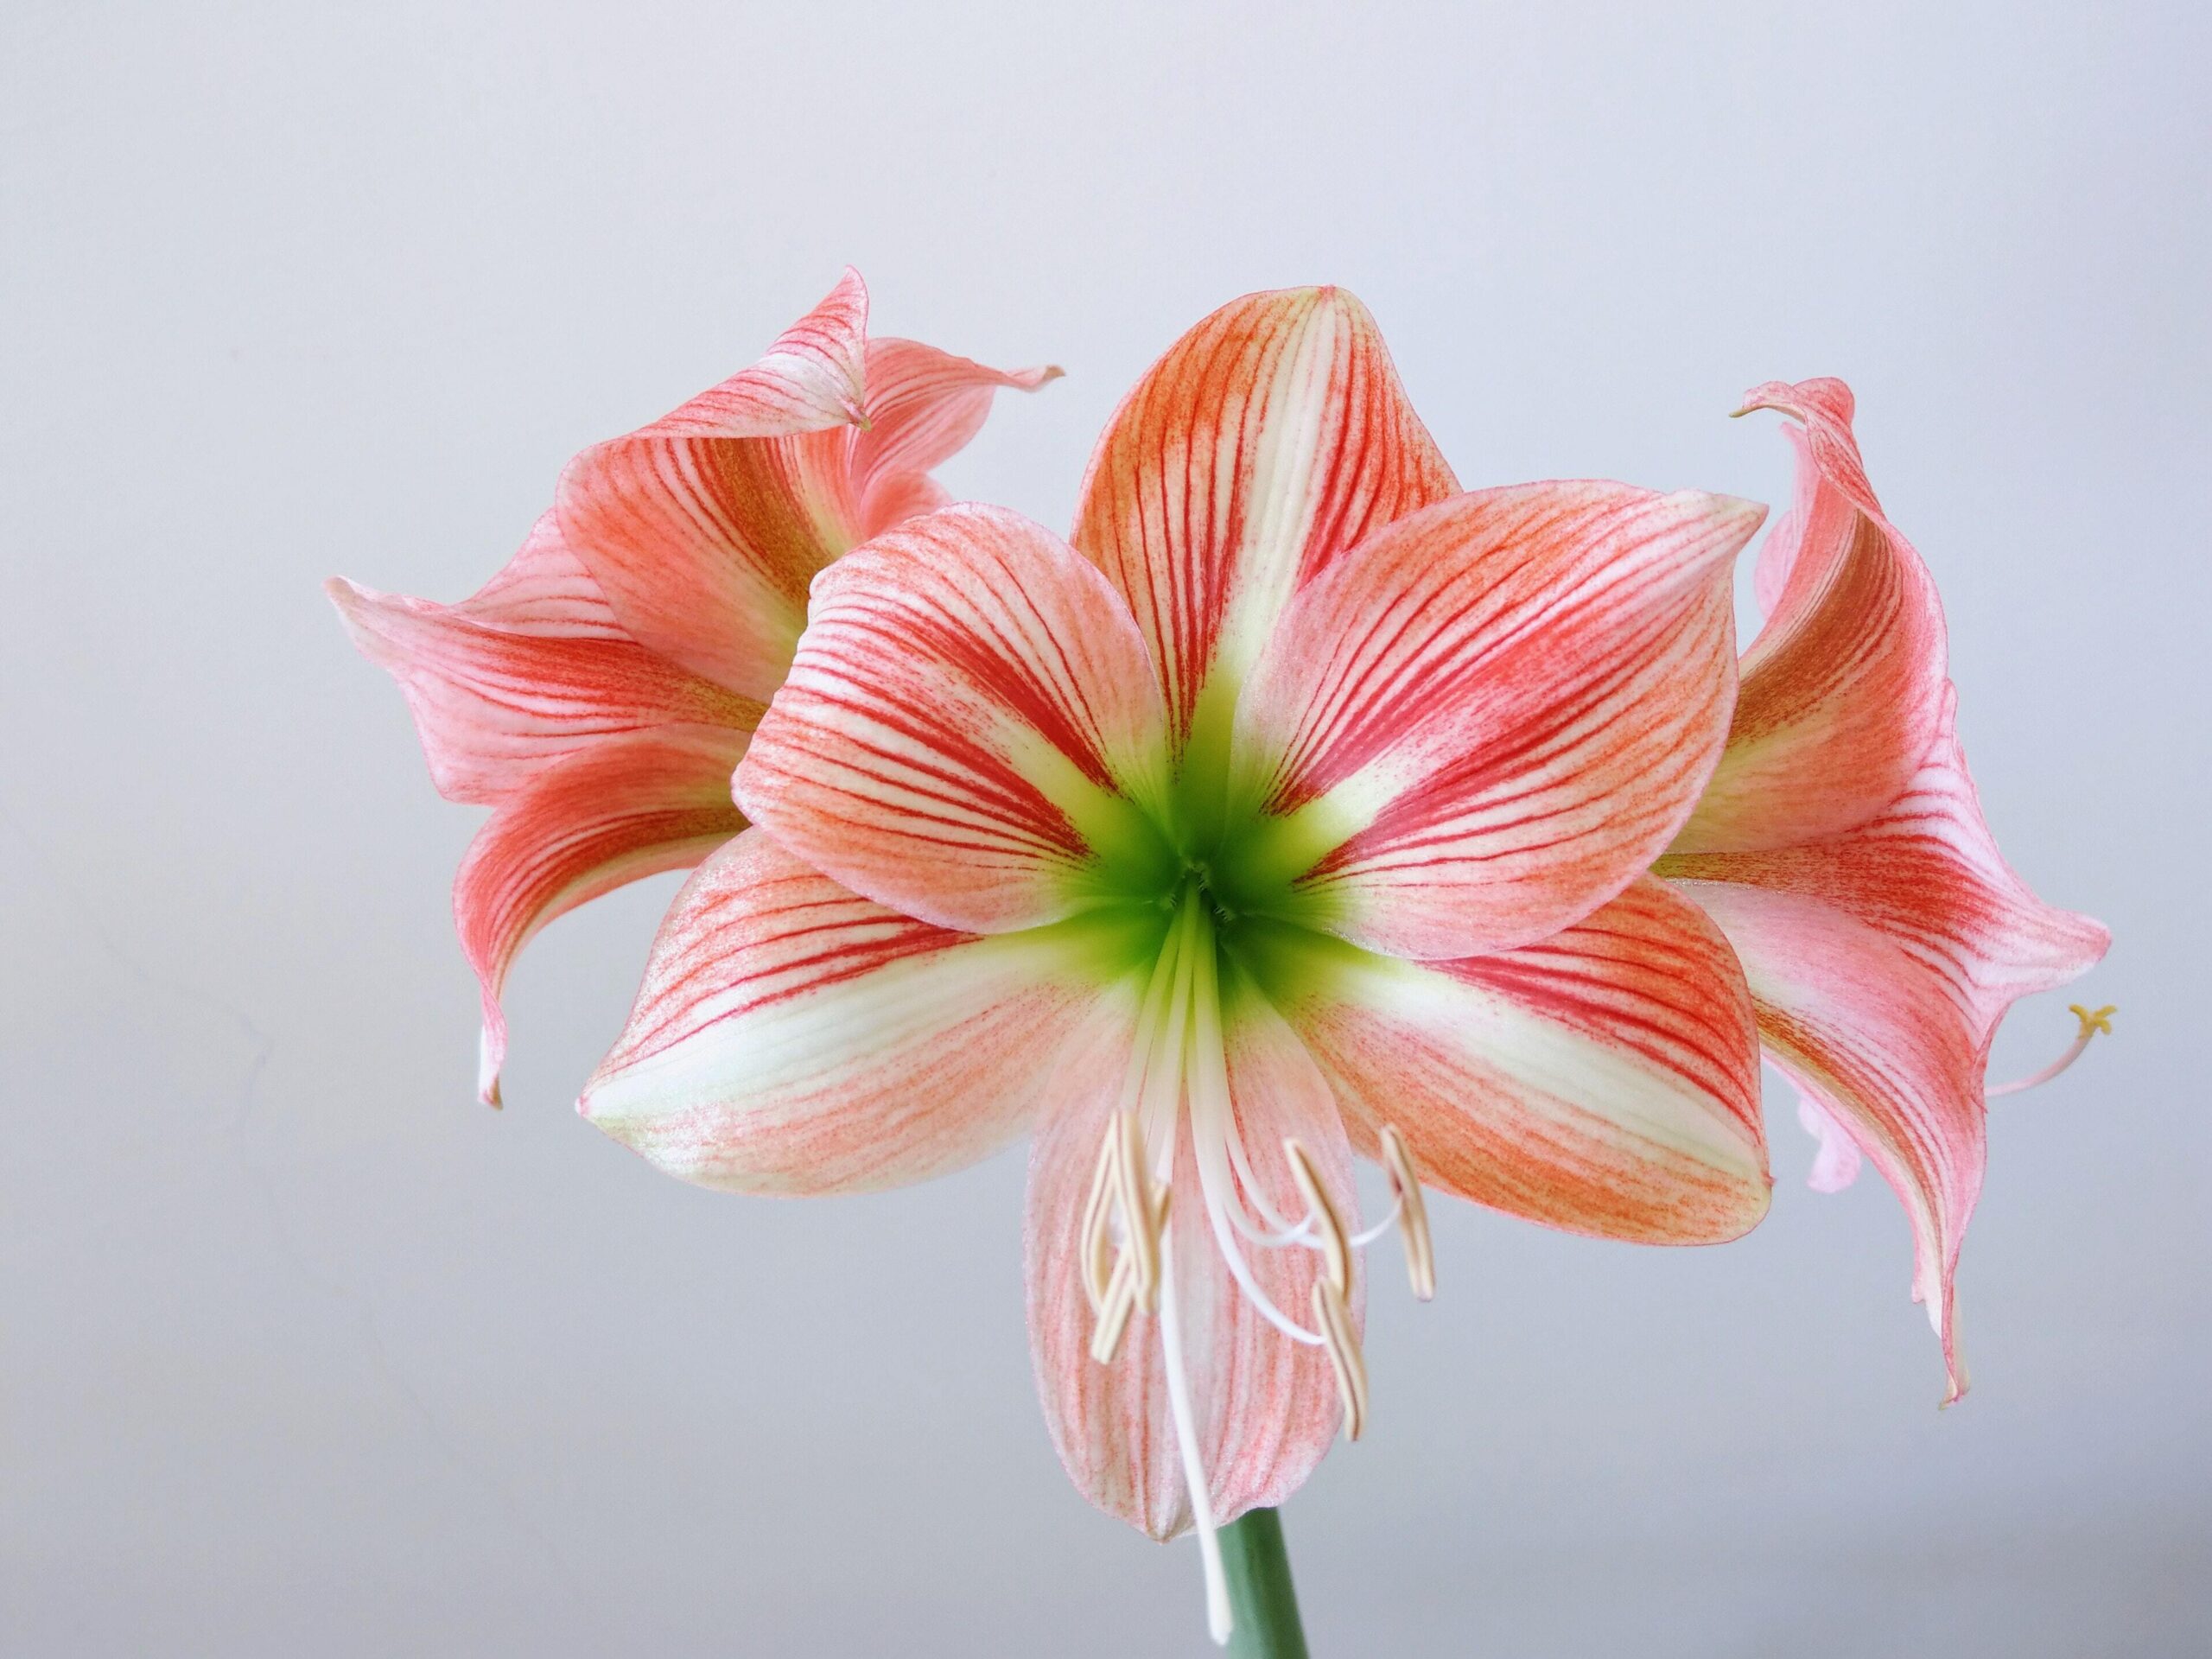
A bicolored Amaryllis in full flower. If the pollen is an issue simply cut off the stamens. Once the flower fades cut it off and don’t let a seed pod form or it will reduce the size of the bulb and the flowers for next year. TU HAN-WEI
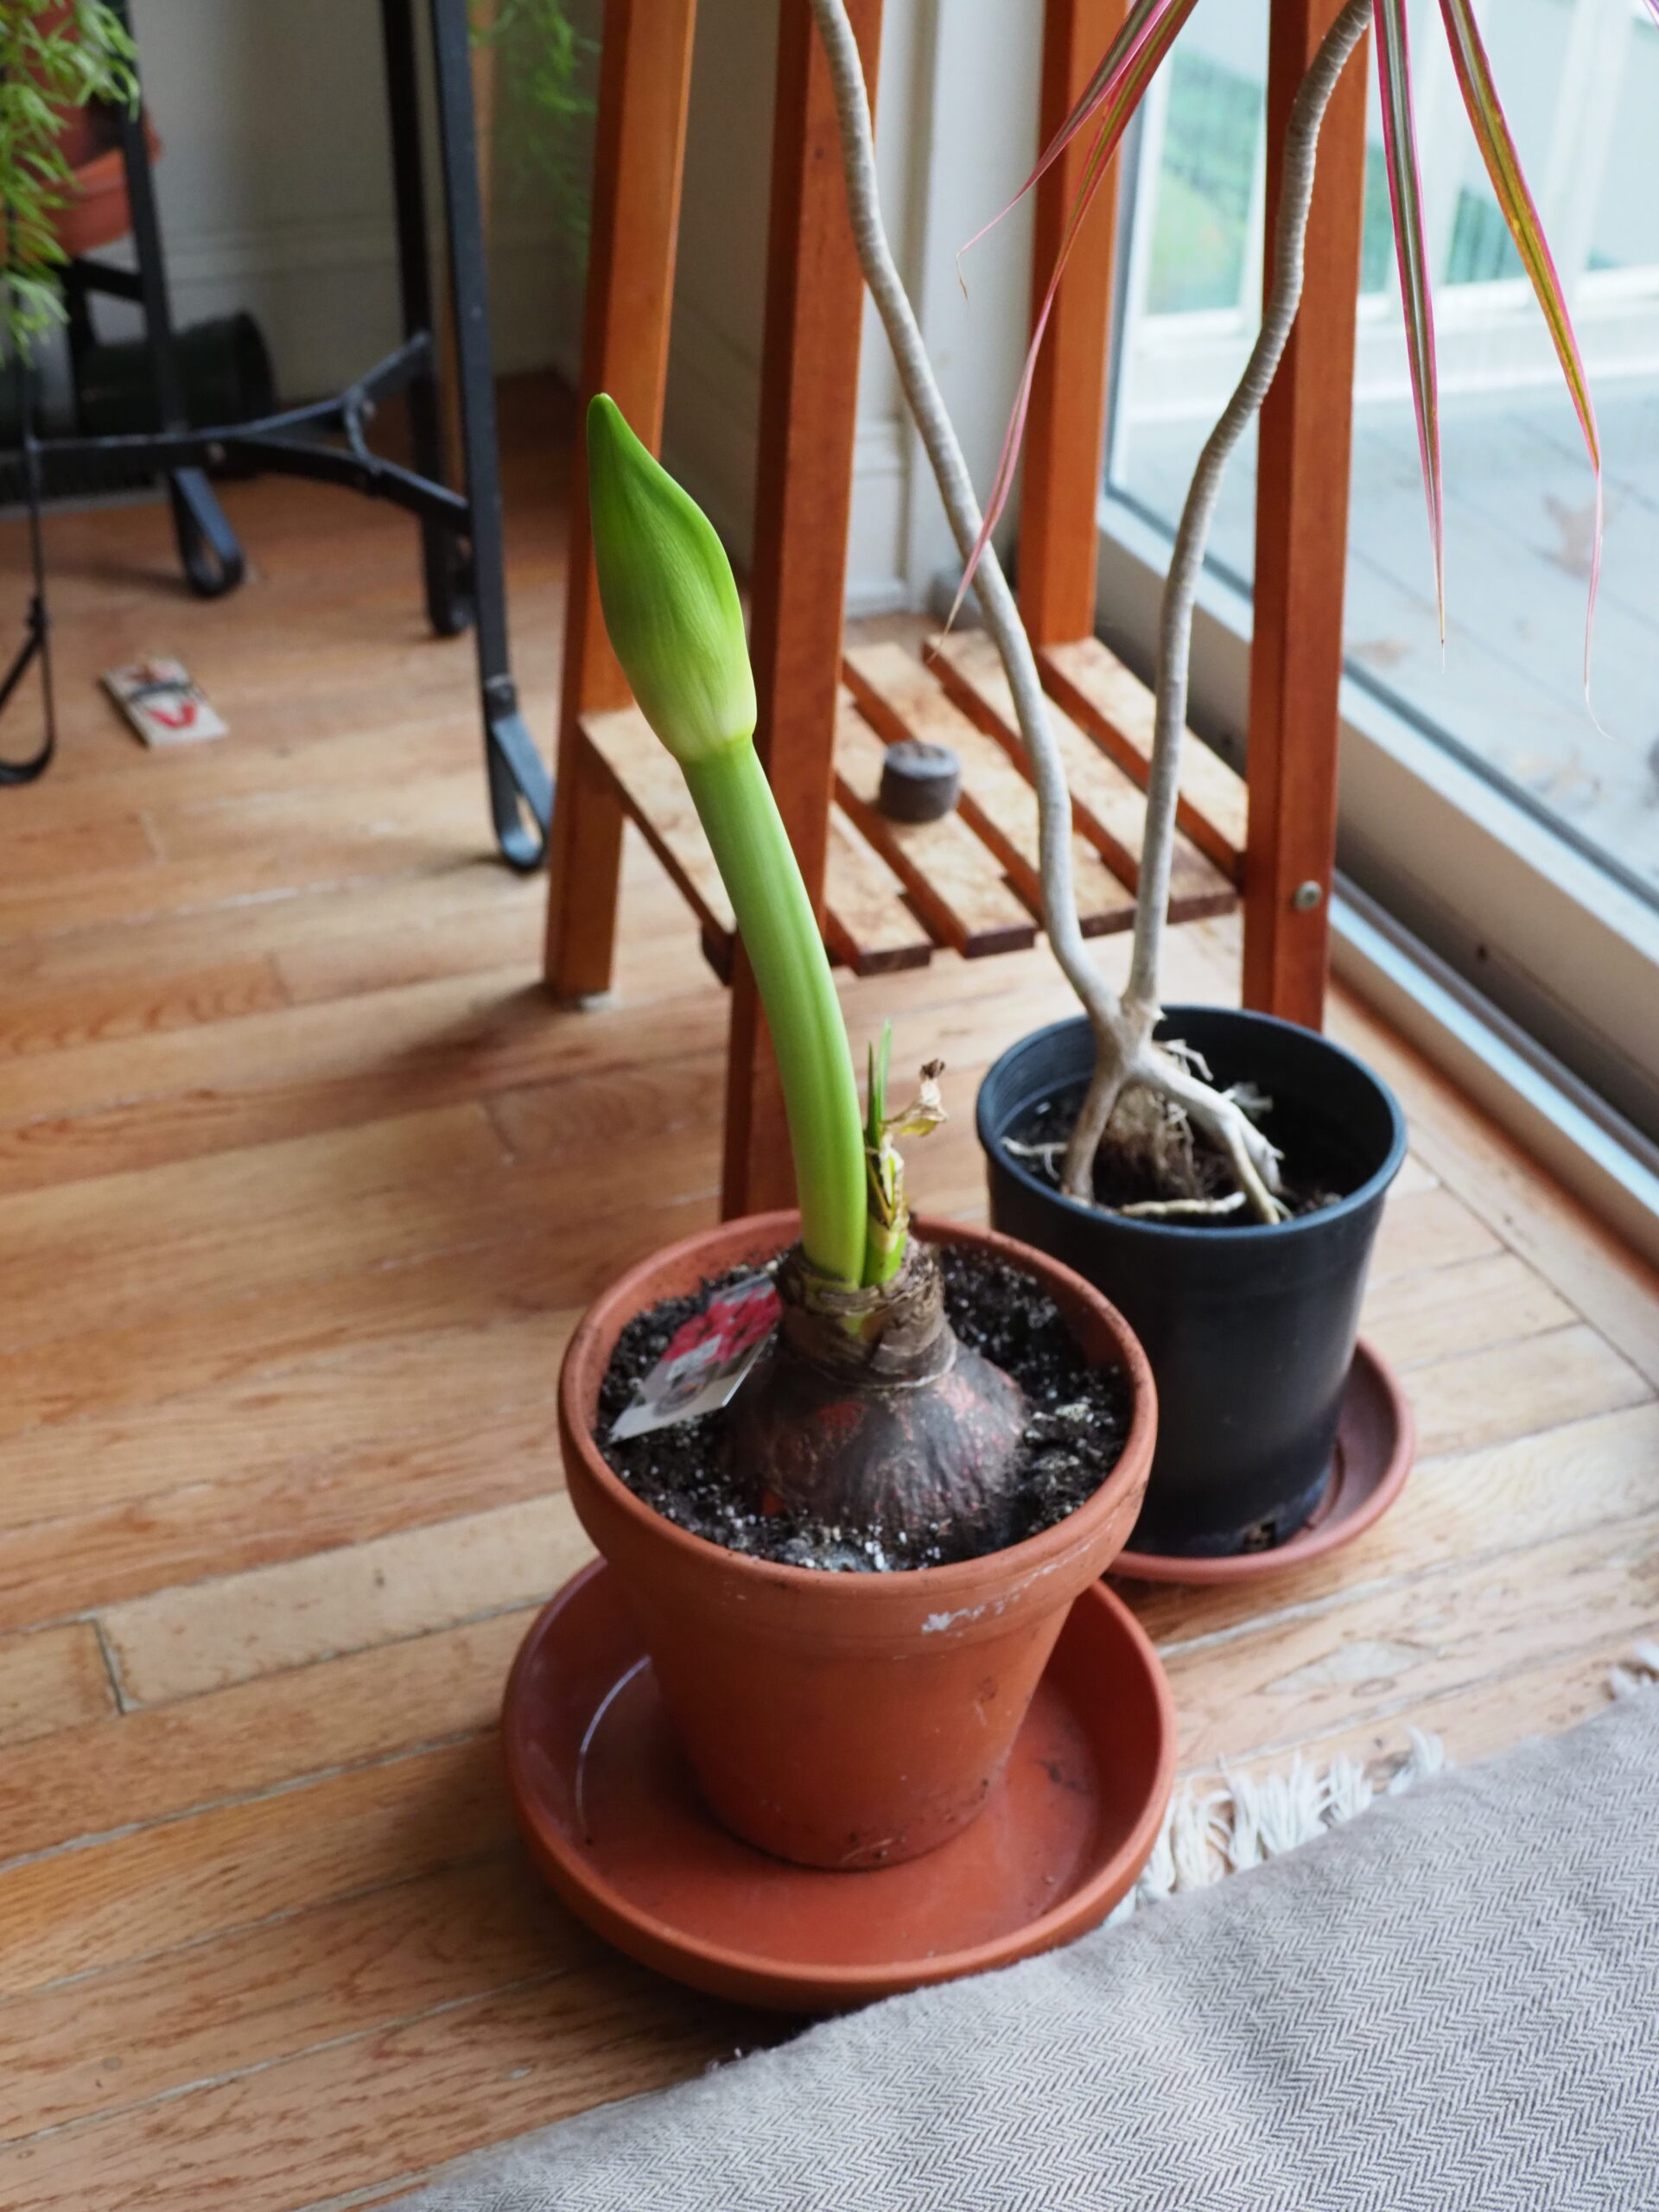
About three weeks after watering, the first flower stalk will emerge. Other stalks and the foliage will emerge over a period of weeks with blooming six to eight weeks after potting. ANDREW MESSINGER
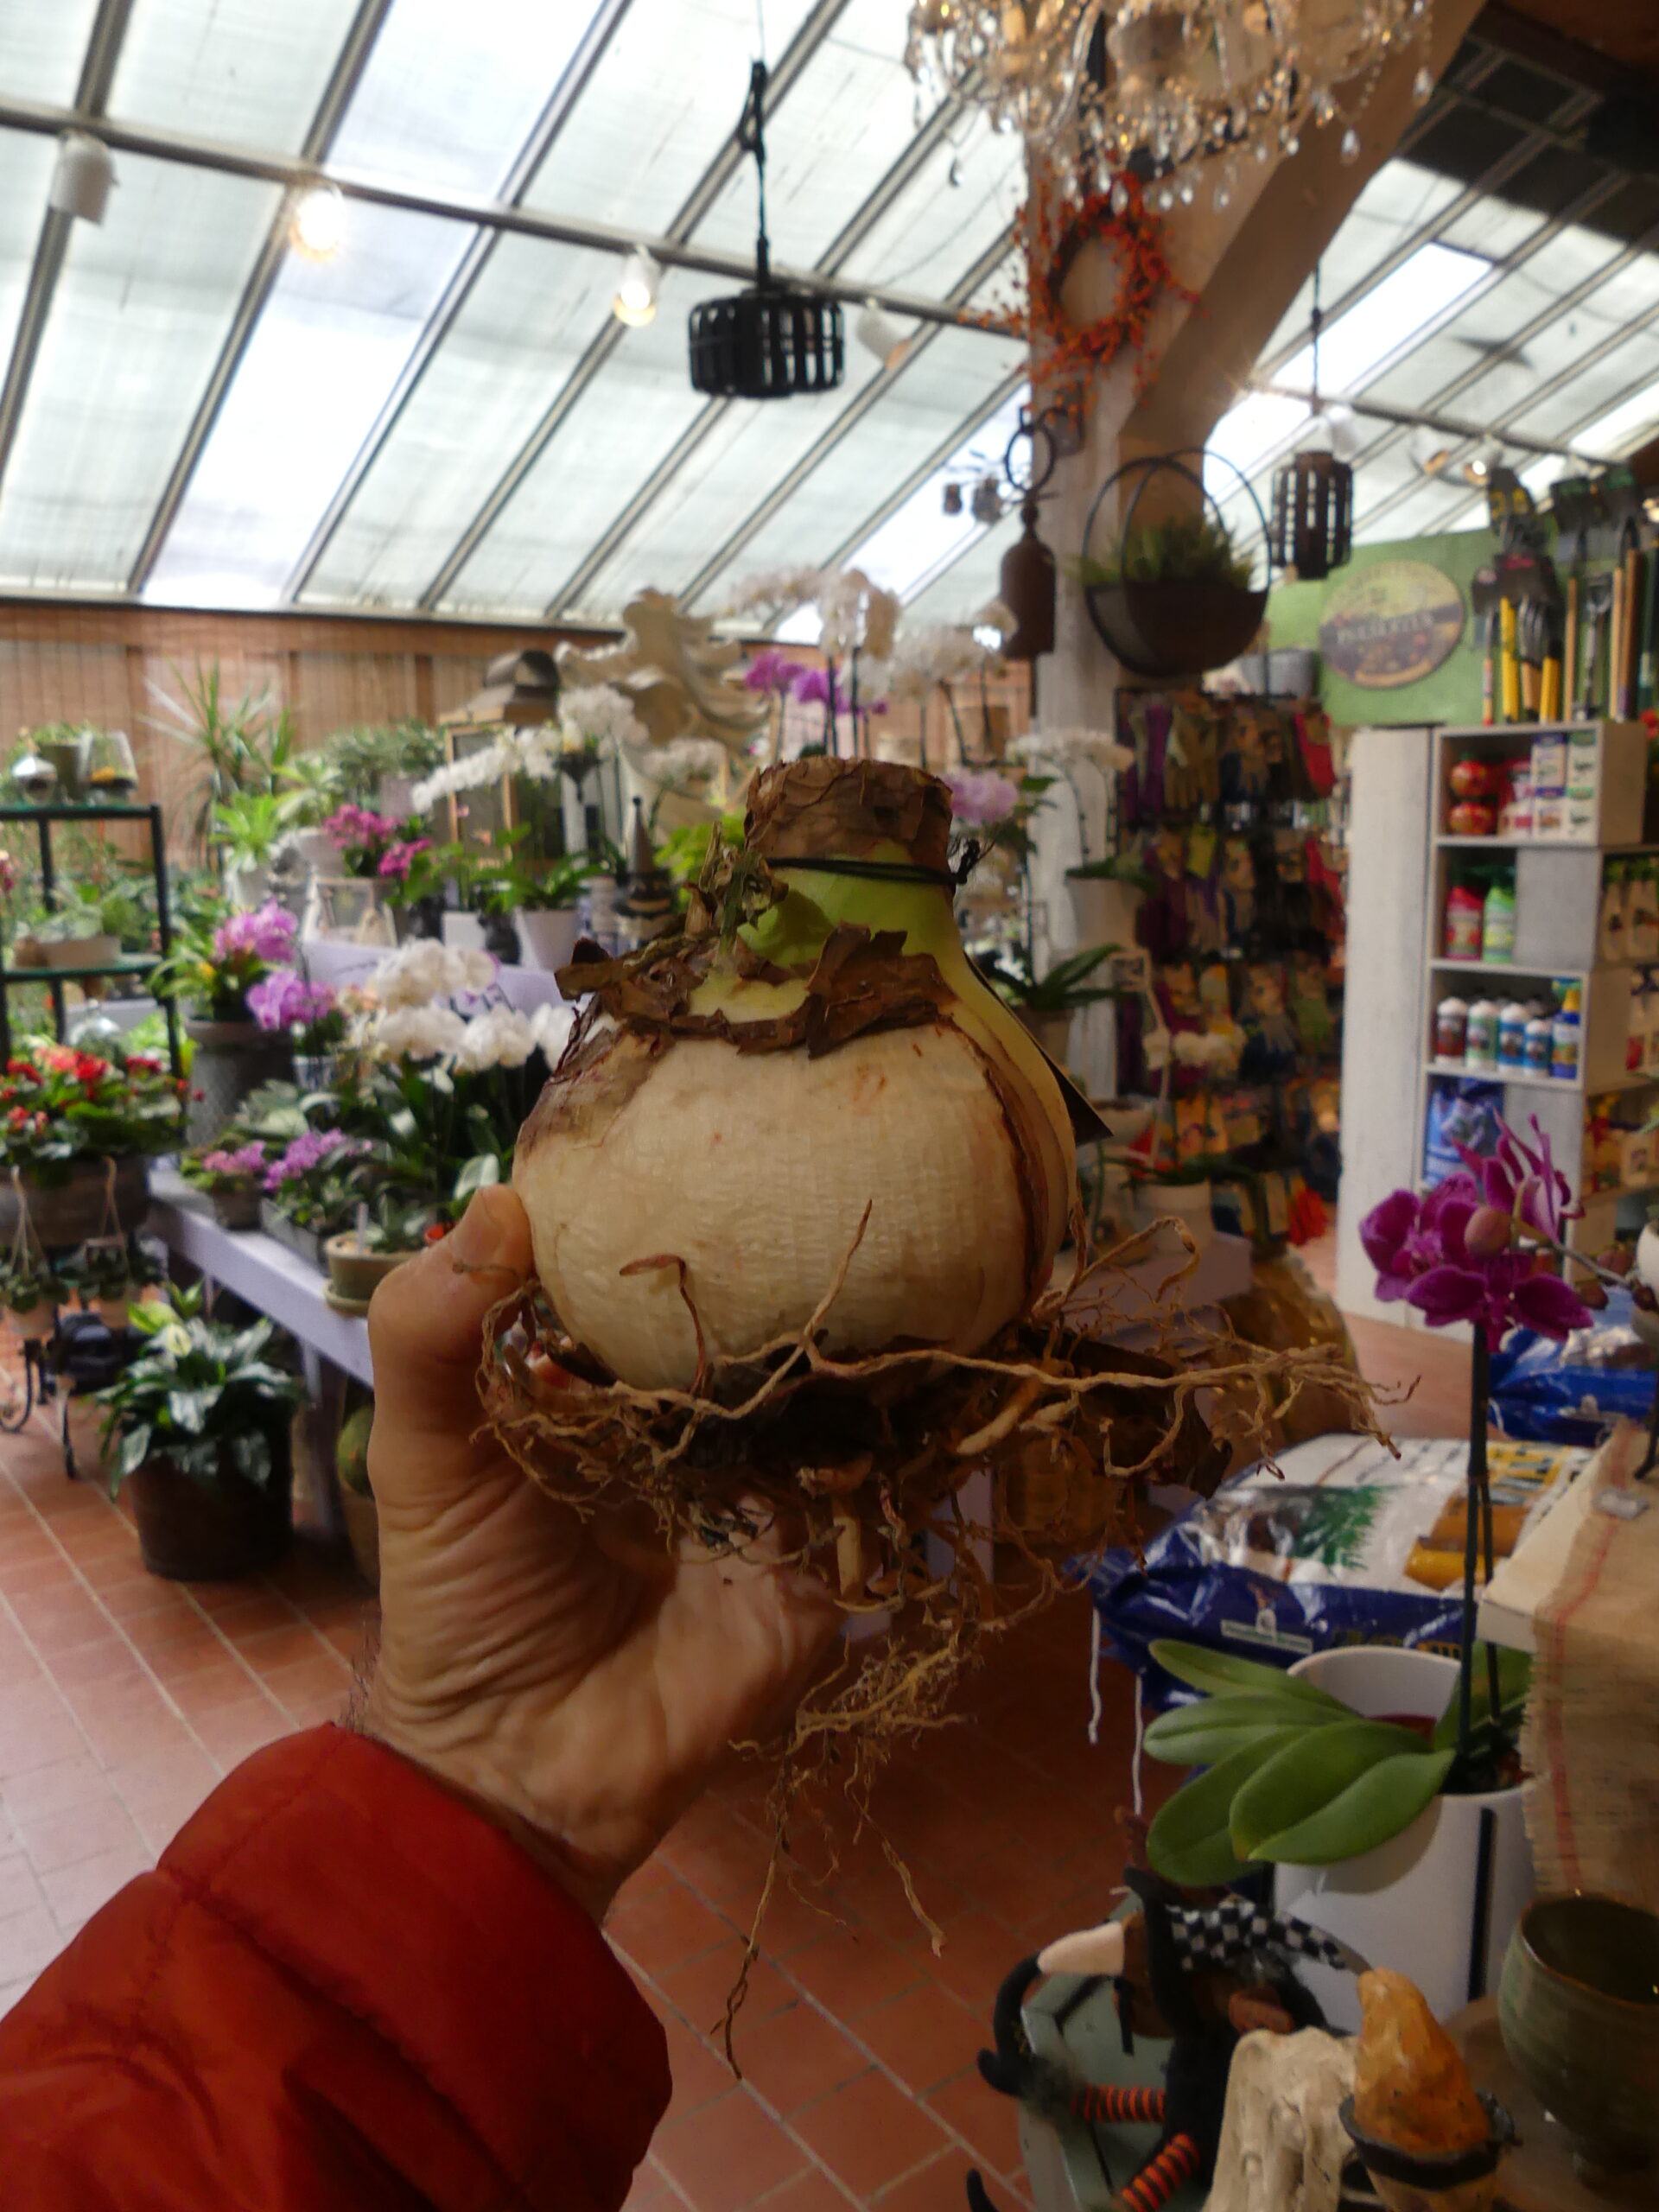
This would be considered a top-sized Amaryllis bulb at about 35 centimeters. It could cost as much as $25 or more but it will have three stems and 12 to 15 flowers. ANDREW MESSINGER
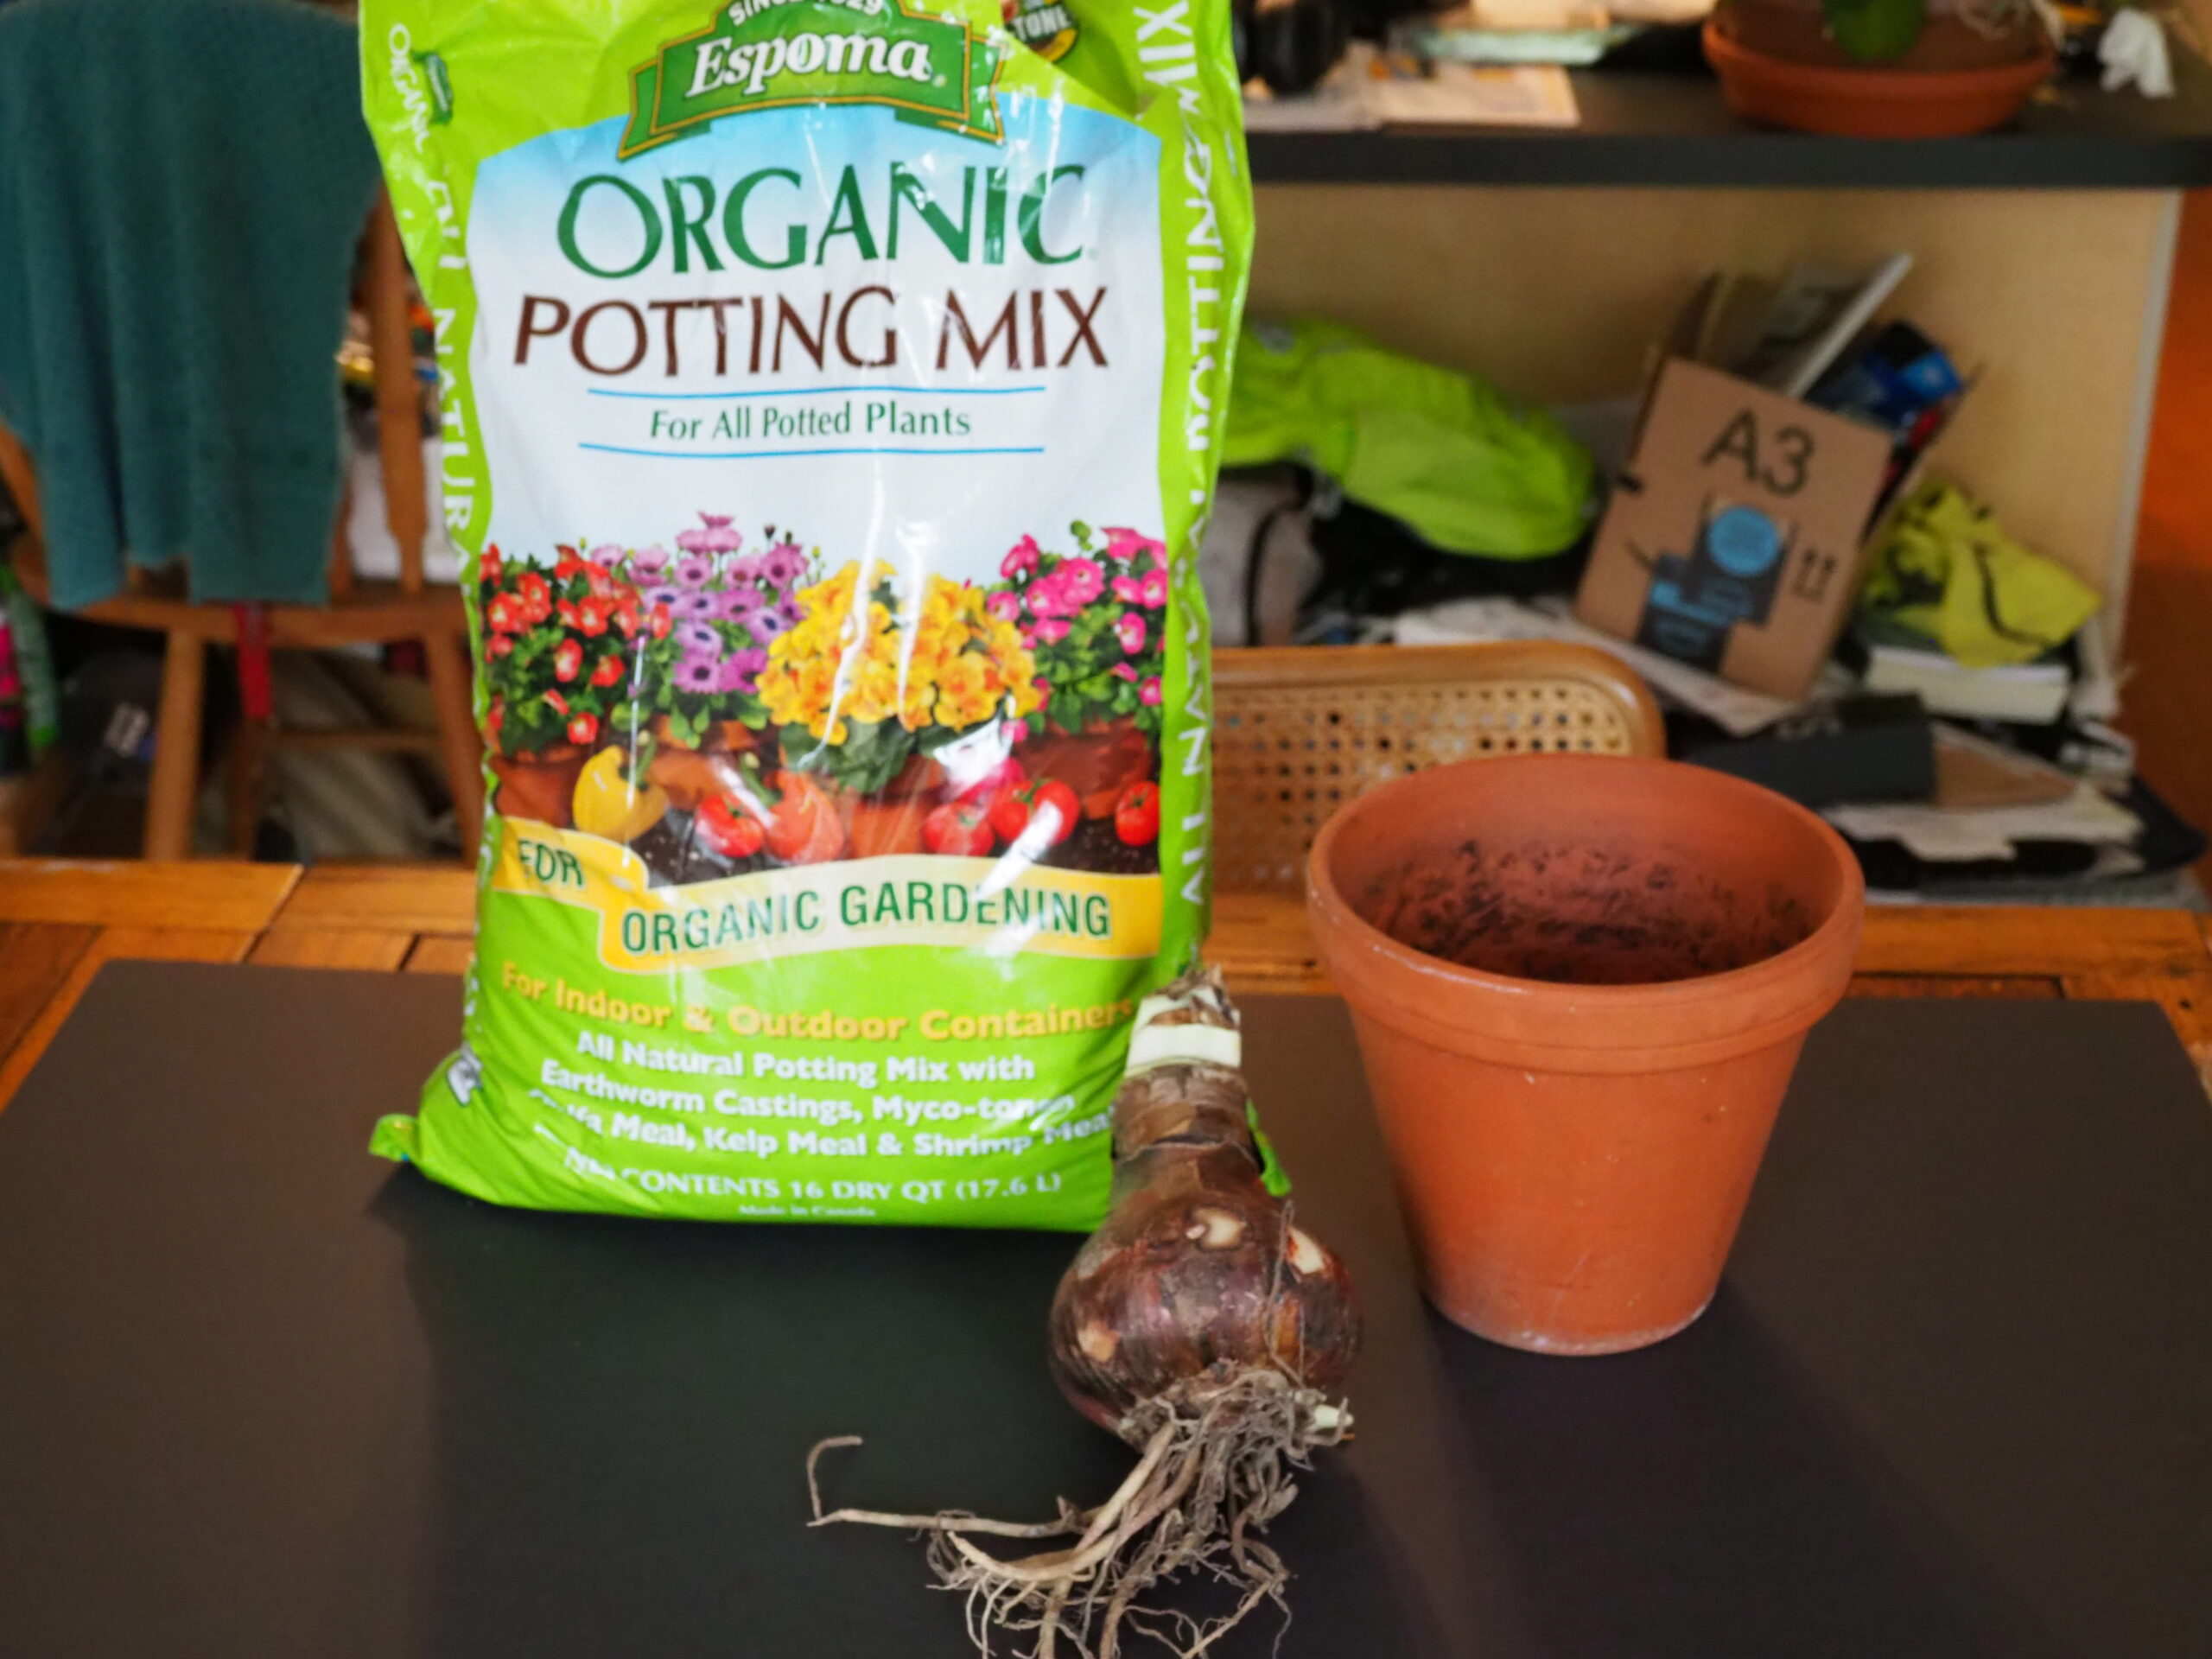
The basics: A good quality potting soil, a top quality and size bulb and a pot whose diameter is about an inch wider than the bulb. Clay pots are preferred but with careful watering plastic will do. ANDREW MESSINGER
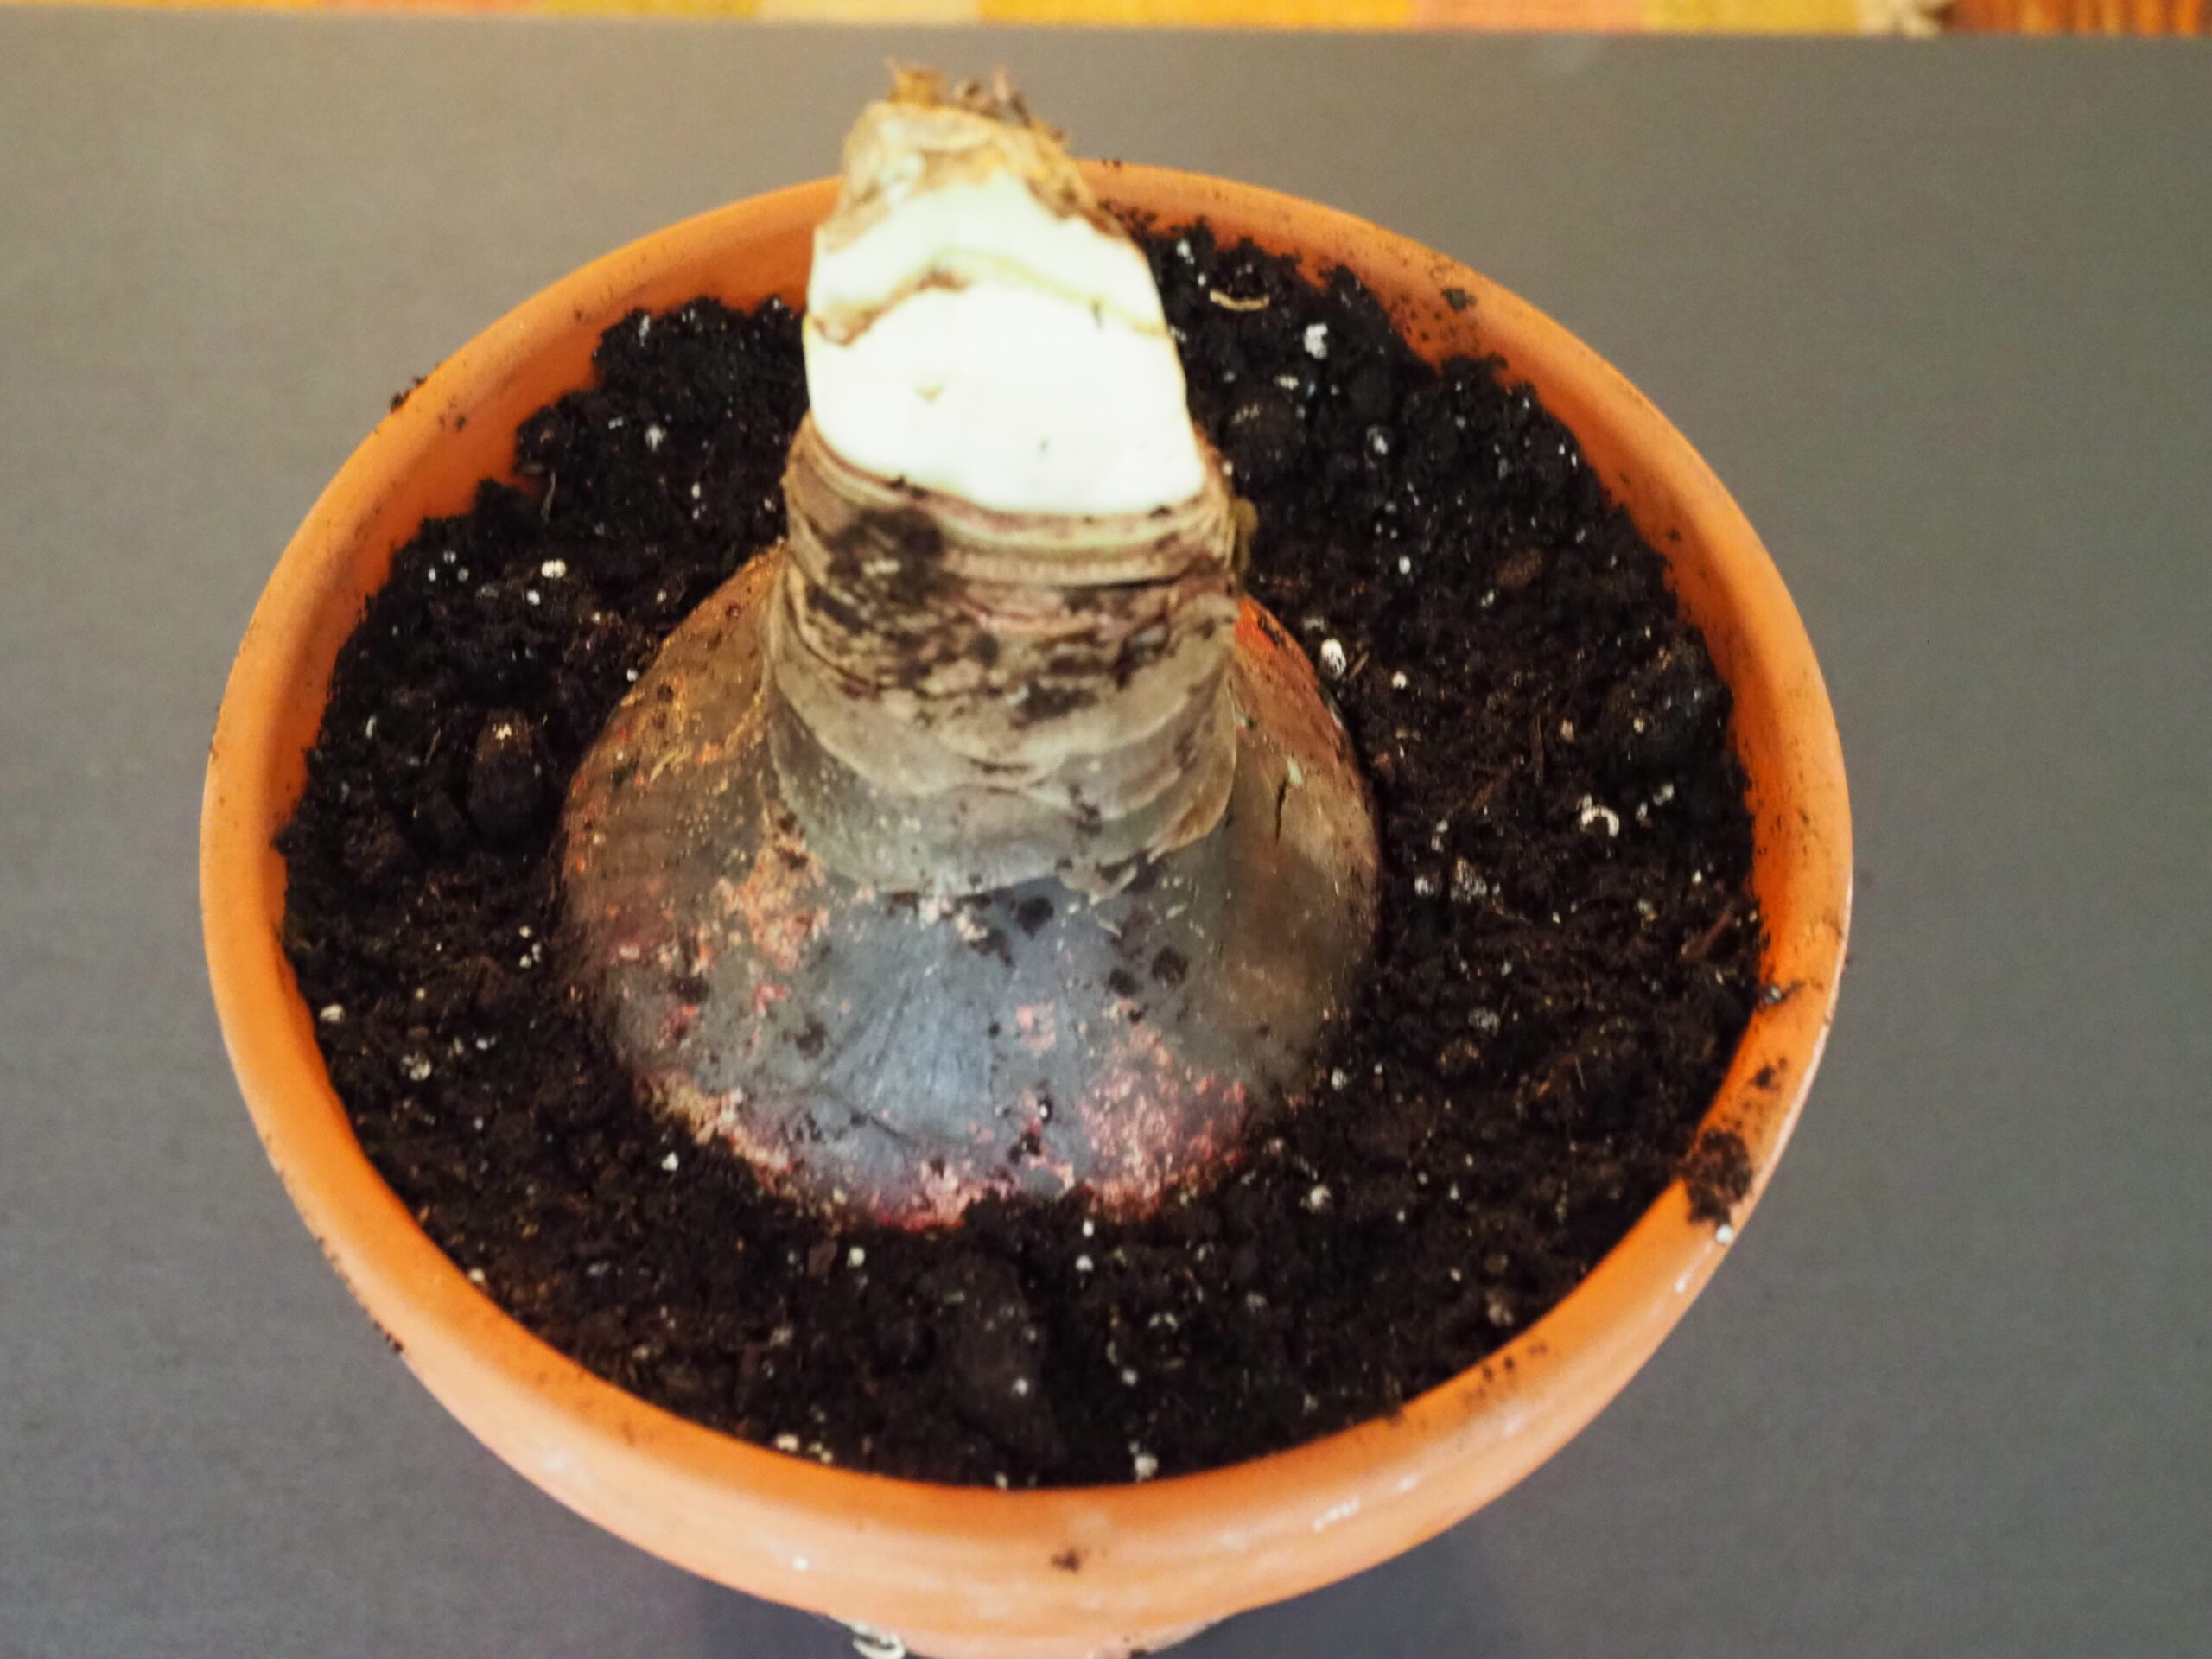
Once planted the bulb should sit with about one-third of it above the soil. The soil should also be about a half inch below the rim of the pot. The dark color of the soil indicates that it’s be moistened before put in the pot. ANDREW MESSINGER

I write about Amaryllis every few years because I think it’s such a great plant for indoor gardening, for gift giving and as a project for kids. Usually, the article appears in late October but by then the best varieties, or the one you want, are usually sold out, and if you want to have this plant blooming by the holidays you need to get them started in October, eight to 10 weeks before you want them to bloom.
For the purpose of this article, I’m only referencing the cultivated Dutch types and not the African or South American varieties. The Dutch have perfected this bulb for indoor use and there are now more than 60 varieties available. More on where to get them and how much they cost in a bit.
I probably began growing these bulbs 20 or 30 years ago as a challenge. I’d read they can be tricky, but once understood they are not only easy but you’ll have them blooming every year. Back then there were only a dozen or so varieties and only in single colors. There was white, red and pink. Today not only is there a range of colors but there are singles, doubles, bicolored, dwarfs and more.
I think the bulbs also make great holiday gifts either as bulbs or as plants that you’ve forced into flower. And for kids they are great opportunities to teach a number of lessons depending on how old the kids or grandchildren are. Younger kids will be able to pot the bulbs up, grow them for a couple of months then get the thrill from the huge flowers atop tall stalks. Older kids will be challenged by growing the plants indoors through the winter, spring and summer then force them into dormancy. Think of the thrill and sense of accomplishment when they get them to bloom a second time, a year later.
What do you need to grow this plant? A sunny window. What do you need to make the plant rebloom? A few instructions and a dark cool closet. Can it be any easier?
When buying Amaryllis bulbs stay away from discounters. Buy from one of the major bulb retailers or from one of the better local garden centers. The bulbs are sold and graded by their circumference at the widest point and measured in centimeters. The smallest bulbs will be around 26 to 28 centimeters and shown as 26/28. One of these bulbs will grow a single stem with three to four flowers. The largest bulbs will be 34/36, or about 13 to 14 inches in circumference, and these bulbs will send up three stems with four to five flowers per stem. If the bulb size isn’t indicated, then call and ask.
If you’re new to these bulbs start with a smaller size as they are less expensive. Then as you learn to grow them, move up to the larger bulbs for a more spectacular display. I like to plant my bulbs in single pots, but there are those who do larger plantings in larger pots. The bulbs seem to prefer being tight in the pot so the pot diameter should be about an inch larger than the bulb diameter.
Clay or plastic pots? Clay is heavier, more expensive and breakable. Plastic is much less expensive and lighter. However, a heavier clay pot will make these tall flowering bulbs more stable when they flower as the plant can become top heavy for a while. Those who tend to be heavy waterers should also avoid plastic pots as the roots and bulb don’t tolerate being constantly wet.
Use any quality potting soil and moisten the soil before you pot. Your bulb may come with or without roots. For rooted bulbs add some soil to the bottom of the pot in a cone, lay the bulb on the top of the cone and allow the roots to move down the sides. Rooted or unrooted, the top of the bulb should always be exposed with about a quarter to third of the bulb showing when potted and yet leaving a space of a half inch or so from the top of the soil to the pot rim.
Once potted, give the bulb a small bit of water by filling the space at the top of the pot. Just a bit of water. Next put the potted bulb in a saucer or bowl, then fill it with lukewarm water. Allow the pot and soil to absorb this water for about a half an hour, then remove the water and put the bulb on a plastic or clay saucer.
The water coming into contact with the base of the bulb will initiate new root growth, but the bulb will also need warmth. Put the potted bulb in a sunny window and the pot and bulb will warm up. If the bulb and the ensuing foliage don’t get enough sunlight the leaves will get too long, the stem will get too long and the plant may collapse or fall over. Turn the pot a quarter to a half turn every few days and always turn in the same direction. This will keep the stem and foliage from leaning constantly toward the light.
Let the soil nearly dry out before you water again and always try to water from the bottom by letting the pot sit in a saucer of water for 15 minutes. If it soaks up the water sooner, then add more but never leave the pot standing in water for more than 15 minutes
Now put a tag or label in the pot with the date and variety of the bulb. Dates are very important if you want to grow this bulb and have it flower every year. In a few weeks you may notice the sword-like leaves emerging from the bulbs followed by the flower stalk or stalks. Once the sword-like leaves emerge begin adding fertilizer to your water at every watering or weekly. If you add fertilizer at every watering you need to cut the amount of fertilizer accordingly. Any quality fertilizer will do as long as it’s in the ratio of 1-2-1. That means that 4-8-4 will work as will 5-10-5. All three examples are in the ratio of 1-2-1. Try to avoid chemical fertilizers as organics will not result in salt build ups.
From potting to flowering will take anywhere from six to eight weeks. Keep this in mind when ordering bulbs and when starting them. Some vendors will allow you to specify when you want the bulbs shipped, but even if you get them early (a good idea) if they are kept cool and out of the sun you can hold them for several weeks before potting.
When the flowers are fading don’t allow them to go to seed. Cut each flower as it fades. When all the flowers on a stem are done you can cut the hollow stem about an inch above the bulb and compost it. The foliage does not get cut — not yet.
Continue to allow the foliage to grow as the foliage is what’s feeding the bulb that’s already forming the flower for next year. The healthier the foliage the better the blooms the following year. Indoors, keep the plant in bright light, and in late May you can even put the pot(s) outdoors as long as they are kept watered (allow to dry out between waterings) and continue to get bright light.
At this point it’s time to plan for the bulb to go dormant. In early to mid-July begin to withhold water so that by the end of the month you’re not watering at all. That means no rain either. The foliage may begin to brown and wither, and this means dormancy is initiated. Now back to the calendar.
Try to figure out when you want this bulb to flower again. The bulb will need eight to 12 weeks of dormancy in a cool, dry and dark closet, and then when you bring the bulb out of dormancy it will take another six to eight weeks until it blooms. So if your bulb is dormant on August 1 and needs 10 weeks of dormancy you can bring it out and start watering again (no fertilizer though) in mid-October for blooms in early to mid-December.
It’s not at all complicated, but the timing is critical. I need to put all the dates into my calendar, and even then I always find a potted bulb in the closet months after I was supposed to bring it back to life. At that point the bulb usually shrivels to nearly nothing, and it’s a loss.
Like all other plants, Amaryllis can be habit forming and addictive. At one point I had a collection of 30 bulbs in a very limited space and things got out of hand. Every so often your bulb(s) will grow a small bulb to its side. This bulb can be snapped off from the parent bulb during dormancy and potted on its own. It can take a couple of years to get this “pup” to flowering size, when they make great gifts.
The White Flower Farm seems to have one of the largest collections of quality bulbs with other retailers like Brent & Becky’s or John Scheepers having fewer offerings but still great quality. You can also ask at the better local garden centers to find out when their bulbs will be in and see if you can preorder. I’m not a fan of bulb kits. They usually have inferior bulbs. Also stay clear of the large home centers as they don’t carry the higher quality bulbs.
A great project for indoor gardeners, for great holiday gifts and if you’ve got the patience and curious kids, a wonderful project that can last a few months — or a few years. Keep growing.
More Posts from Andrew Messinger


