


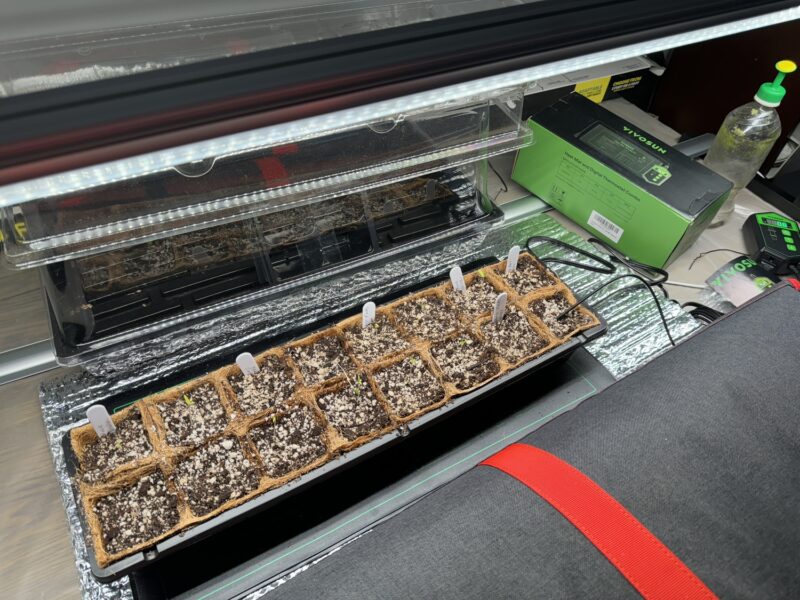
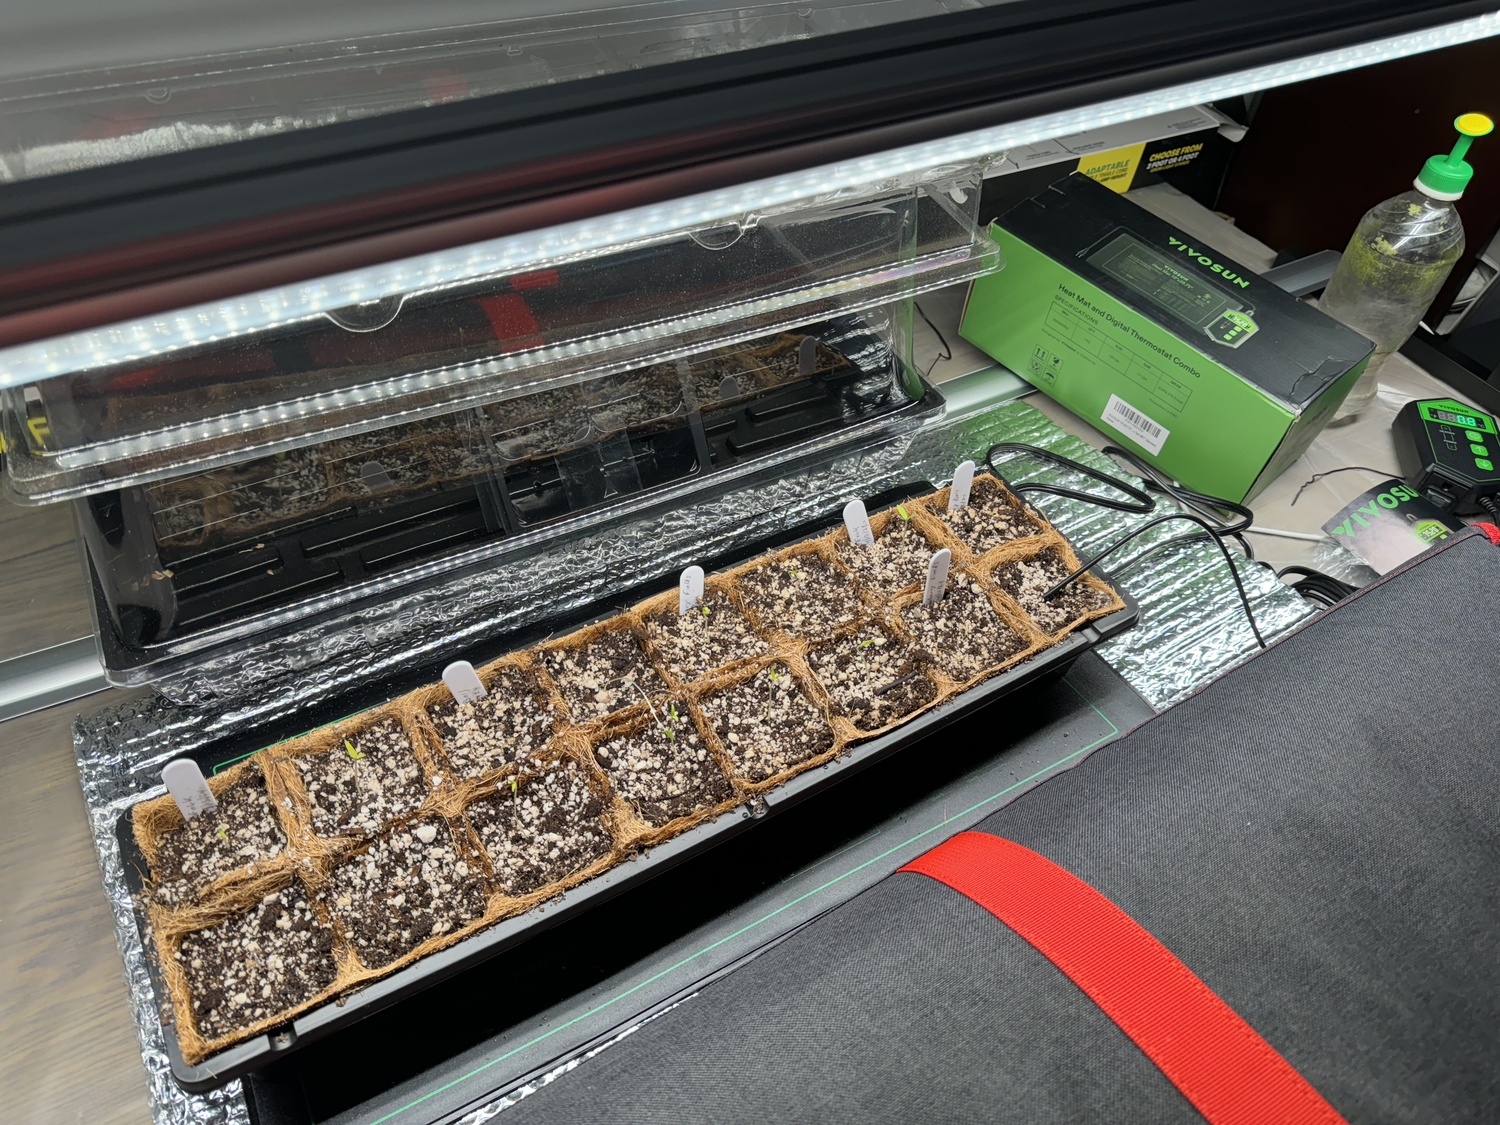
A narrow flat of cells atop a heating mat and all under the LED light fixture. Note the emerging tomato seedlings. As the seedlings elongate the light can easily be raised using a draw string. The heating mat sits atop a cut sheet of foil-faced bubble cell insulation, and the heating pad’s temperature sensor is placed in the last cell at the right end. ANDREW MESSINGER
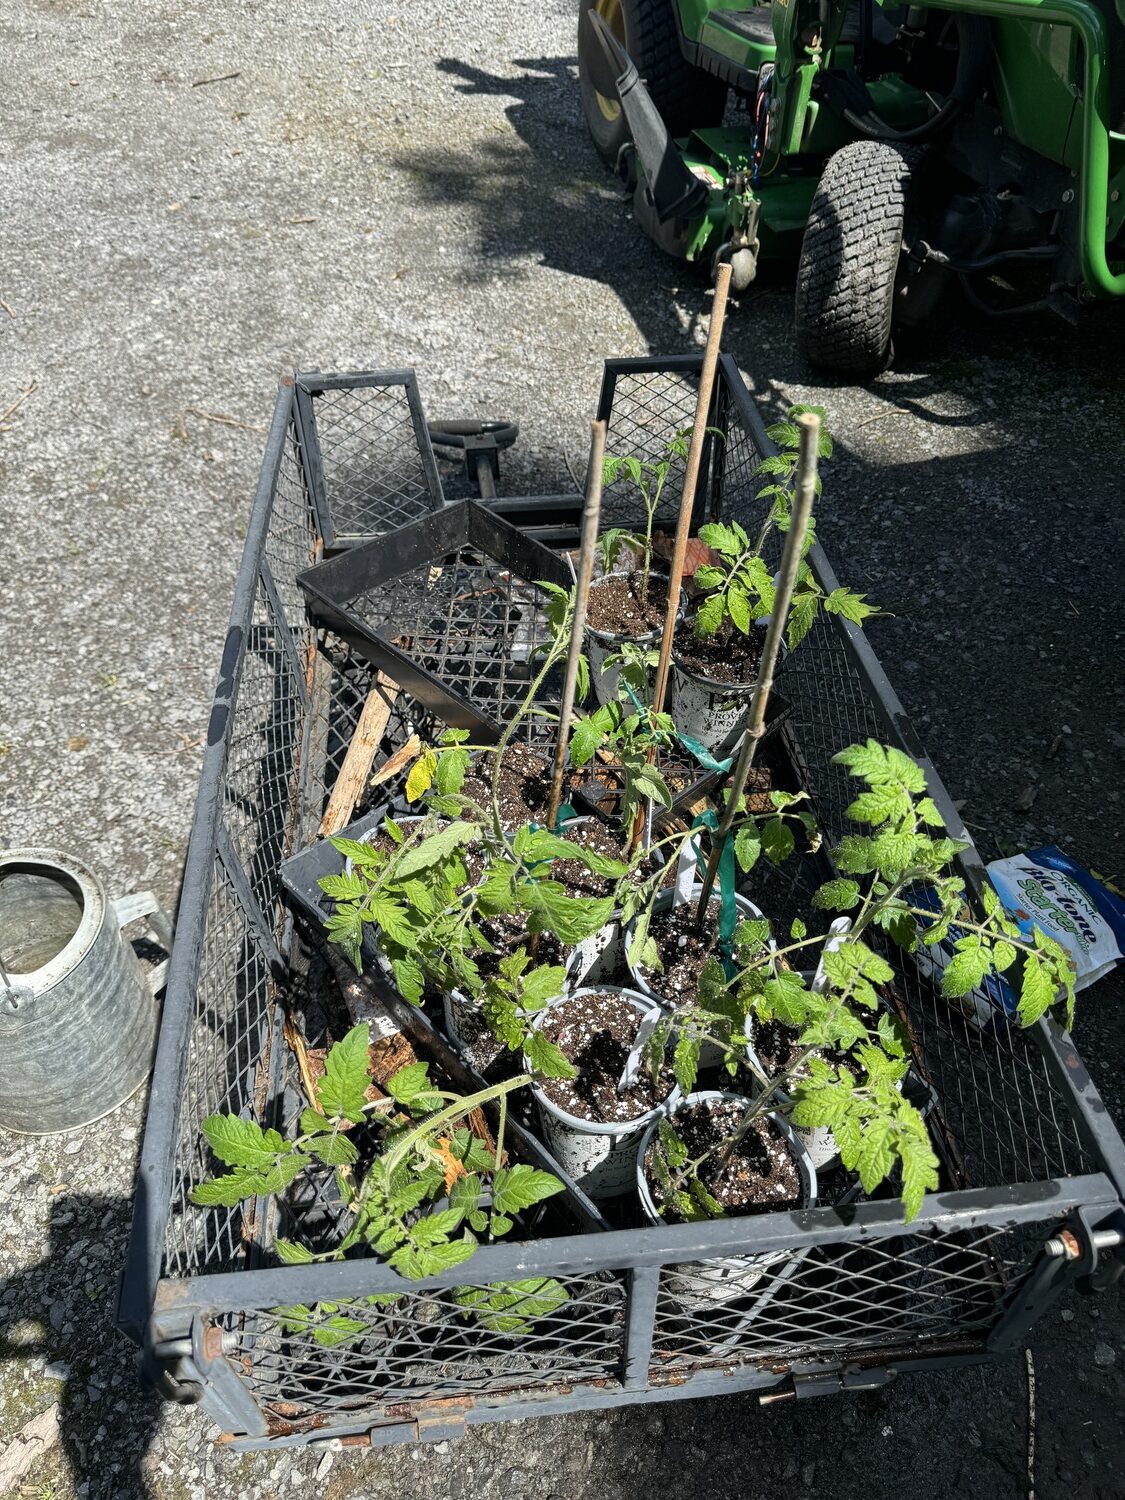
Tomato plants about six weeks after seed being sown. These plants will be grown in small pots for a few more weeks then go into larger containers. Remember, tomato plants that get leggy can always be planted deeper, and this won’t harm them. ANDREW MESSINGER
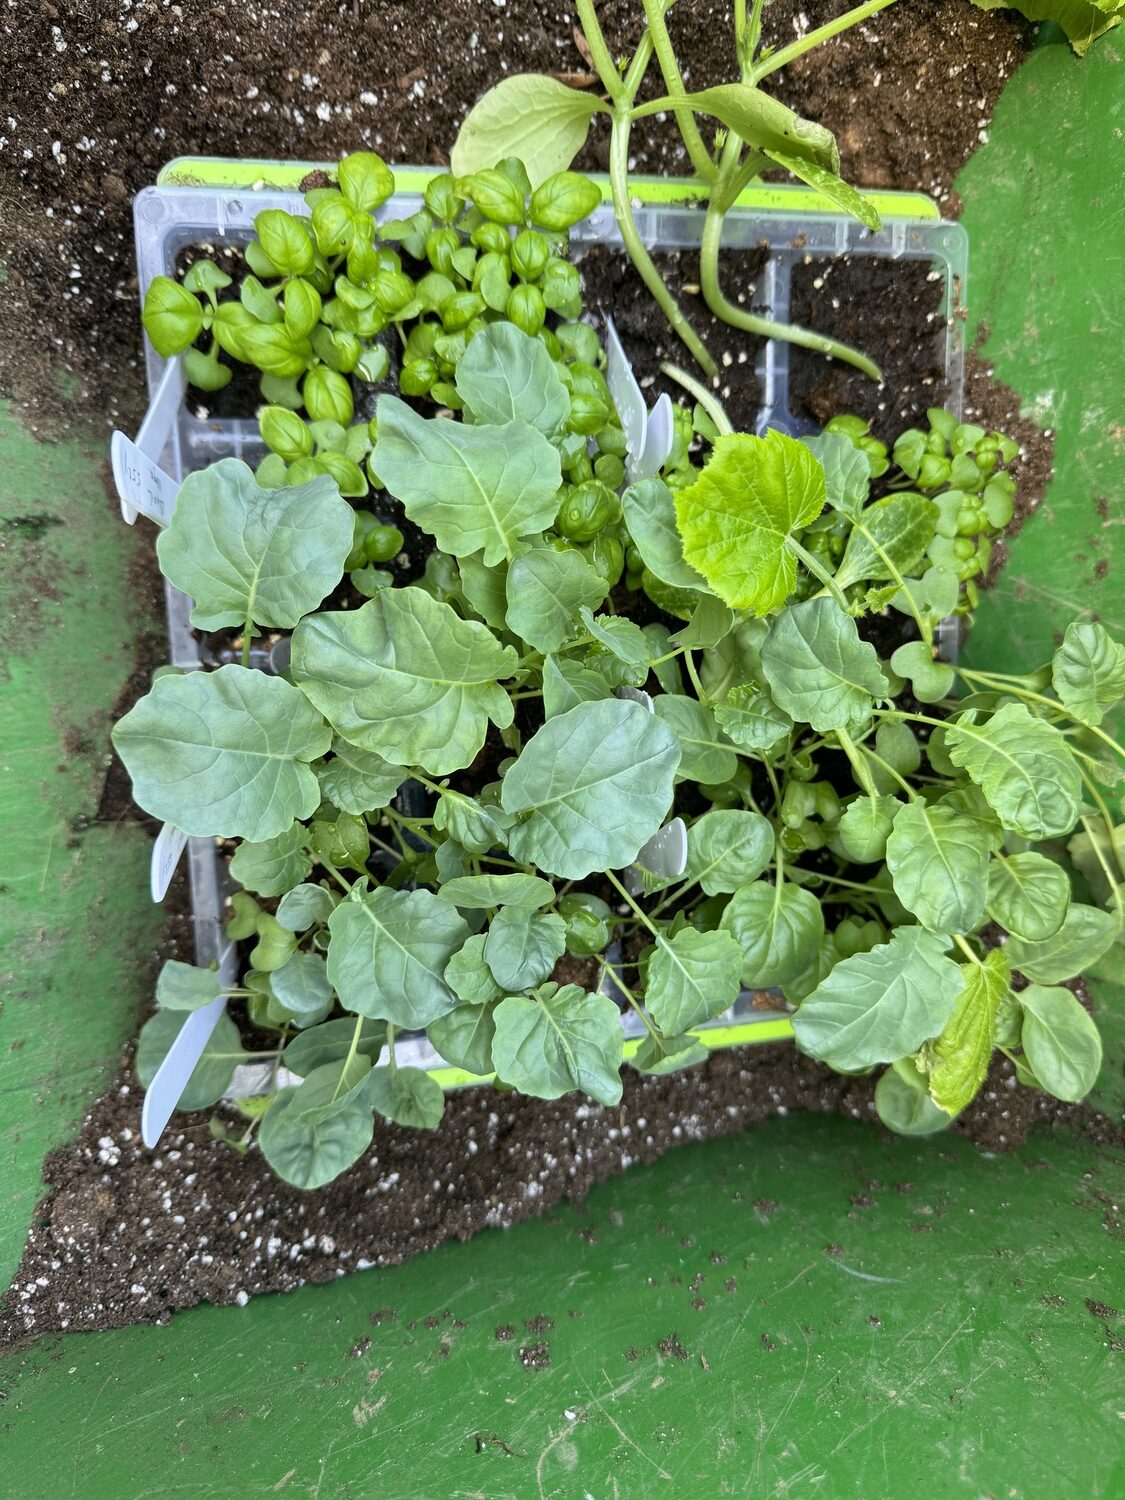
A half-flat of cells with basil (top), Brussels sprouts and broccoli. These get bumped to 4-inch pots then into the garden. All were grown under the new LED lighting fixture. ANDREW MESSINGER
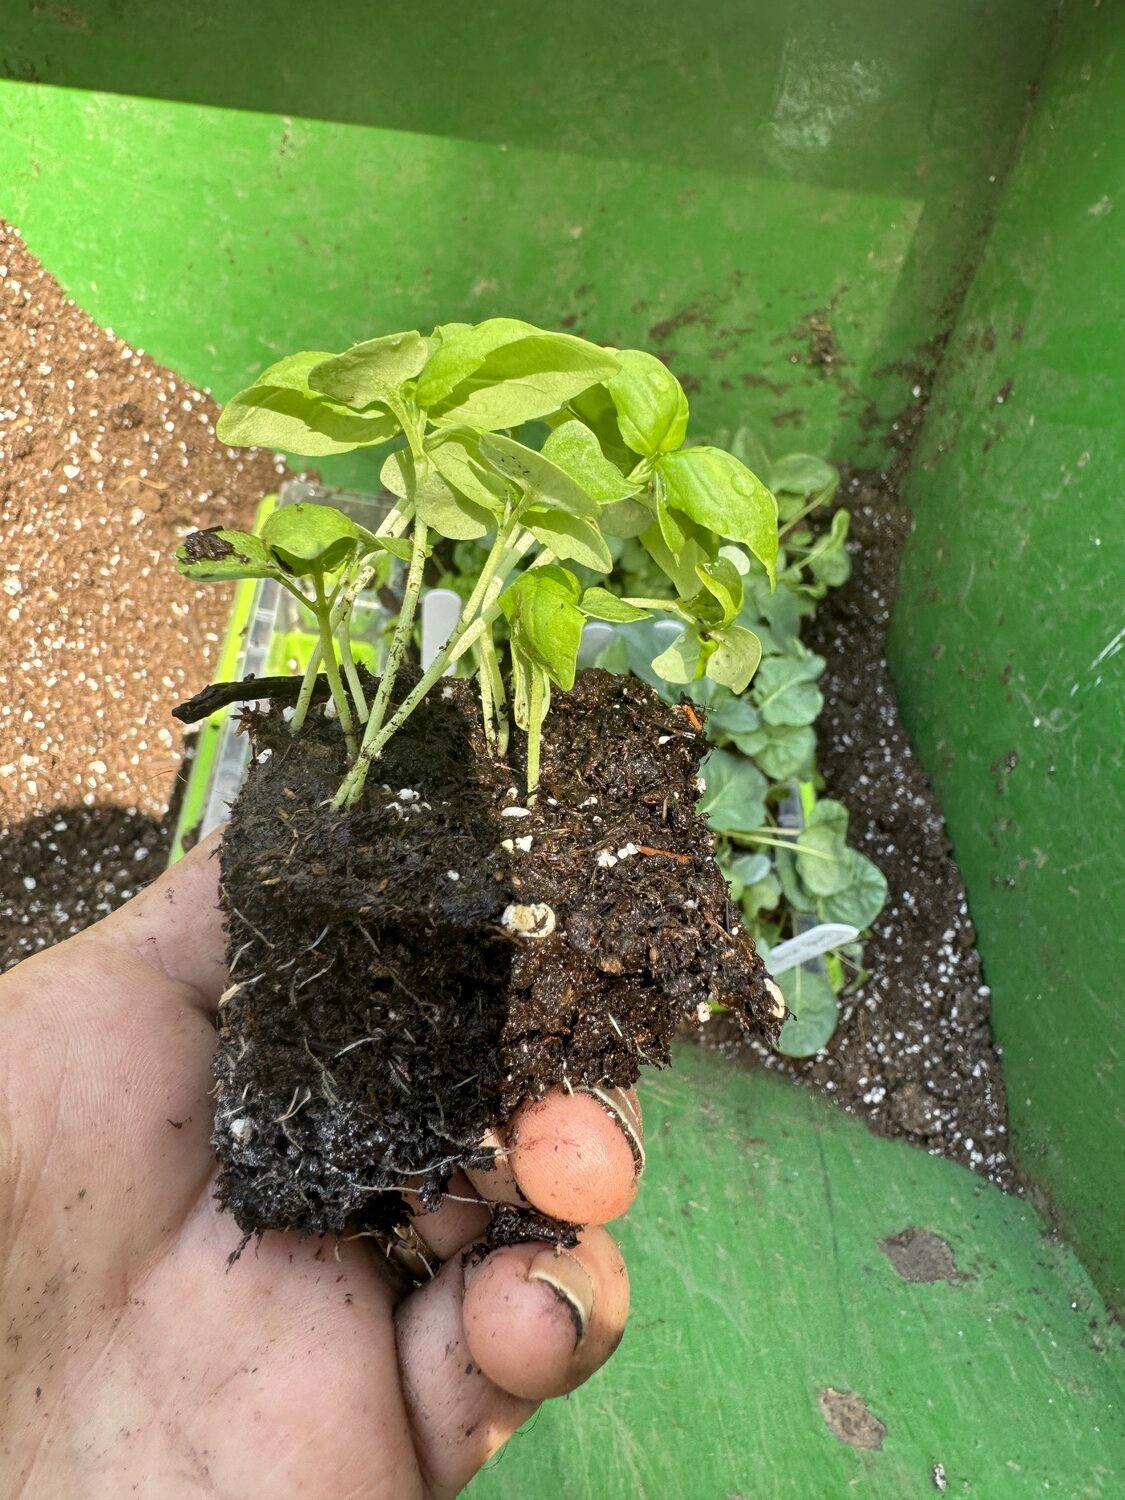
Several basil seedlings extracted from a 1-inch cell. The seedlings were grown under new LED lighting. ANDREW MESSINGER
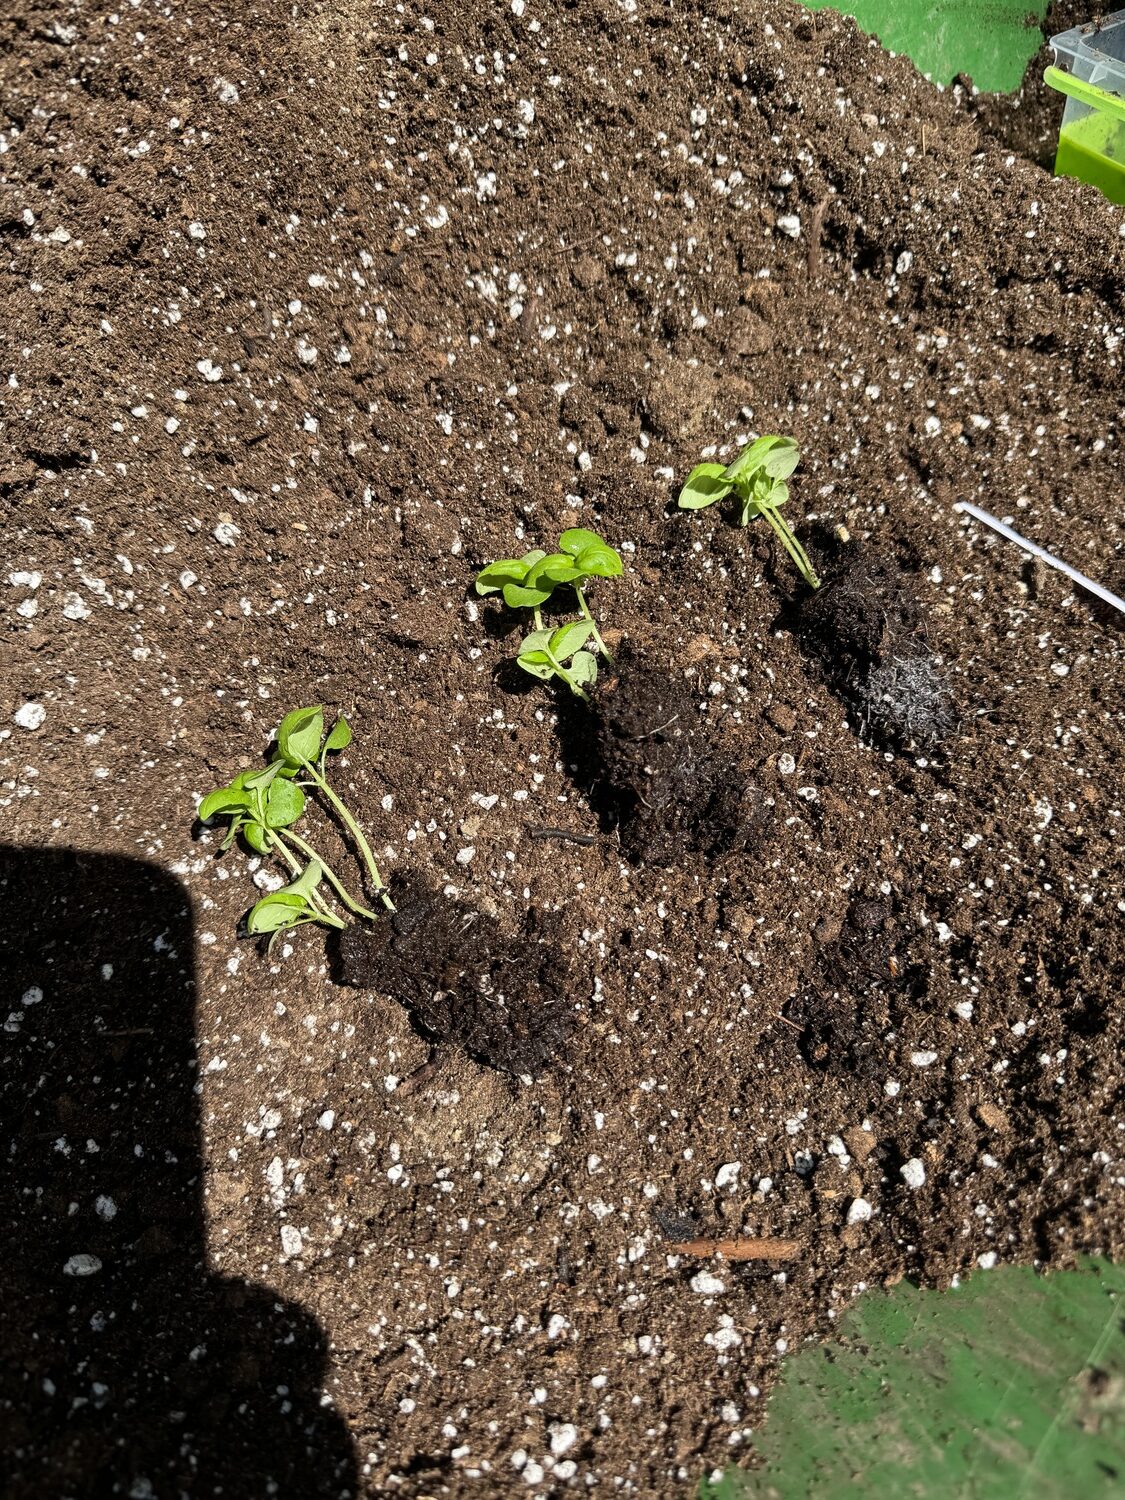
Once out of the cells, the basil seedlings were divided into smaller groups of about three shoots each then transplanted to 4-inch pots prior to planting into larger pots in mid-June to grow on and mature. ANDREW MESSINGER

The adventure started back on April 22 and was repeated on May 5. But in my head it had really started months earlier. There were things I wanted to grow, vegetables, but with no vegetable garden and no good place to start seedlings I was at a loss. And then I took the leap.
That leap warmed my office for close to two months and gave it a daylight glow no matter what was going on outdoors. I had little to no idea what I was doing, and to a degree, I was flying, or better put, growing blind. Ah, not really. I now had a strip of LED plant lights to lead the way, and these lights were the key.
Now don’t get to thinking that this is a column on grow lights. Yes, they play a part, but this is really about your vegetable garden. I don’t have a vegetable garden. Just a small 3-foot-by-10-foot swath that I grow some salad greens in. But now I have 16 small potted tomatoes, 20 small pots of basil, eight small pots of broccoli and eight more pots of Brussels sprouts. In a couple of weeks they’ll all need permanent summer homes. But where?
I’d learned the science of growing plants under artificial lighting about 45 years ago when I began my houseplant collection under fluorescent grow lights in a spare room at my parents’ house. First it was one 4-foot fixture with two tubes, then two and eventually six. I’d learned what tubes worked best, which to use for foliage and which to use for flowering plants. I learned the distance needed from the lights to the plants and for several years, until emancipation, that was my setup.
I haven’t used grow lights since then, and while fluorescent grow lights are still available the new thing is LED plant lights. A whole new world, and a confusing one for this daylight gardener.
Searching through all the online offerings and suggestions made by the various vendors who were peddling these new grow lights, I knew I had limited space (my office drafting table) and would need to begin with a heating pad that would allow me to germinate all the seed. So with seed in hand for four new tomato varieties, three new basils, two broccolis, two Brussels sprouts and one yellow summer squash on April 22, the first seeding was done.
The heating pad was perfect. It’s a Vivosun pad that measures 10 by 21 inches, which is the perfect size to go under a standard garden flat. For about $25 you get the pad and a digital controller with a remote soil sensor to keep the soil at the temperature you set. It worked flawlessly, and the price was great on Amazon.
Seeds were sown in 1-inch cells in a sterile seed starting mix, water added, soil temp set to 72 degrees, and less than a week later the tomatoes were up. Then the others were seeded in early May so in a blink of an eye my veggie garden was on its way to fruition. Next step, the lighting.
I’d found an LED light strip that seemed to meet my needs so I purchased a SunPack LED grow light that was 48 inches long and emitted the right light color for the plants I wanted to grow. That was about $130 (but it’ll last forever) and the only other thing I needed was a light stand that the 2-inch-wide LED (actually two of them) strip would hang from. This would end up being the SunPack light stand T5HO. Easy to assemble, it allowed me to raise or lower the lights with a drawstring and was perfect.
I’d lost my drafting table for the cause but gained an indoor greenhouse complete with a propagation/heating mat. The setup was perfect, and while a bit expensive I have every expectation that I’ll get 10 years out of this setup, which softened the hit. And best of all when I had all my plants ready to go outside all the growing paraphernalia was boxed up and went down into the basement.
There was this hard-to-deal-with aspect of ending up with dozens and dozens of plants and still no vegetable garden.
Transplanting my seedlings was very easy. Since the tomatoes were grown in cells they simply had to be extracted and moved into pots for the next growing stage. Done, and of 18 cells there were only two failures. The tomatoes are now outside my office in quart pots hardening off and then onward.
The basil was just a bit more complicated. I’d used larger cells for these and planted a half dozen or so seeds in each cell. Four weeks later the plants had not only germinated but had reached transplanting stage. I was able to divide the plants in each cell so that one cell yielded two to three 4-inch pots of basil (and as I write a chipmunk has discovered the basil and had self-served three of them). This yielded about 20 4-inch pots. The yellow squash went into 4-inch peat pots to grow on with the somewhat spindly Brussels sprouts and broccoli in 3-inch peat pots.
The whole menagerie now sits outside my office door hardening off to the cool night temps, wind and bits of sun. In a few weeks, the next step. Ah, but still one teeny, tiny problem. Still no vegetable garden. But I do have a plan.
Back to reality in my garden and yours. As of May 29, I’ve done two cuttings of mixed greens, picked two rows of cut-and-come-again spinach, lots of radish foliage and a few radish roots. I can just never, ever grow radishes the size you see in the pictures or at the market. Makes me wonder what the commercial ones are fed with but the good news is that I planted early and beat the radish flies, which result in radish maggots.
At this point, you should have your vegetable garden planted with all your early varieties in and starting to yield. The soil is warm enough to plant just about everything but don’t plant everything at once. Always have backups in case there’s a crop failure or snacking chipmunk. These can be done with store-bought starts, but don’t forget that your backups can also be done with direct seeding. This is not only insurance but will extend your crops into the fall as the second sowing will mature later.
If you’re growing garlic, chances are you’ll have scapes appearing any day. These scapes are the long green shoots that emerge from the garlic bulb in mid-spring. The scapes are milder than the garlic and are used for flavoring just as you would use the bulbs. Some like to sauté them, and they can be used in pesto or even eaten raw. Do not cut anything but the scape with its stem. Leave the rest of the foliage.
Bulb harvesting of garlic is usually in July, but the clue is when the leaves are about one-third brown. Most of your garlic should be allowed to dry and cure for storage but remember to save some of the bulbs (dried) to replant late in the summer. Some gardeners like to add some new cloves to their plot every year as insurance. Order these cloves now as they often sell out quickly, even though it will be months before they arrive.
Tempted to grow your own sweet corn? It’s rarely worth the time or effort since corn needs lots of space and lots of other corn stalks for pollination to take place. Our local farmers do this job really well so unless you want to try your skills with ornamental corn, best to skip this unless you’ve got lots of space. But now’s the time to get the seed in.
In the rest of the veggie garden, be very, very vigilant for insects. The first ones you may see will be aphids, and since they can transmit diseases you want to knock them down fast and early. Also control your weeds since these are insect magnets.
Keep track of your fertilizer use. Many of your vegetables will need to be fertilized several times during the season, especially the long-season crops like peppers, tomatoes and late-producers like broccoli and Brussels sprouts. Depending on precipitation you may need to add organic granular fertilizer every three to four weeks unless you are using nonorganic time-released fertilizer like Osmocote, which can usually be used at planting and should work all summer. If you think the color is off later in August and the fertilizer is depleted you can always add a liquid organic to the soil around the plants.
If at all possible, especially on your tomatoes, keep the foliage dry. No overhead watering since this just aids in the spread of diseases on the foliage and fruits. Look into growing tunnels (high tunnels) if you’re growing lots of ’maters. Kits are available and fairly easy to set up.
Be vigilant. Keep an eye out and scout your plants daily if you can. Know what bugs to look for when, add some pollinator plants to your veggie garden to help with pollination of just about everything, and of course, keep growing.
More Posts from Andrew Messinger


