


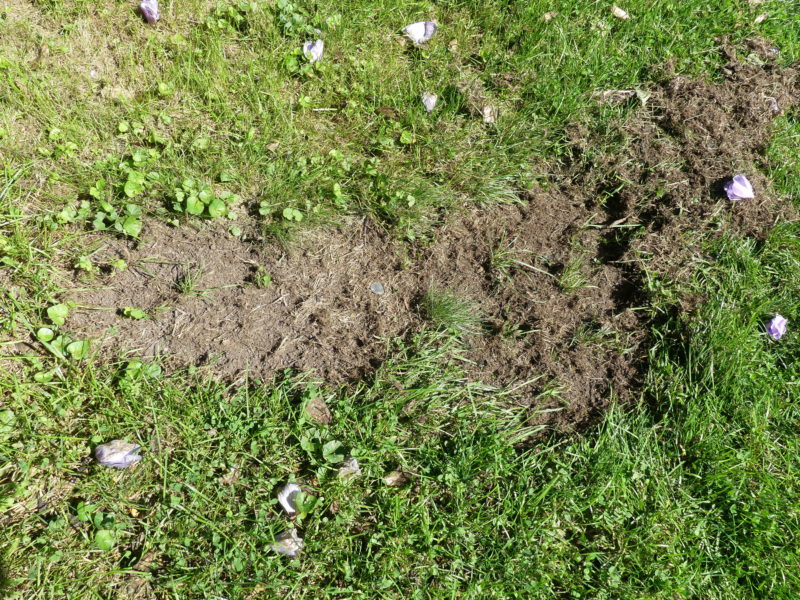

A lawn area of about 2 square feet with no grass is easily repaired and will look great by late October if taken care of now. Quarter (dead center) is for reference.
Once raked clear with a small fan rake (debris to the right) the area to be seeded is filled and leveled with the property soil mix and leveled with a tine rake. ANDREW MESSINGER
When the soil is level and smooth with no rocks, sticks or debris, it is overseeded by hand so there are about 10 seeds per square inch blending the seed at the edges. ANDREW MESSINGER
Once seeded the flat side of the tine rake is used to gently tamp the seed bed. ANDREW MESSINGER
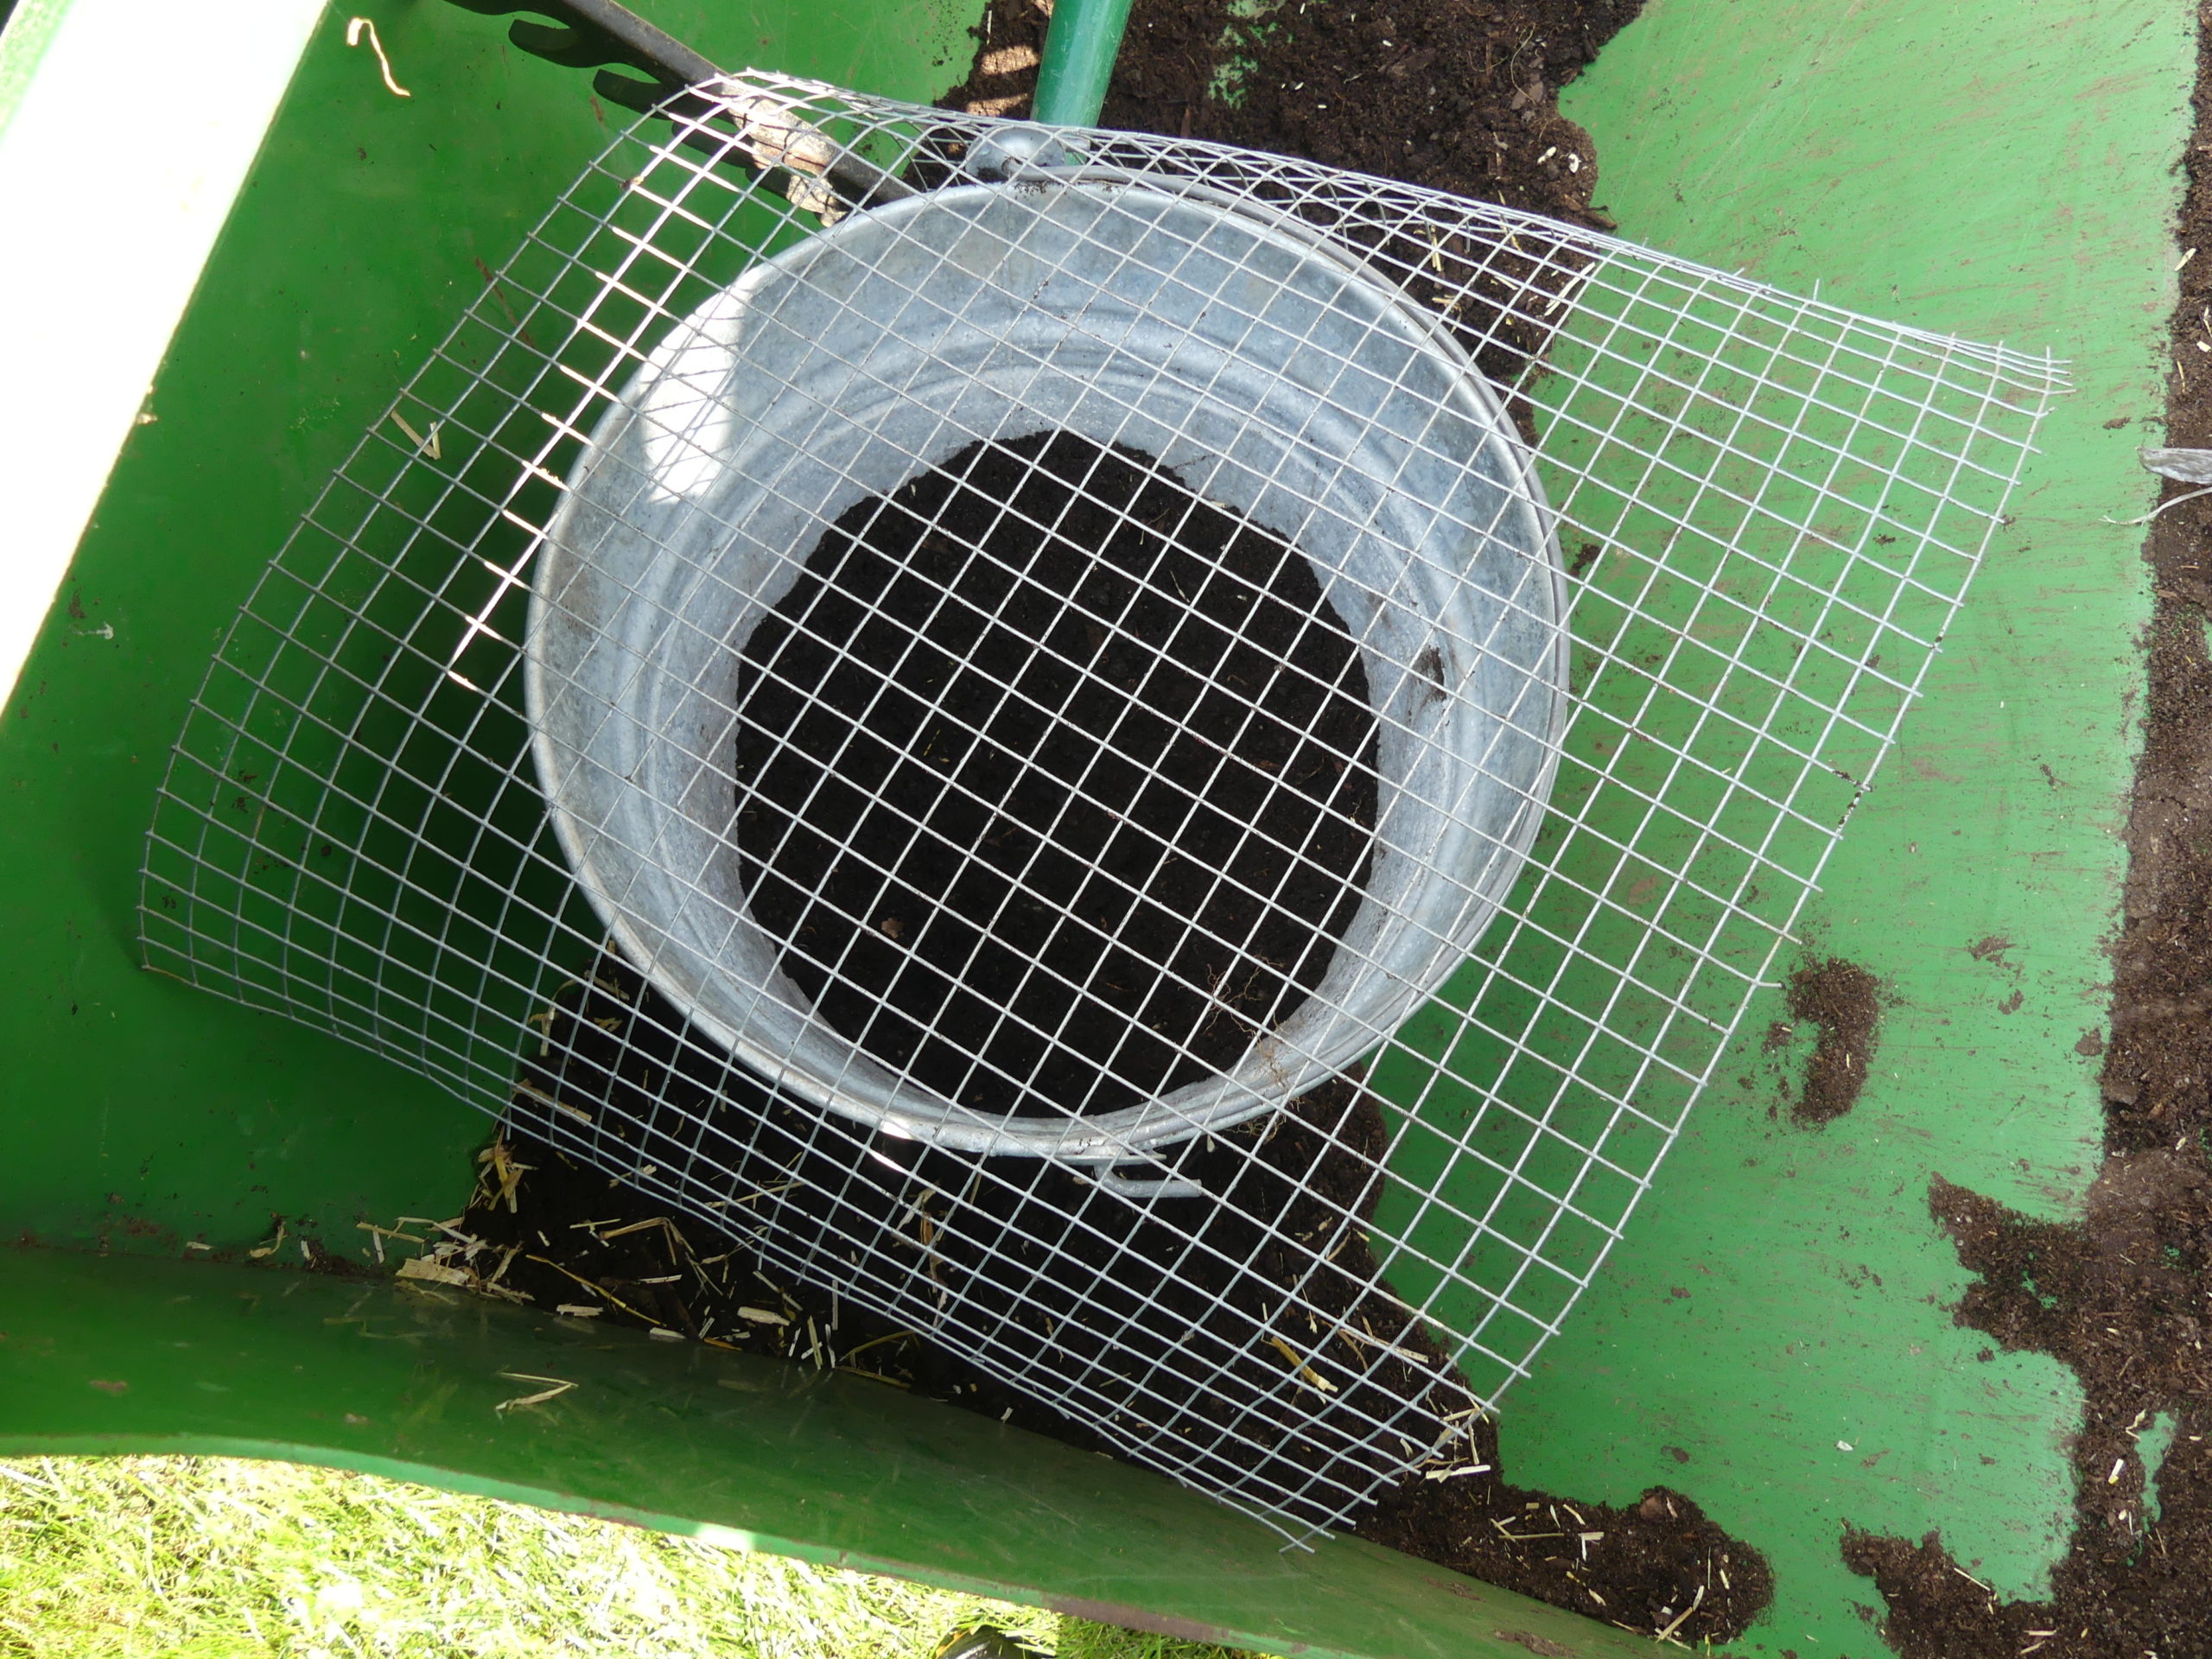
Some of the soil used for filling in gets screened through a quarter-inch mesh and into a pail. This soil is then used to lightly cover the seed bed with an eighth-inch of soil. ANDREW MESSINGER
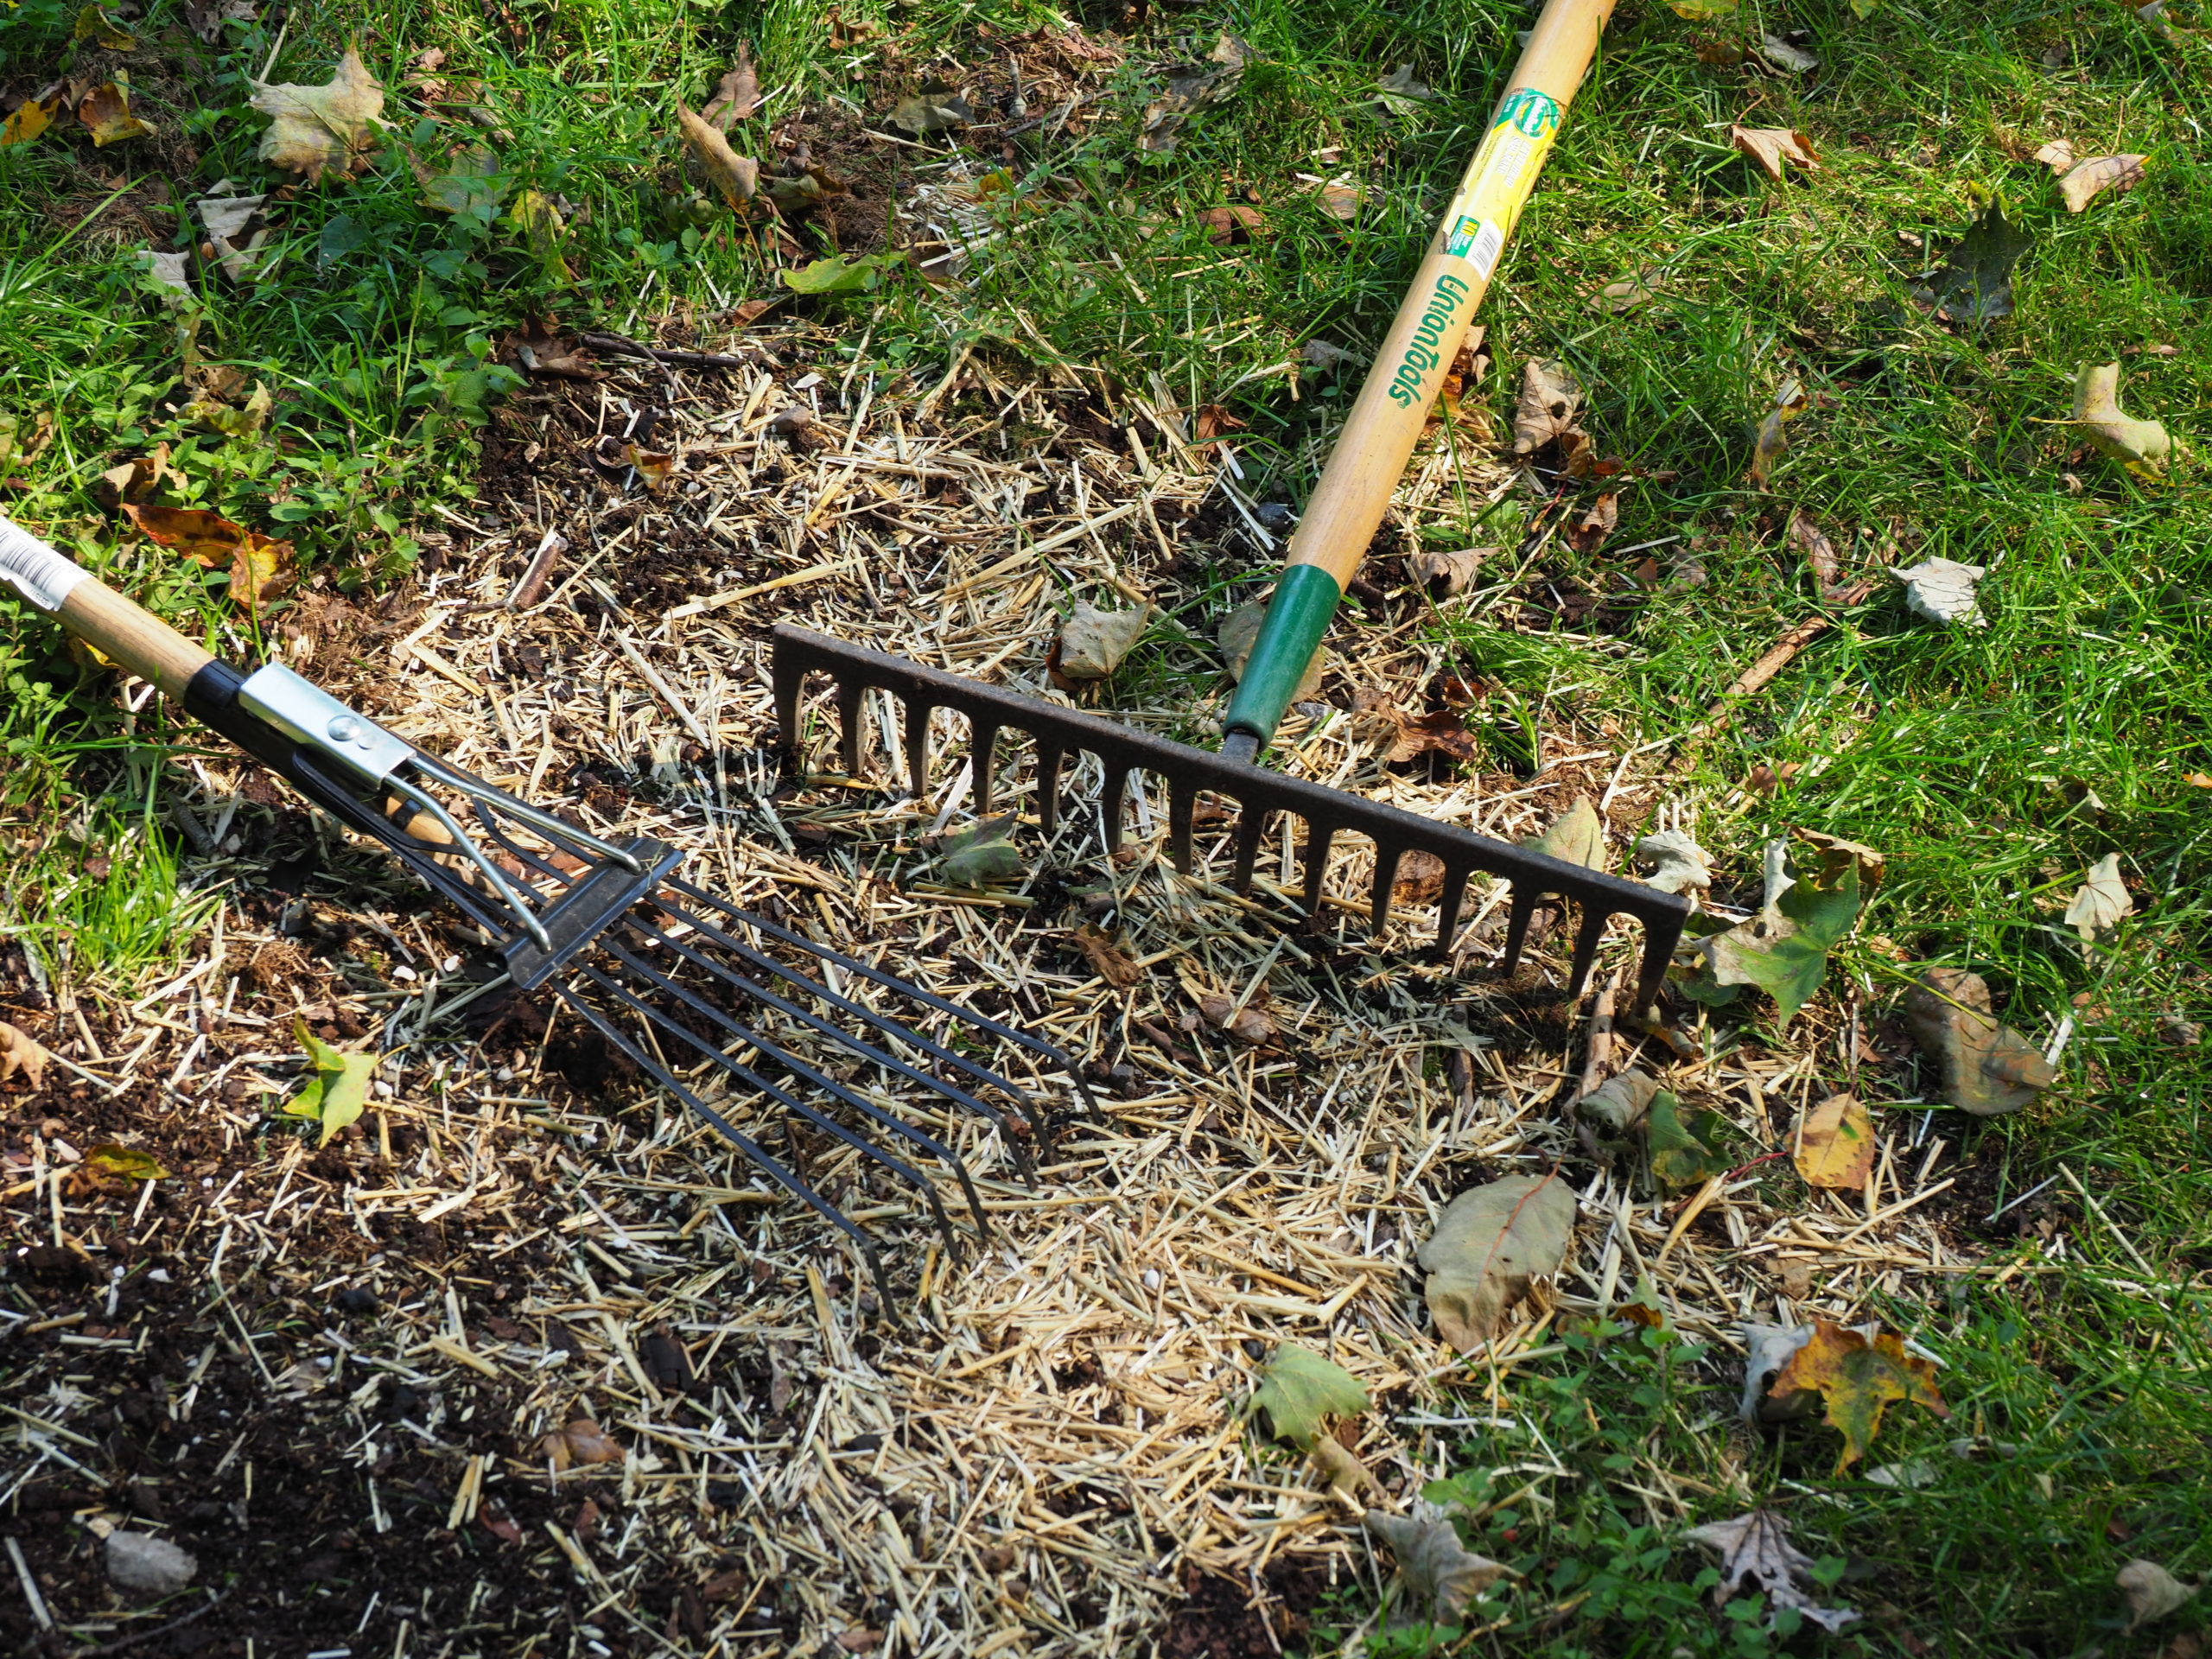
The two tools used in this project were a 5-inch steel fan rake to rough up the patch area and remove the dead grass and weeds. The metal tine rake has 3 inch tines over 15 inches and is used for leveling, raking and tamping. ANDREW MESSINGER
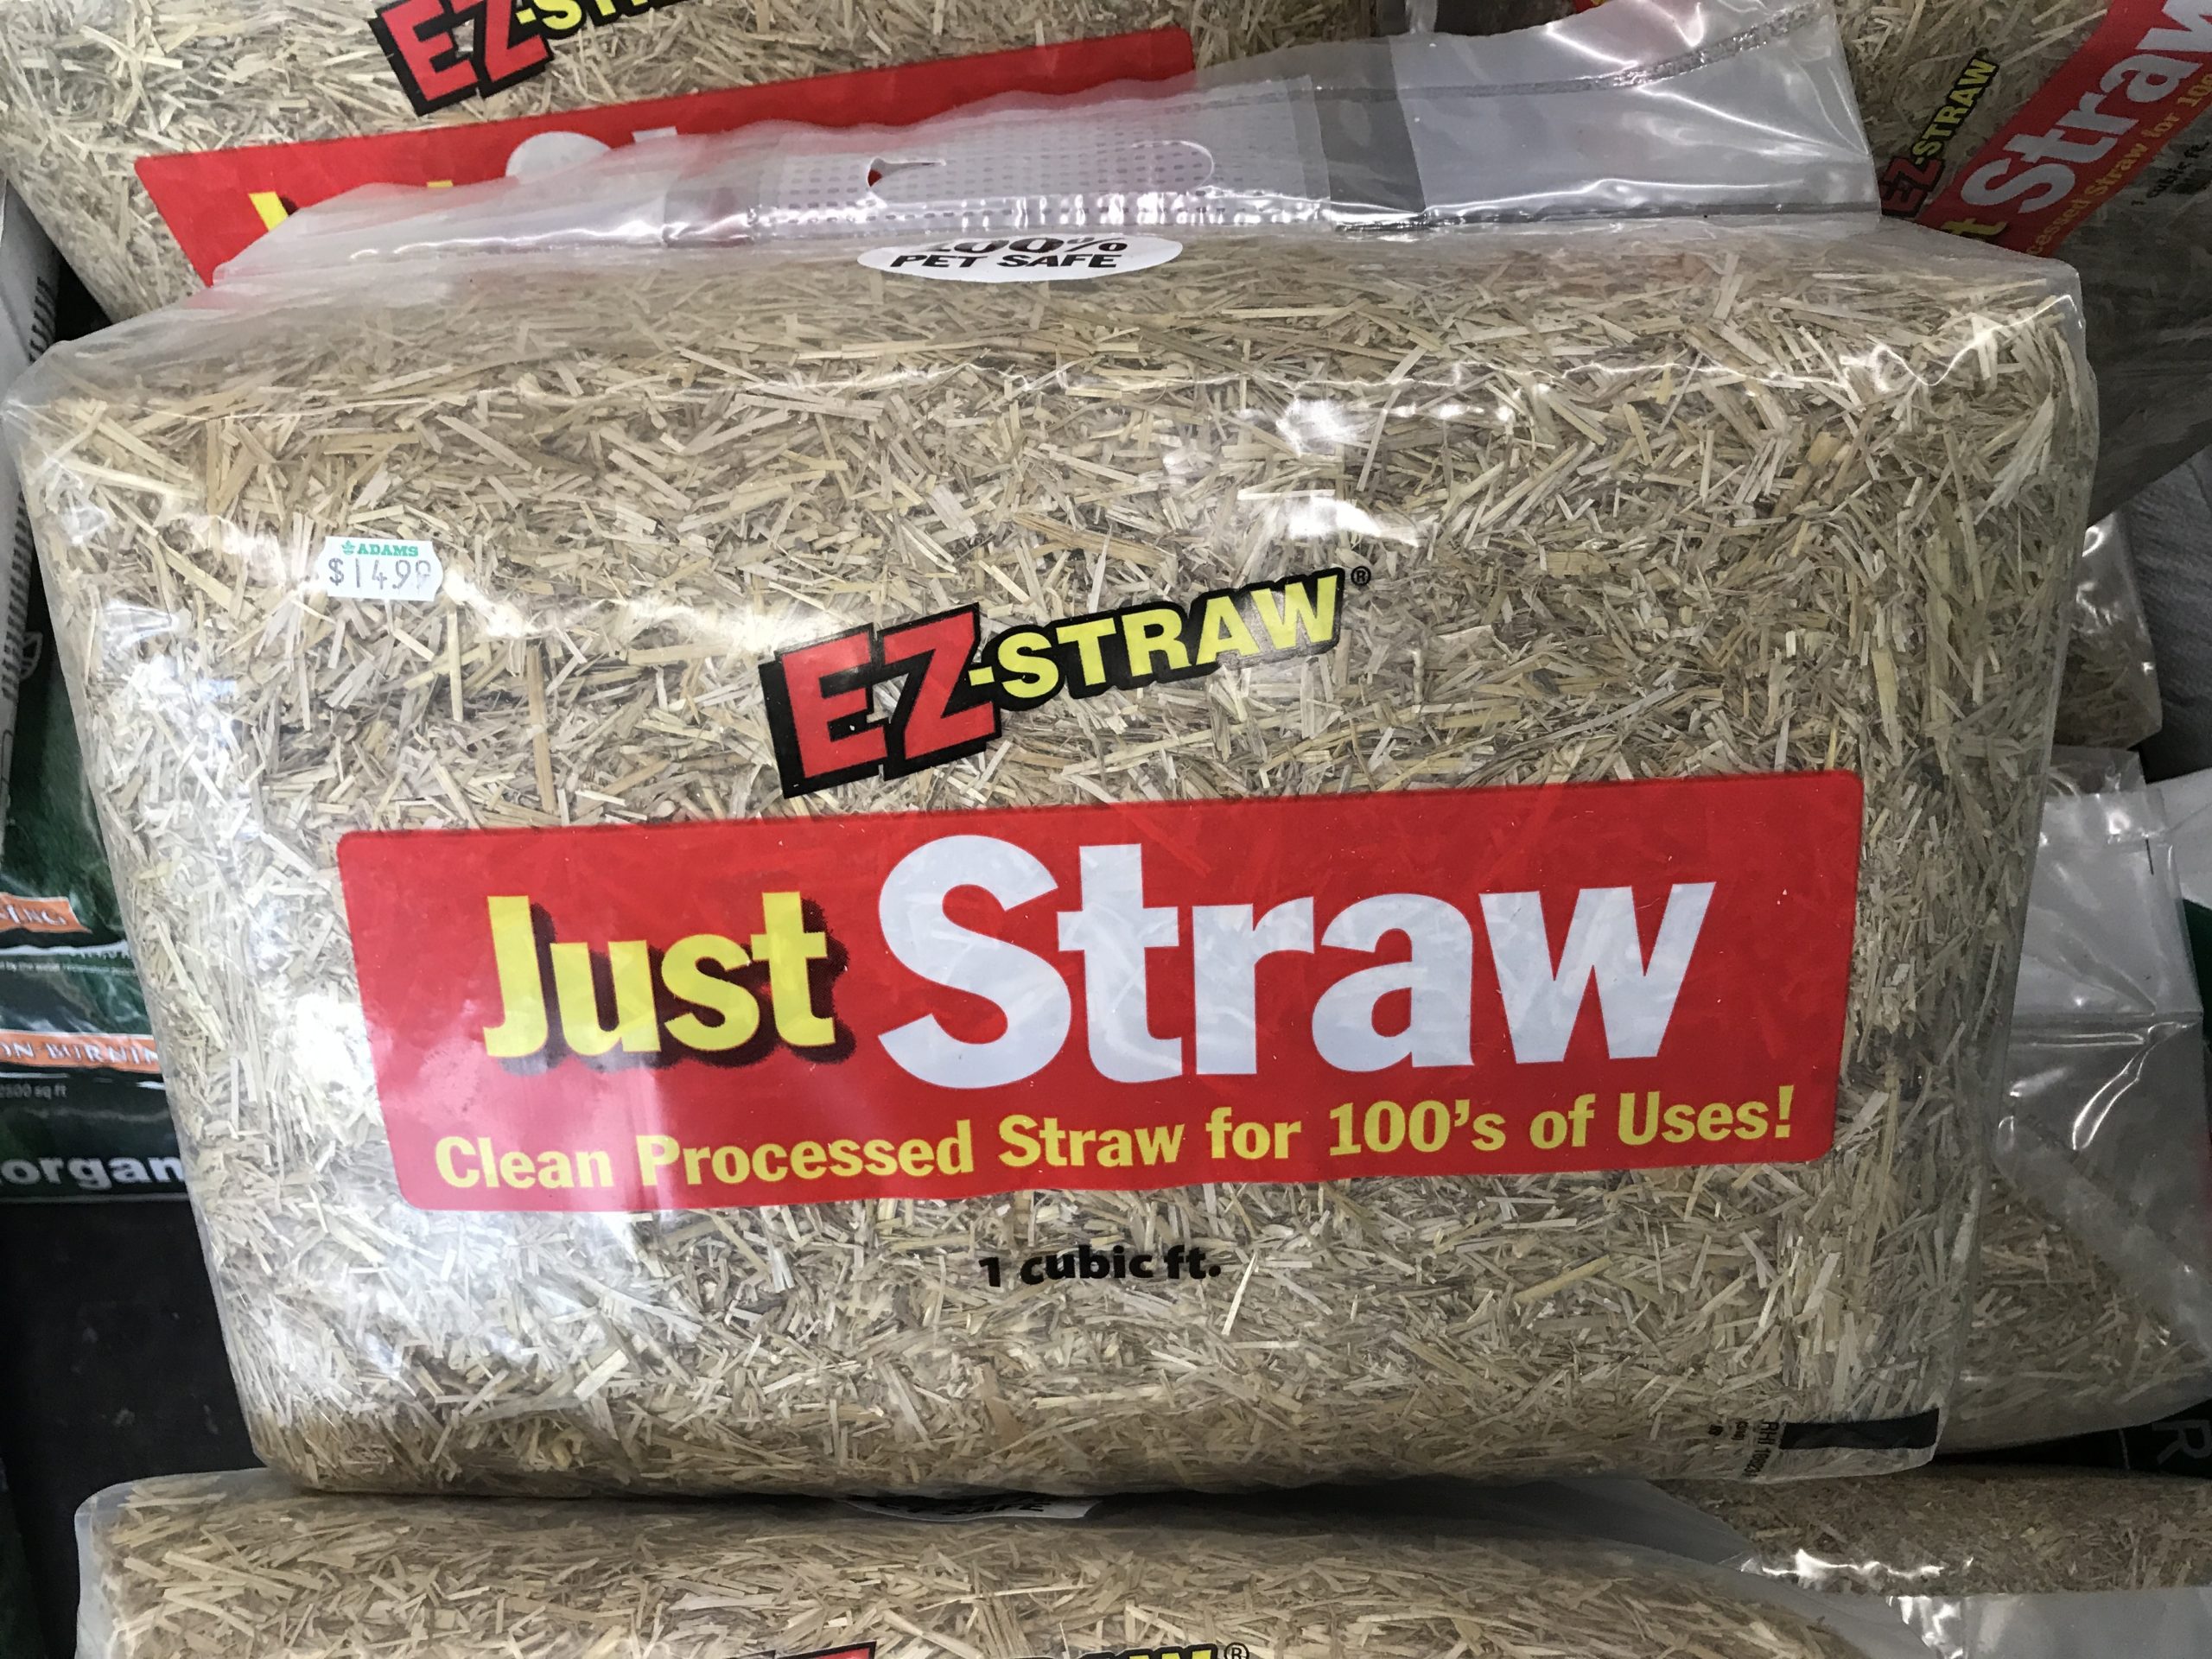
One example of the products that can be used as a mulch. The mulch is applied lightly and is the last step. Mulches like this straw be chopped (this is) and weed free. Pelletized mulches also work well. ANDREW MESSINGER
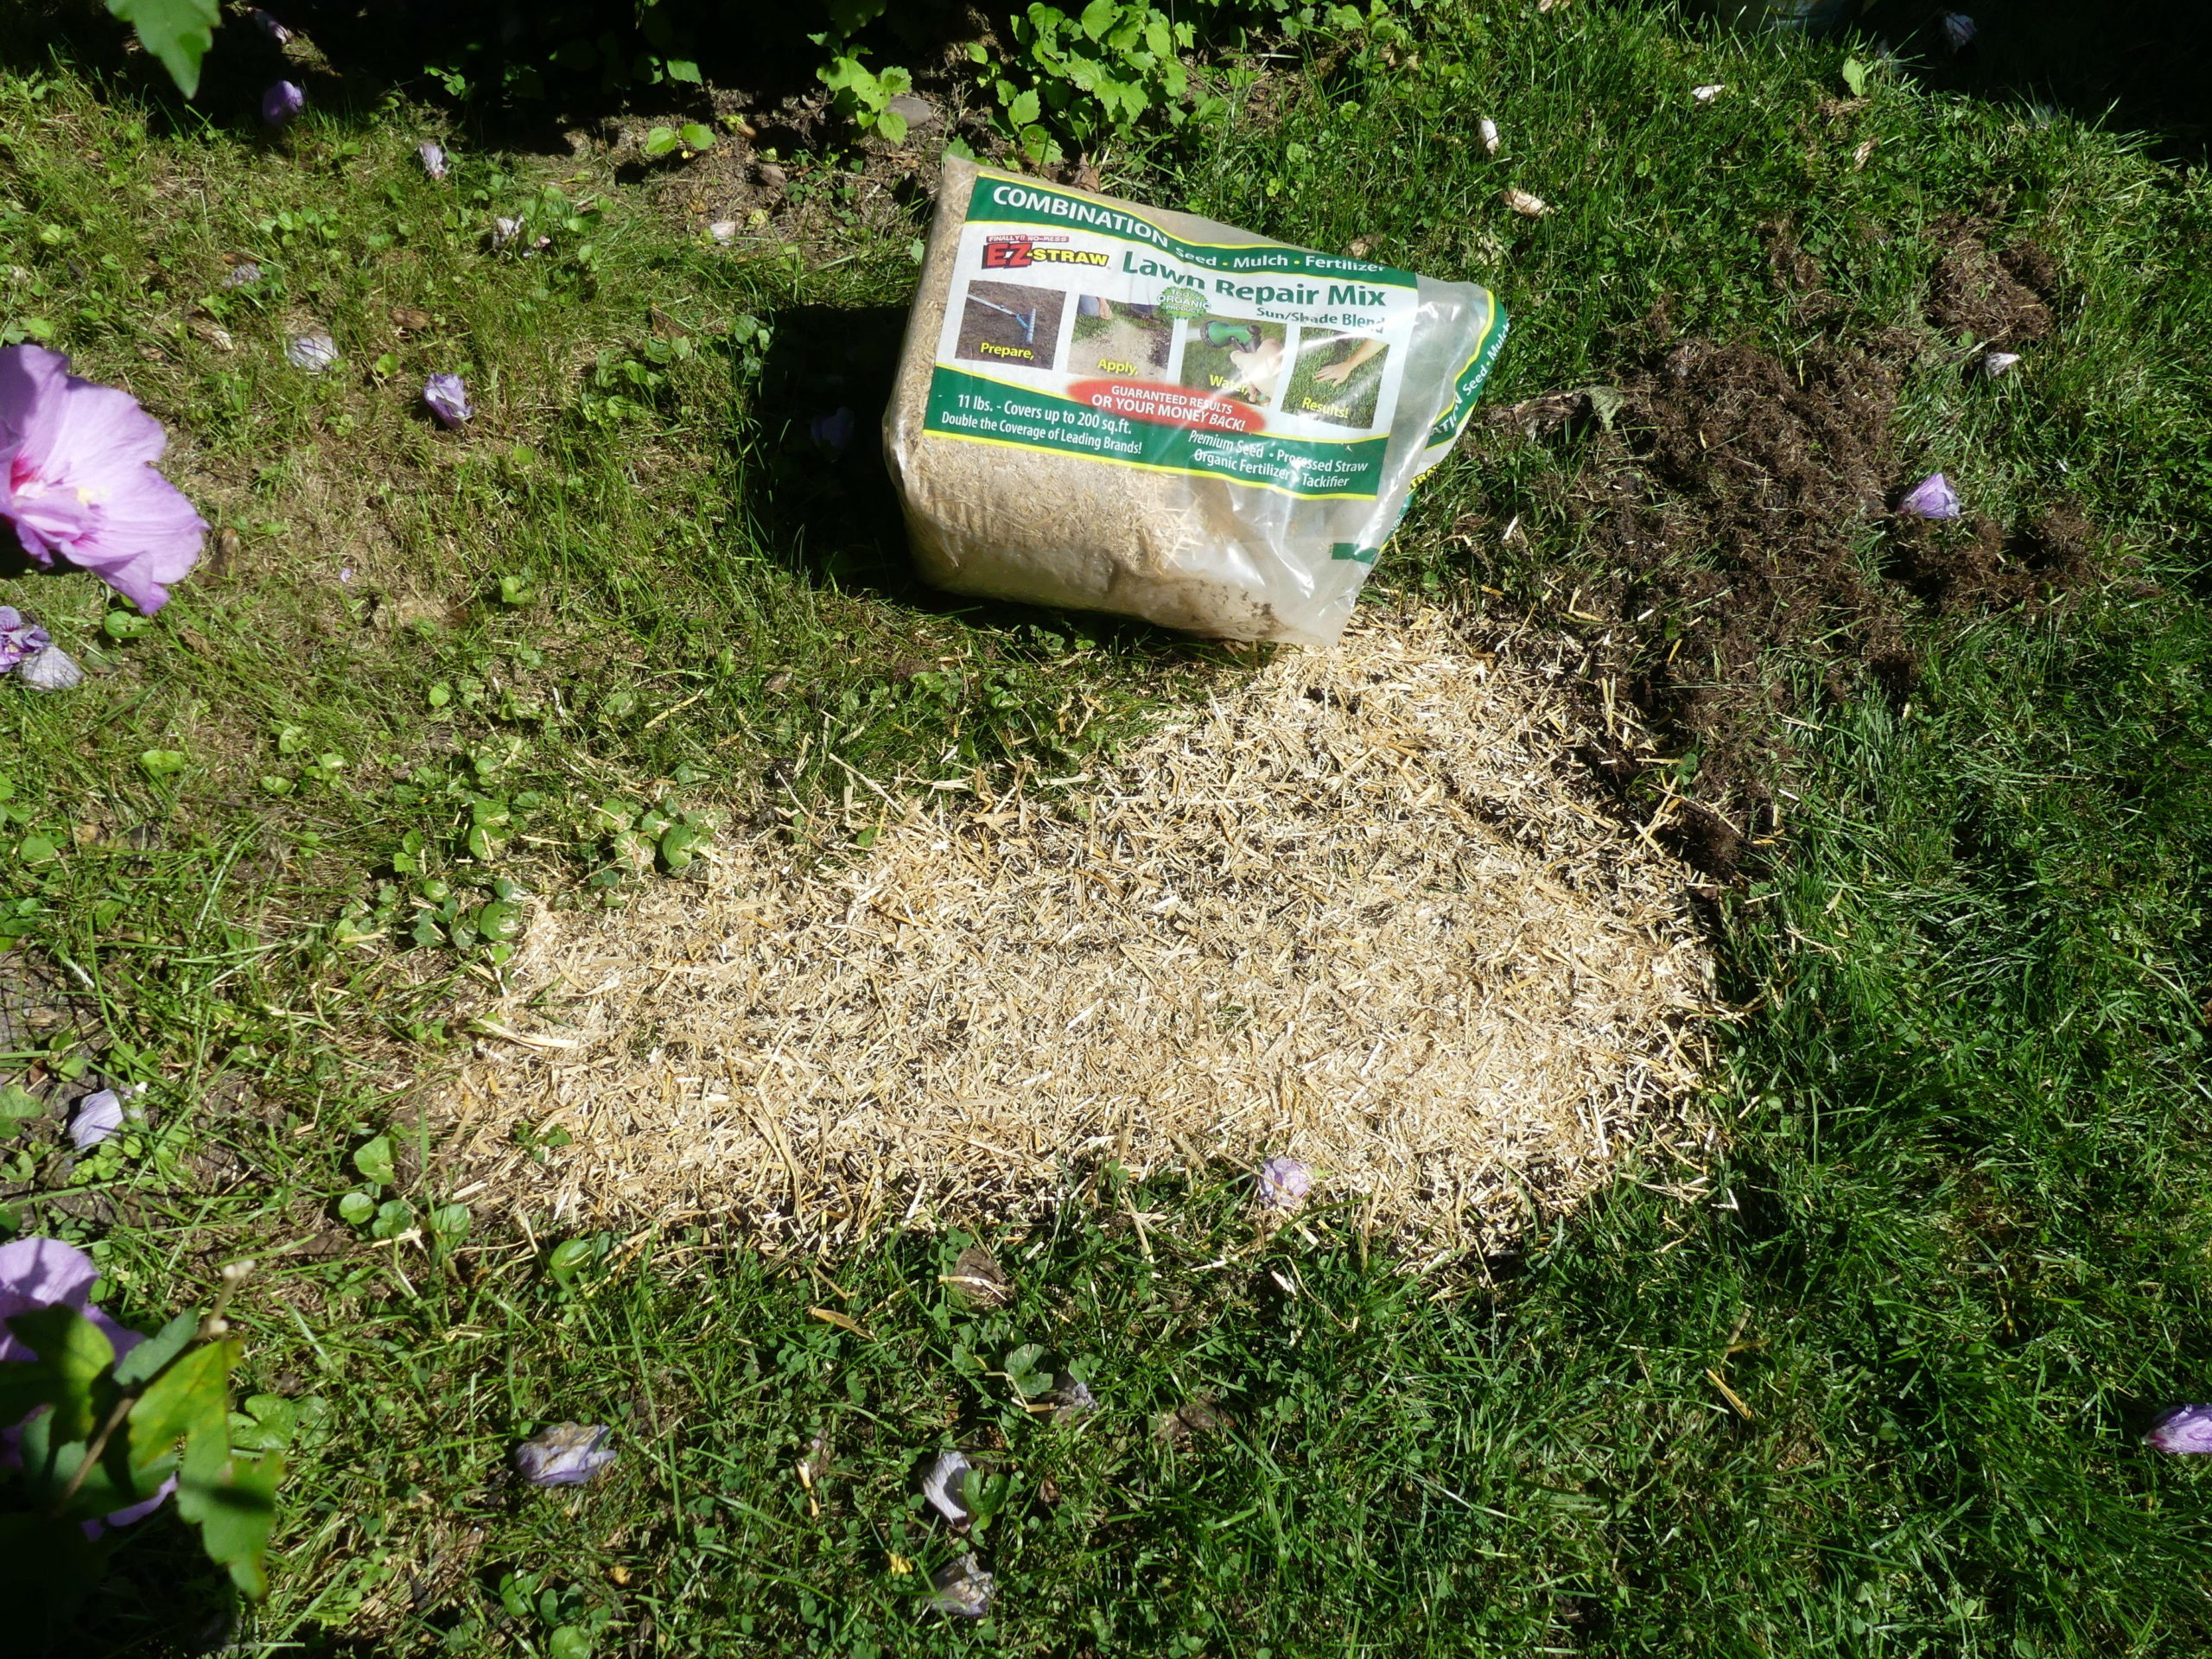
All-in-one lawn patch products that contain seed, mulch and fertilizer are available but rarely have quality seed and you can’t choose what seed is in the mix. ANDREW MESSINGER

You know that spot on your front lawn where the neighbor’s dog always seems to pee and kill the grass? How about the spot where the wrong herbicide got sprayed and now there’s just a circle of dead turf? Or maybe it’s that circle of dead grass where you always put down the top of the grill when you’re finished making those charcoal-broiled burgers?
These are all spots in your lawn where there’s a few square feet of dead grass. However these spots came to be, it’s time to bring them back to life. It’s not a new lawn, it’s not a complete renovation, it’s just “patch” work, and if it’s not done right that patch may be green next year, but it’ll still stick out. Can I offer a few tips to help out?
Yes, this is the perfect time of the year to plant grass. The air is still warm, but the soil is cooling. Perfect for grass seed germination. Most weeds have stopped growing, and there’s nothing that a tiny grass seed loves more than warm days, cool nights and no competition from crabgrass and other lawn invaders.
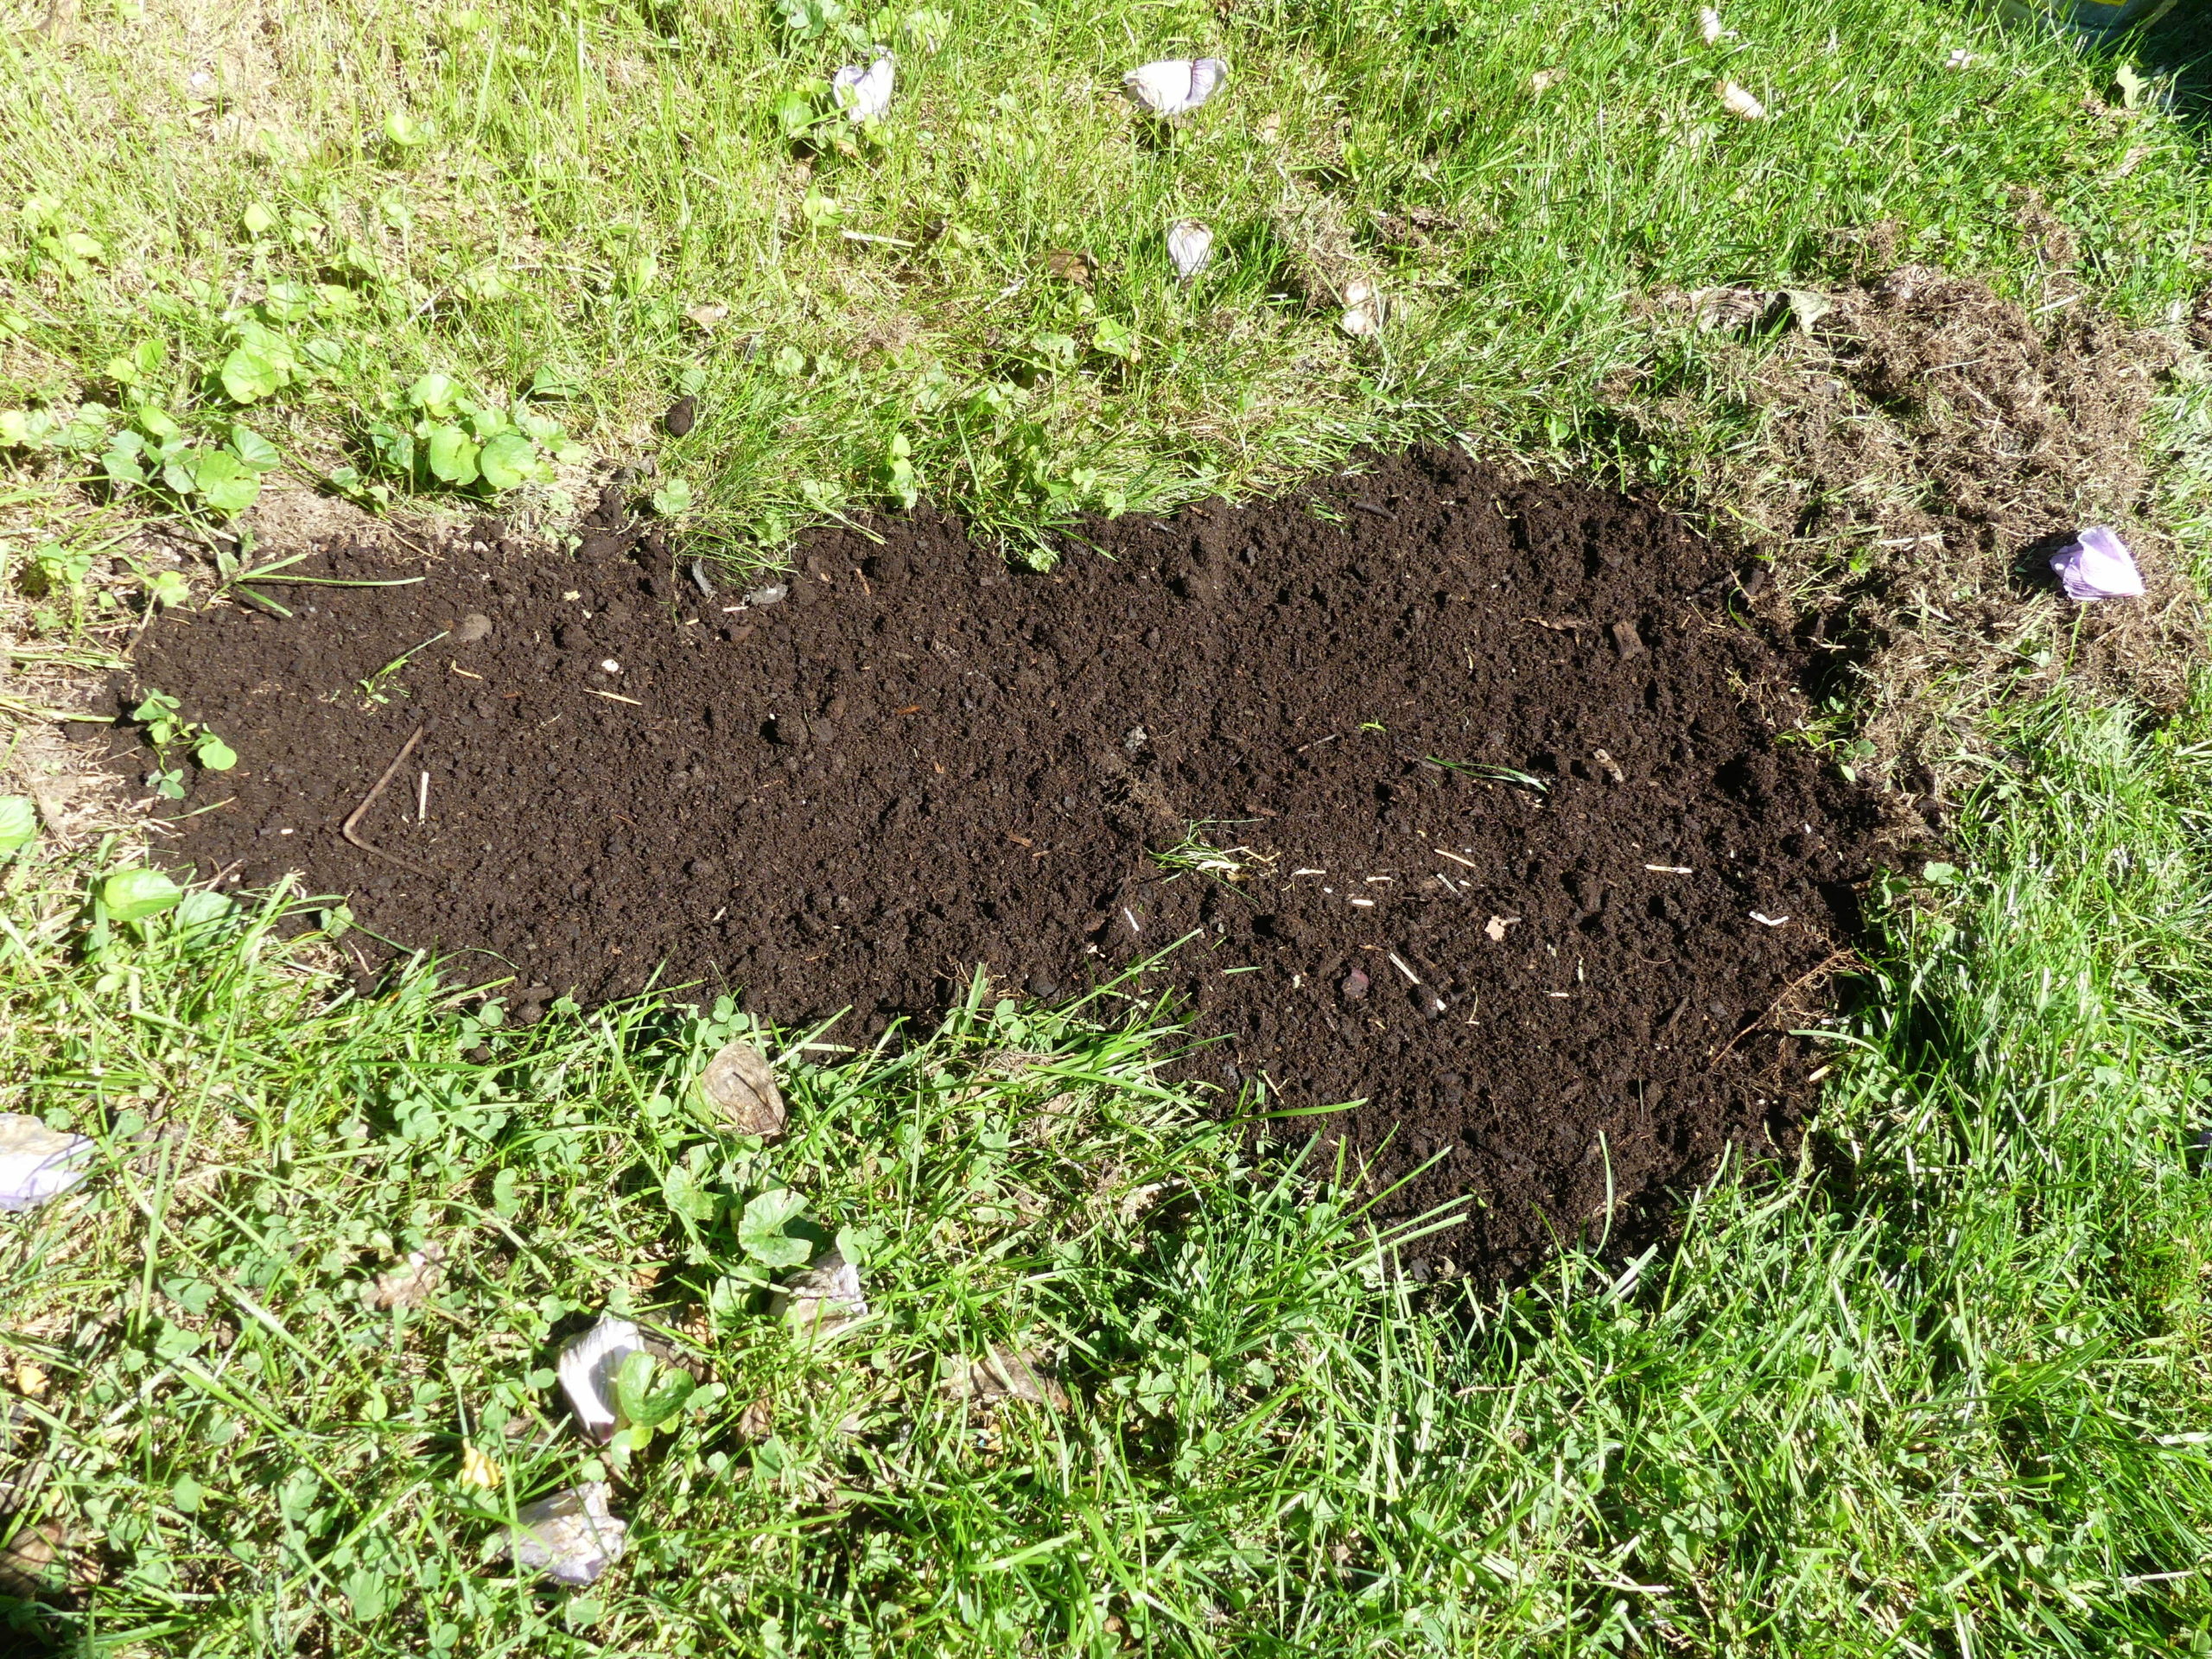
The first part of this project is to get these spots ready for seeding. Using a small tine rake or small (6-to-9-inch-wide) metal fan rake, clear the area of any weeds, sticks, stones and old dead grass. Rake any way you want, but get all this debris off the area to be seeded, then use your tine rake or a cultivator to rough up the soil. If there’s a depression you’ll need to add soil so that the seedbed is at the same level, or slightly higher, than the rest of the lawn.
Be careful what you use as fill-in soil. Bagged topsoil with some peat added will work, and screened soil from your compost is even better. Spread it across the area using the tine rake. Smooth the soil out without packing it, and gently bring some of the soil into the outer edges or periphery of the area to be seeded. The result should be a level planting bed without stones, sticks or vegetation.
Now you’re ready for the seed. But what seed will you use? Garden centers will have dozens of choices, and some will make a custom mix for you. In most cases, a packaged mix will do, but which one? This is not a time to skimp and go on the cheap. Try to remember what seed or type of sod was used to create your lawn. If you don’t know that, then determine if the area to be seeded is sunny, shady or a mix of both.
For sunny areas on a nice lawn, you’ll probably want to use a seed blend of bluegrasses and perennial ryes. That would be a sun mix. For shady areas, there will be much less bluegrass and more rye and fescues. Bluegrass does not tolerate drought so if you’ve got a sandy spot go very easy on the bluegrass content. Cheap blends — let’s say under $6 a pound — may contain seeds you really, really don’t want, like weeds and inferior grass varieties.
Many rye and fescue mixes contain endophytes, which are natural organisms that fight diseases and insects. Ryes in general have come a long way in the past 20 years. In some situations, a rye blend cannot only look great but be lower in maintenance. Here’s the problem though: If you don’t use a blend that’s close to the grasses in the rest of your lawn, your patch will always look different in both color and texture. When in doubt, take a small turf sample to your local garden center and ask if they can tell you what grass types you have.
Why use a blend though? We try not to create monocultures or turf made up of one variety or type of grass. An insect or disease can wipe out a monoculture in no time flat. A blend of grass types protects you from this because there will be other grasses in the mix that won’t be susceptible to the disease or insect that’s infected the susceptible variety.
Once you have a blend that seems right, buy enough so you’ll have some left over. This gives you protection next year if you need to reseed. When kept dry and stable, grass seed will be good for a year, but it will lose its vigor by 50% over two years. Save the seed label if it’s sewn onto the bag (large bulk bags) or cut it off the bag or box so you can save it for reference.
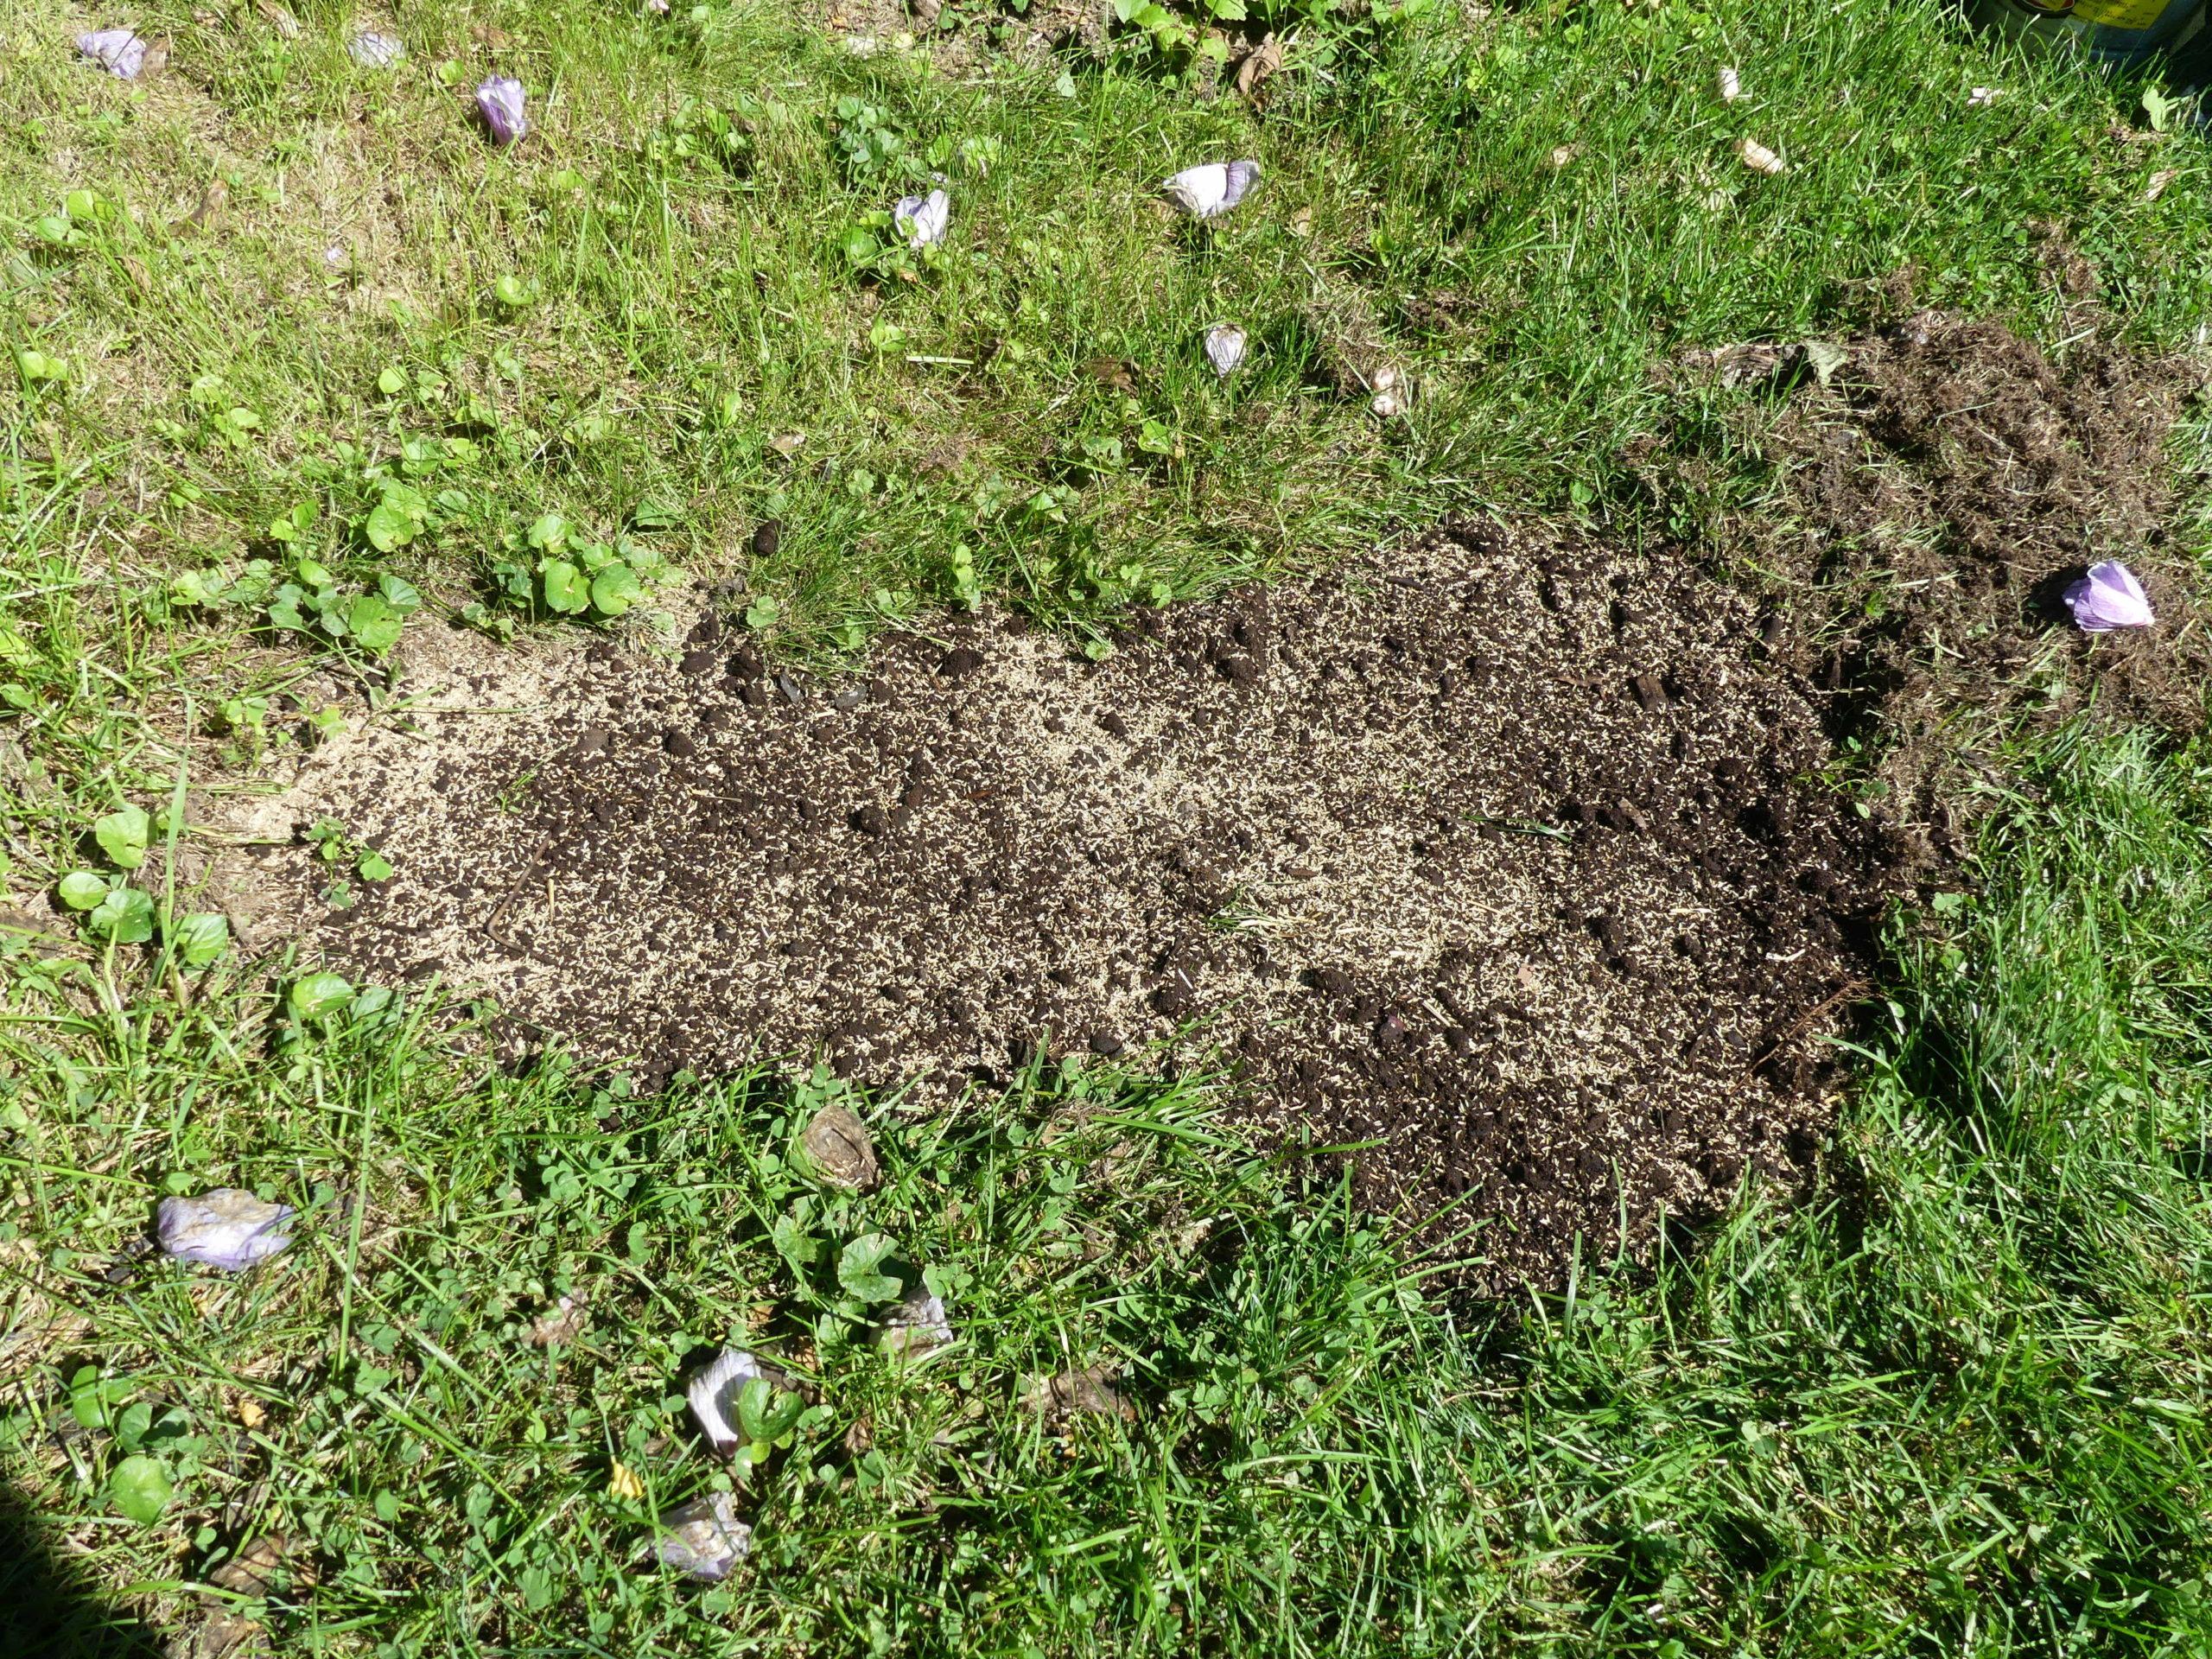
How much seed do you put down? For large projects that would depend on the size of the seed as each type — bluegrass, rye or fescue — is a different size. But since we’re using a quality blend, these small patches should end up with about 10 seeds per square inch. Small areas should be hand sown by putting a small amount in the palm of your hand and evenly sprinkling or spreading it over the soil. If you’re timid about this step, practice with some sand. Be aware of the wind. Just the slightest breeze can result in the seed just flying away.
Now take your tine rake and with the tines flat on the seedbed, use the rake as a tamper and gently tamp the area. Don’t press hard and don’t rake the seed in, just tamp. Remember to seed the outside edge of the area so some of the seed will work into the perimeter where there is still grass growing. This will act to blend the new with the old making the patch much less noticeable in the spring and invisible by next fall.
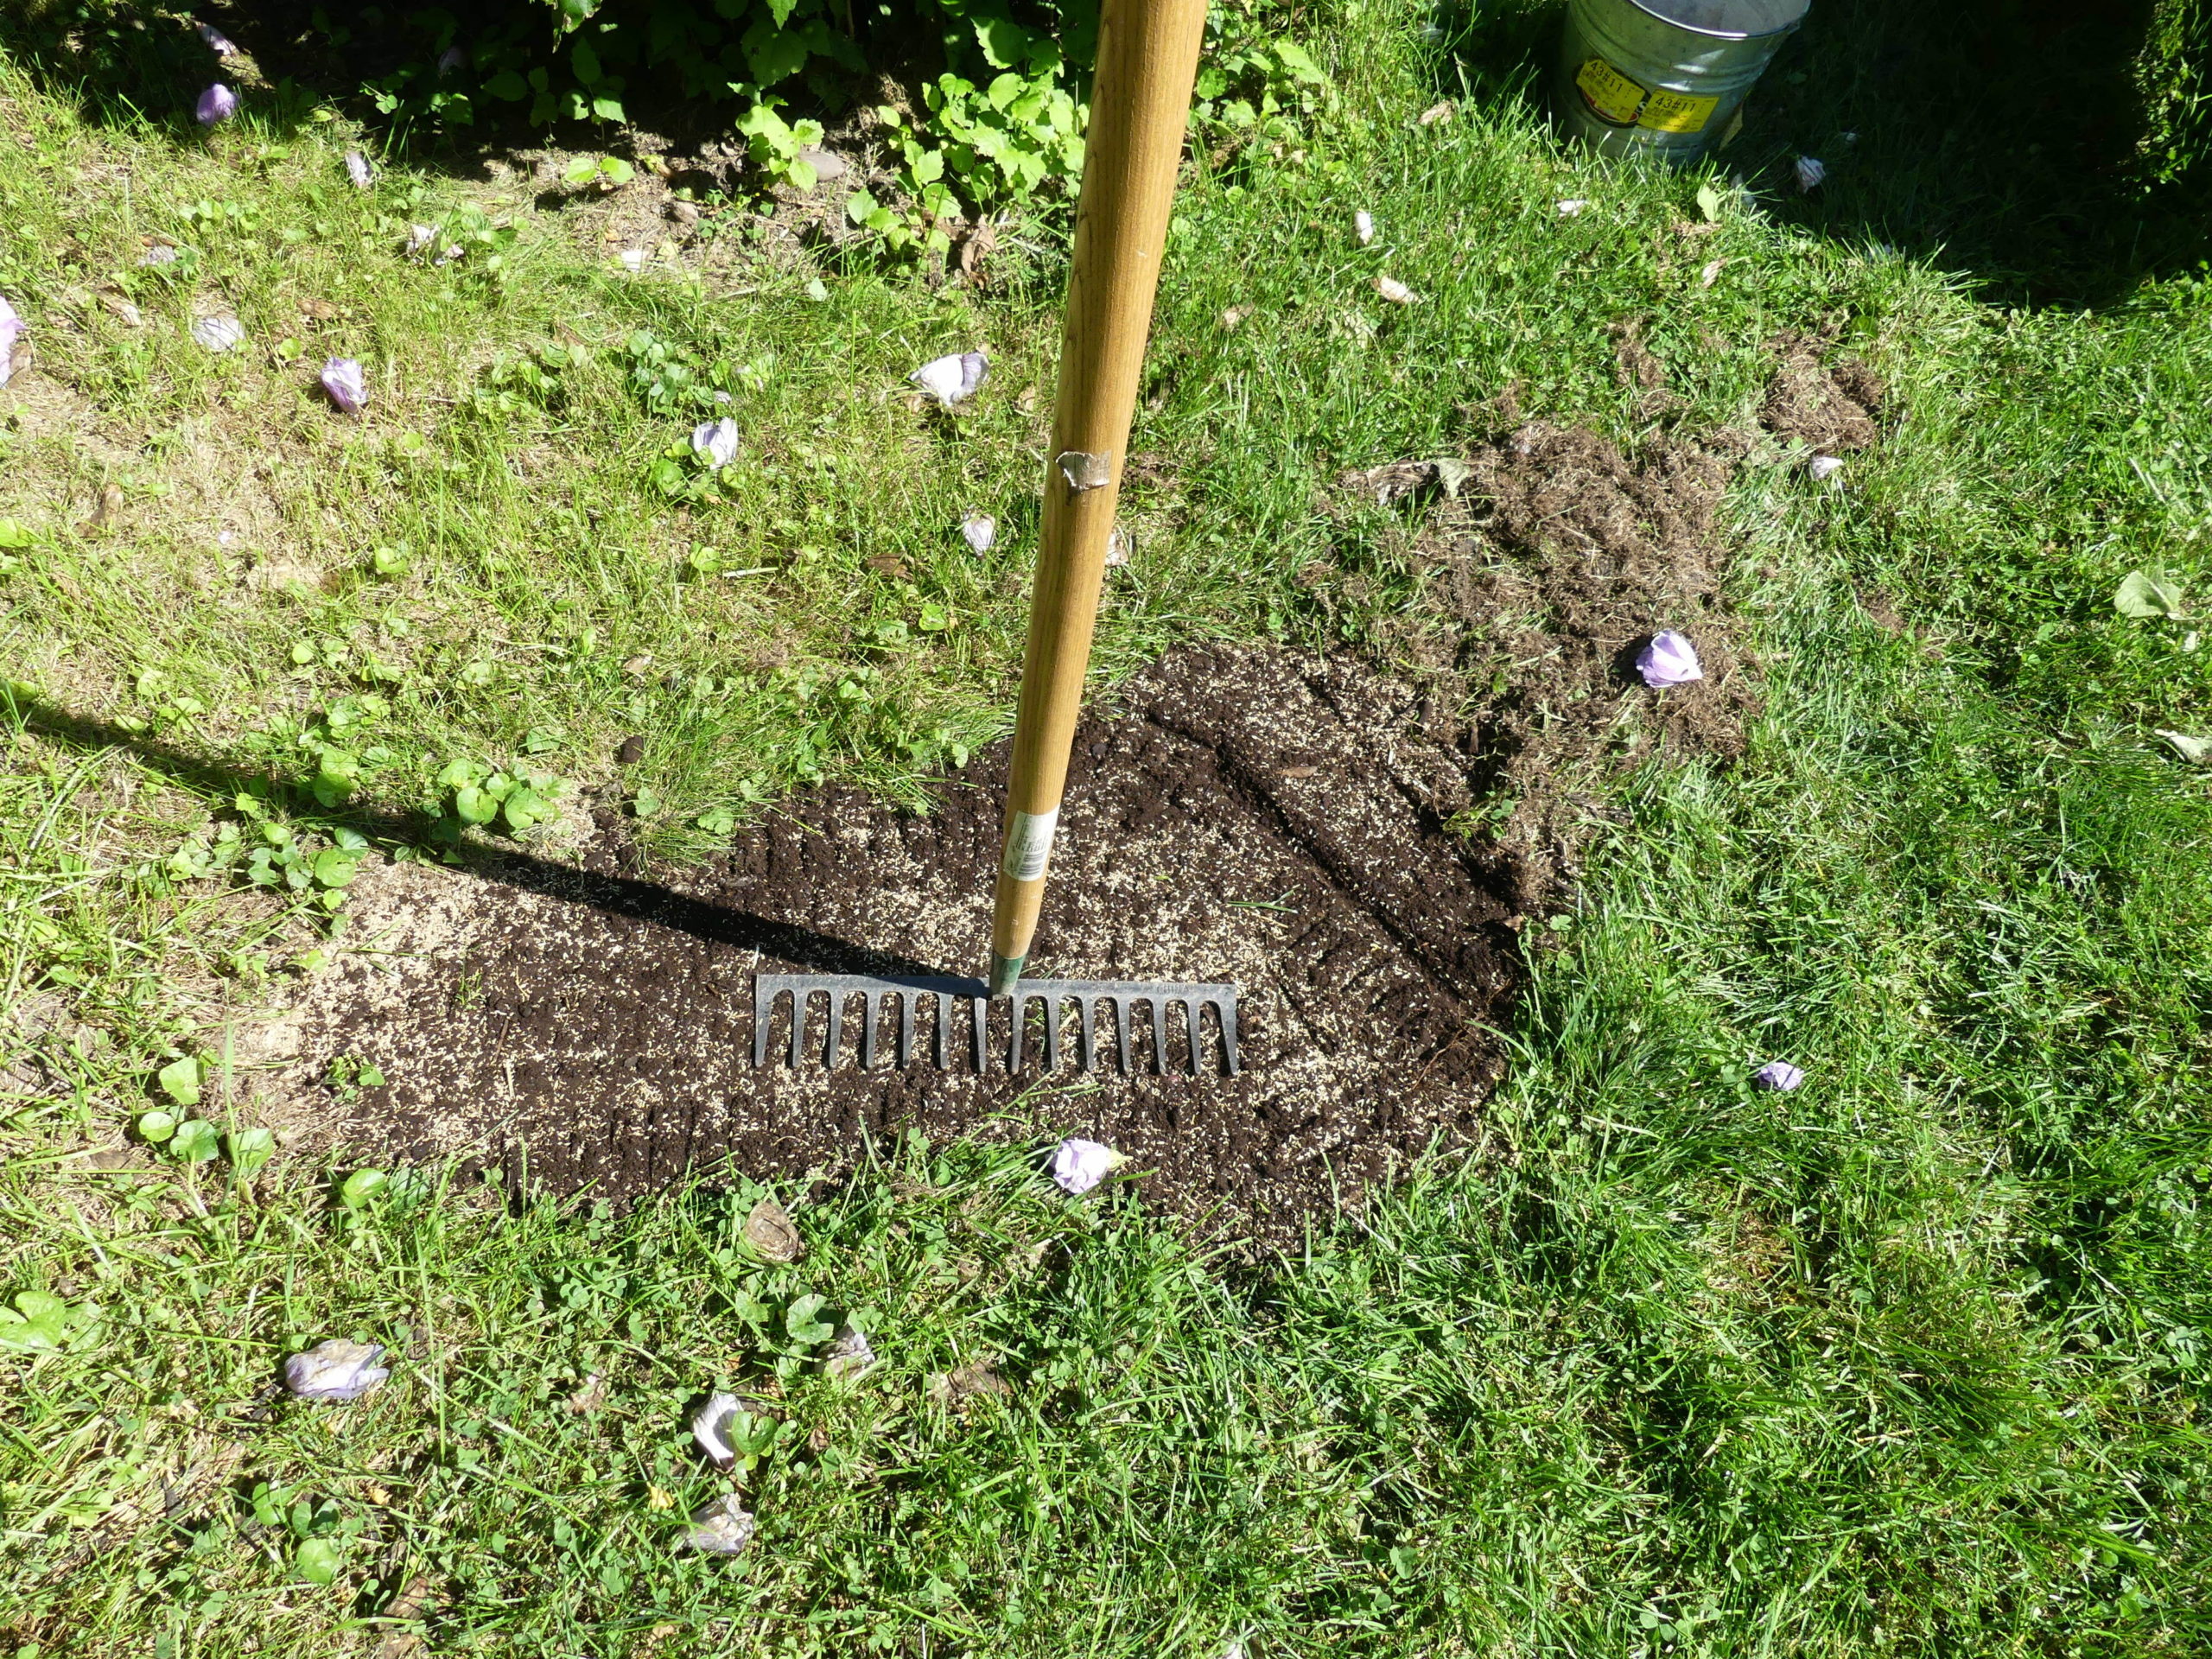
Now get a small pail and a piece of quarter-inch screen mesh. Take some of your soil and rub it against the screen so any rocks, clods or other debris stays on the screen while the fine soil drops into the pail. When the pail is a third to half full, use the screened soil to gently cover the seed. All the seed doesn’t need to be covered, and no more than an eighth of an inch of soil should cover any given area.
Lastly, apply a mulch. You can use a weed-free straw mulch, which is available in small bales — but it must be chopped and weed-free. You can also use a product such as Penn Mulch, which is a compressed wood pulp product that’s applied as pellets. When watered it flattens out and creates an organic but light cover just as a straw mulch would. This protects the seedbed from drying out when the sun hits it and helps keep the soil cool and moist on warmer days. It also deters birds, which lust after the seed.
Some straw mulches come in small bales with fertilizer and seed mixed right in. It’s a great idea but you have no control over the seed blend that’s in the product. Pelleted mulches need to be watered so they break down and actually become mulch. Straw mulch can be a problem when it’s windy or when mowing, but the simple solution is just to dampen the straw. When damp, it will stay in place even during mowing.
None of these mulches need to be removed as they are organic and will break down. Keep leaves off the area until the seed is well germinated, or the leaves will kill the new grass plants.
Bluegrass, ryes and fescues all germinate at different rates so allow at least two weeks for the initial fill-in. You can start to mow the patches when the grass is about 2 inches tall. Fertilizer is not necessary but you can purchase special seeding fertilizer. This type of fertilizer contains phosphorus, which helps in root establishment. Phosphorus is not legal in other lawn fertilizers. If there’s no rain then try to water the patch every day or so until there’s uniform germination.
Remember these instructions are for small areas of several square feet. Larger areas may call for other equipment like rollers and tillers and different methods, but for a few square feet, no matter how many patches you have to make, this method should work well. Try to have your patch work completed by the end of September. Keep growing.
More Posts from Andrew Messinger


