


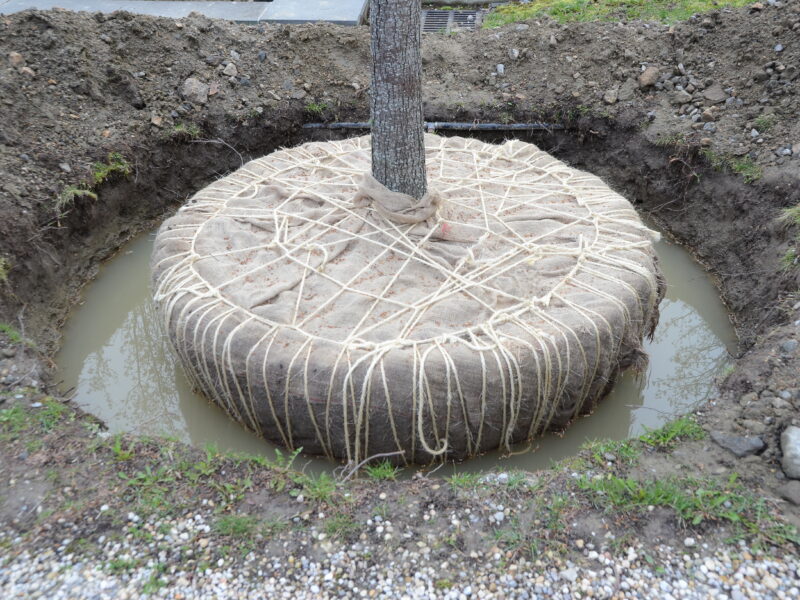
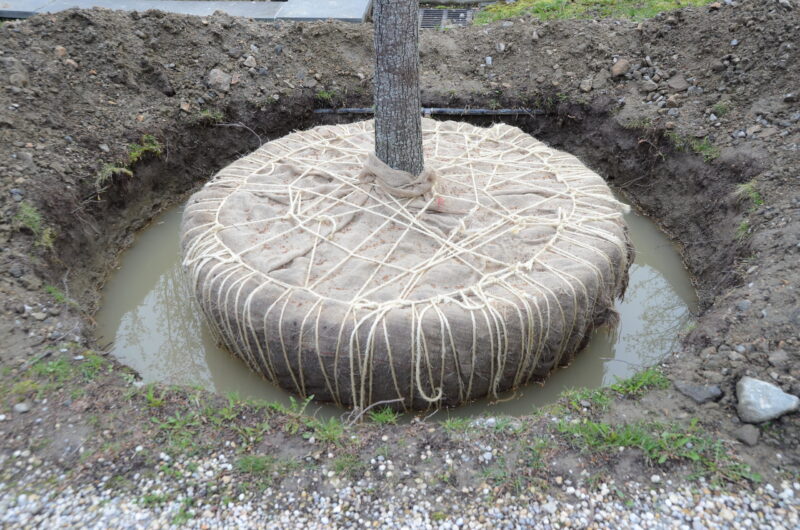
This balled and burlapped Bradford pear tree was about to be planted in a hole dug deep enough and wide enough. But the landscape contractor never checked the native soil, only to find out that it was heavy clay with little to no drainage. It’s not enough to simply dig a hole. Know what’s under the hole, and check the native soil for proper drainage. ANDREW MESSINGER
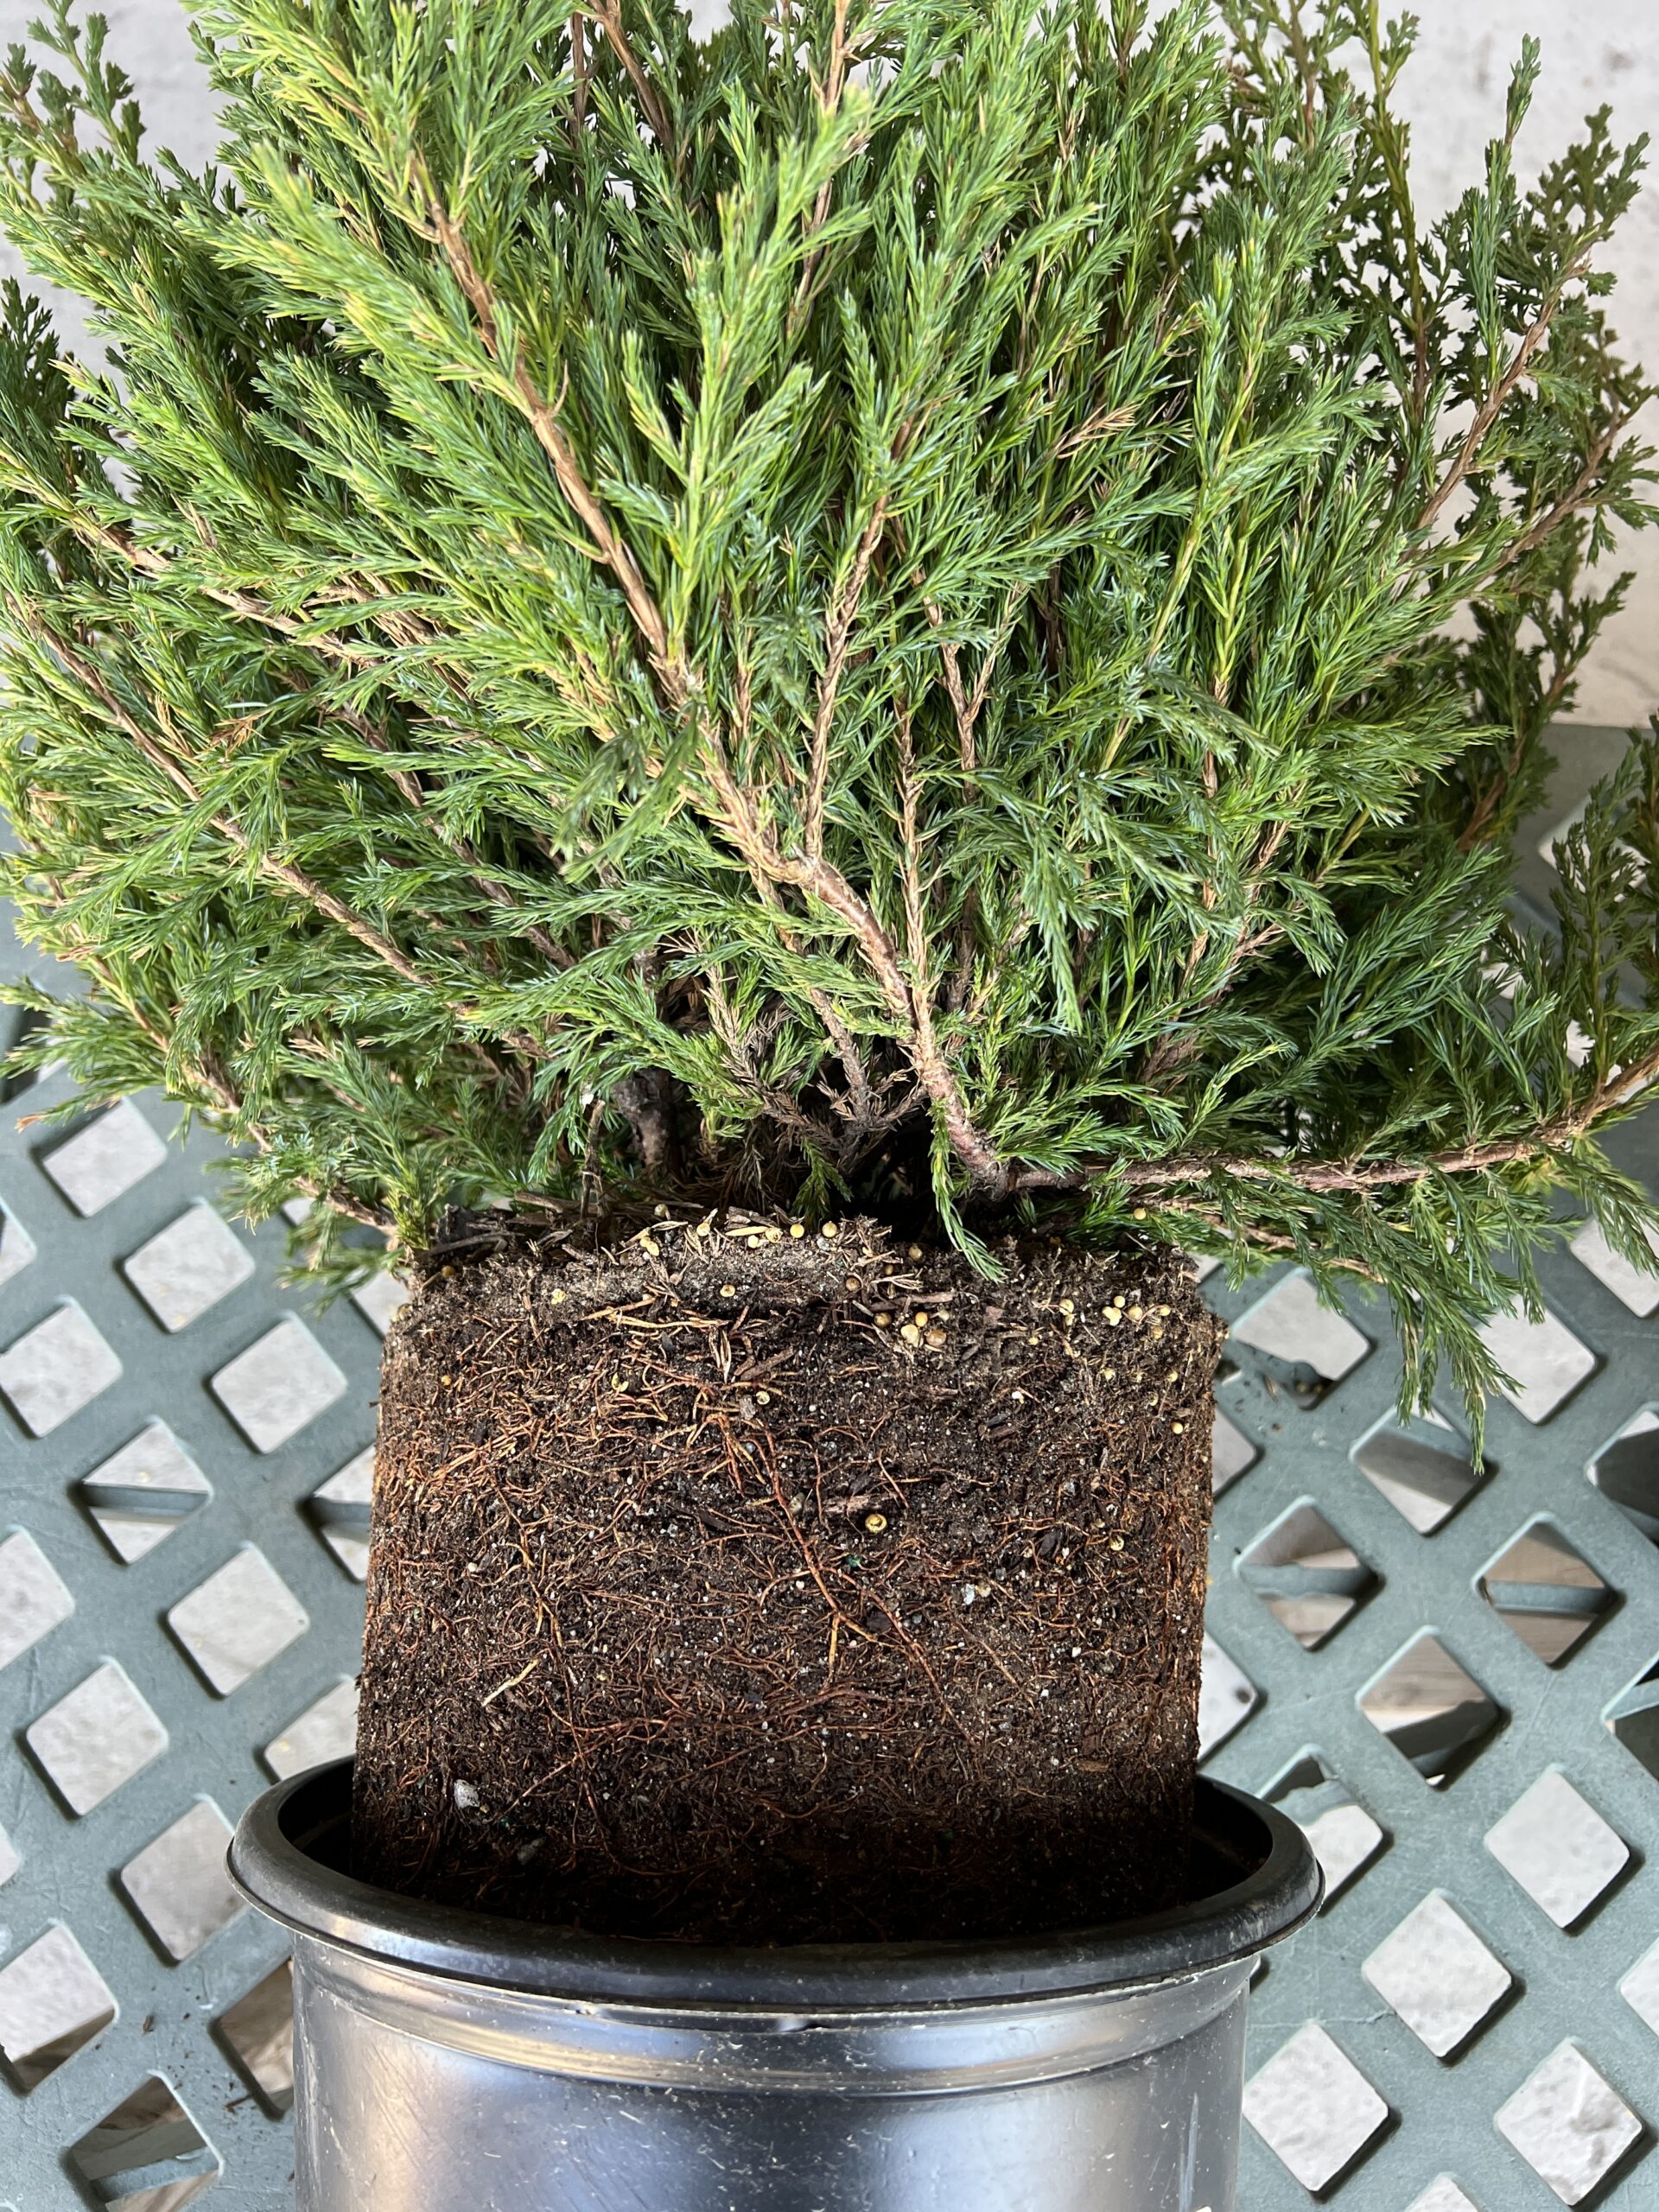
The same Juniper, but pulled out of the pot. The root mass shows that while the roots are well formed the plant is not yet pot-bound, a good thing. By simply pushing your fingers into the root mass, most of the roots can be teased out and opened up easily. Note that the soil has sand in it to aid in drainage and the small round “prills” or pellets near the top of the soil are time-release fertilizer pellets used at the nursery. ANDREW MESSINGER
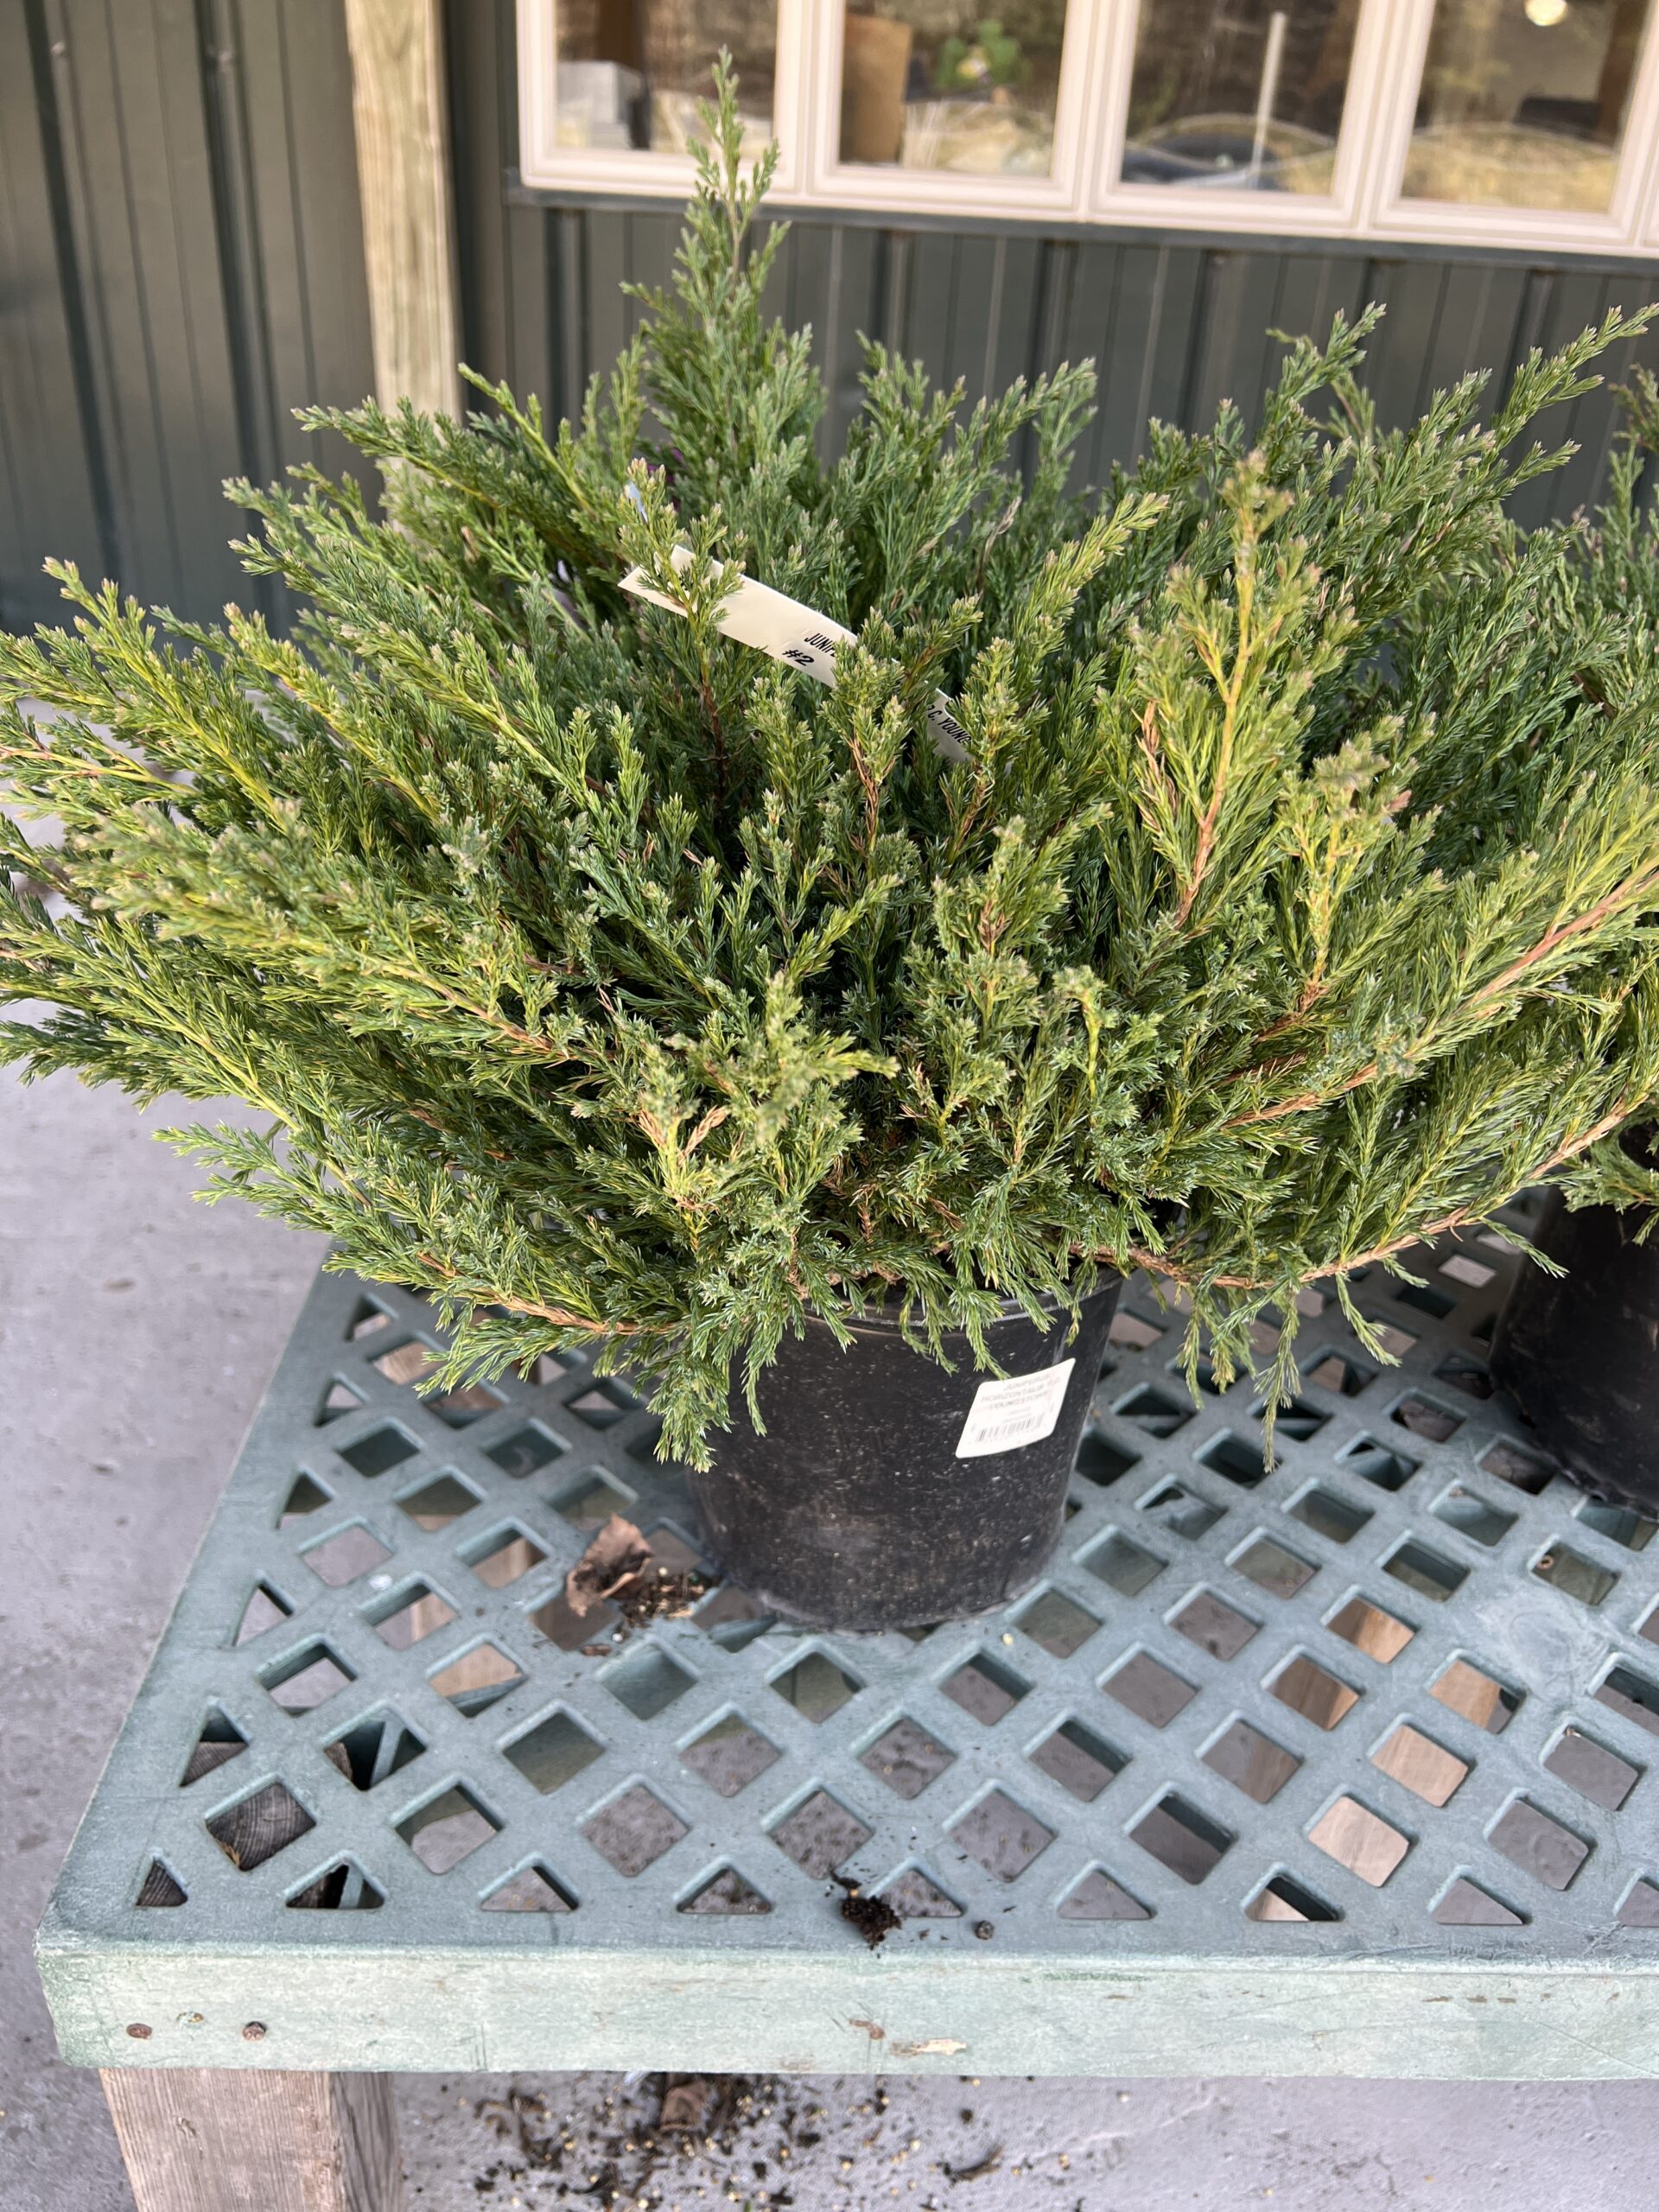
This Compact Andorra Juniper was found at a “home” center. Grown in a 2-gallon pot, it appears to be healthy and a good candidate for planting. But what does the root system look like? ANDREW MESSINGER
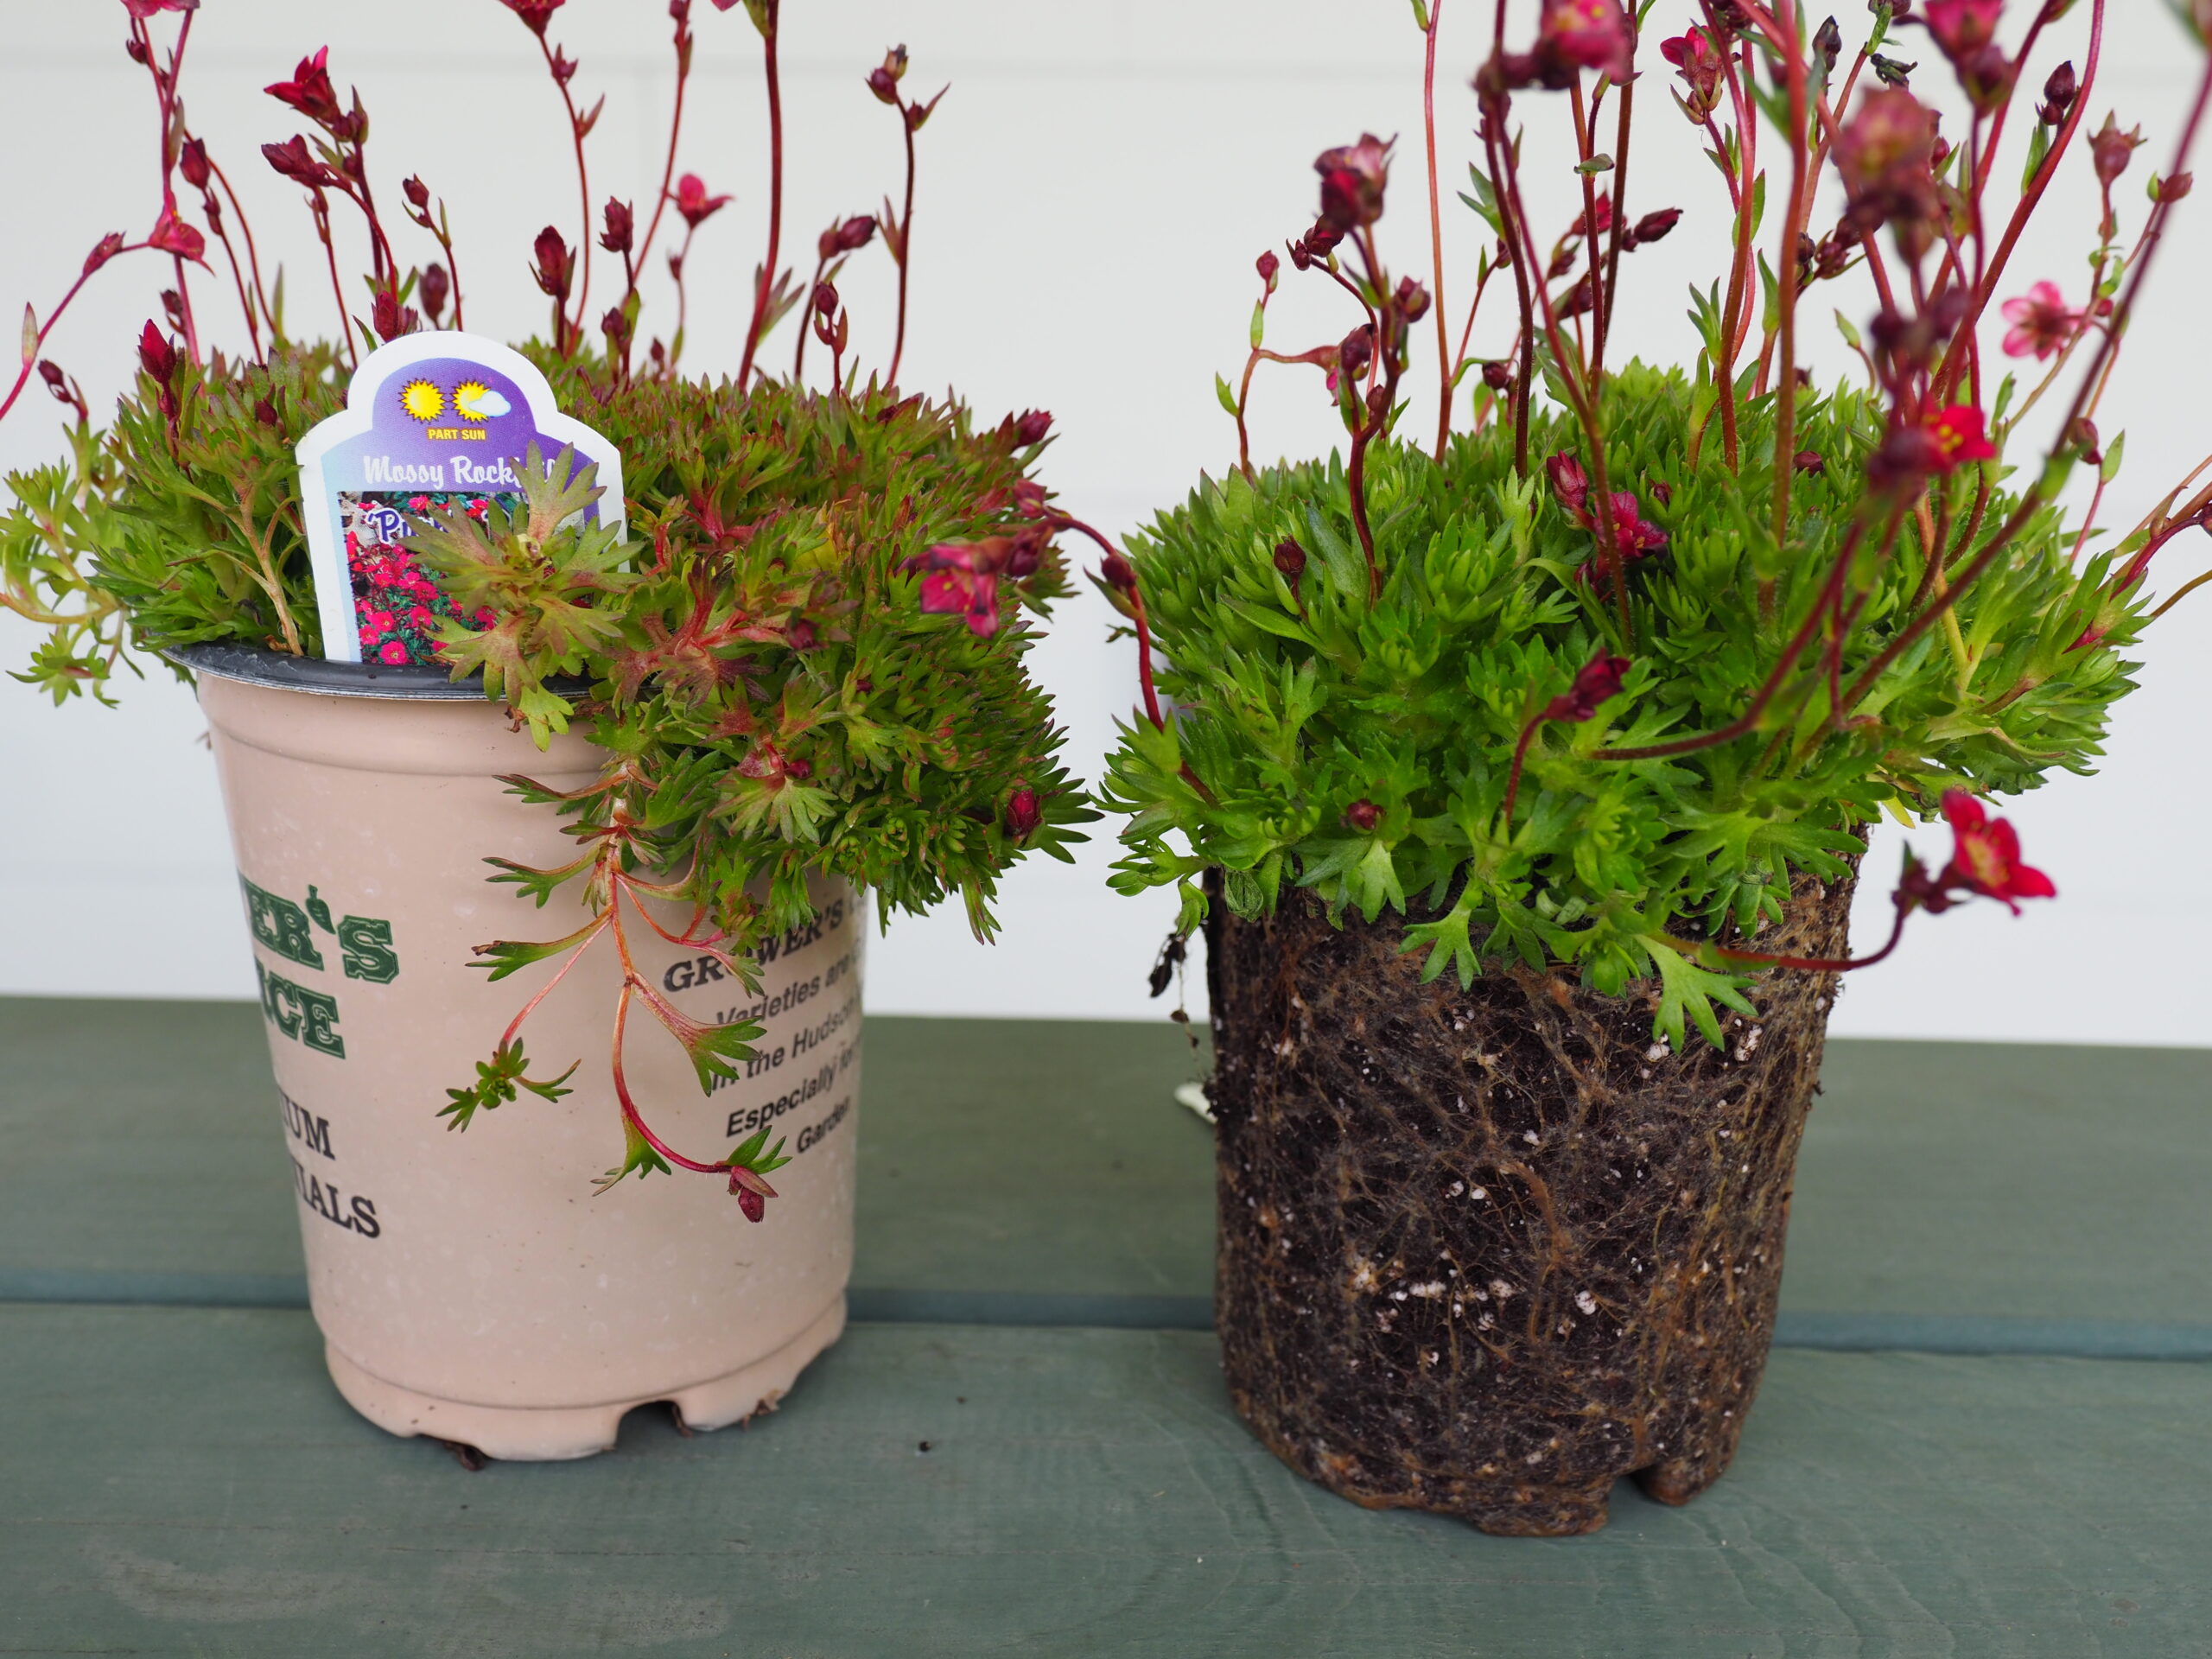
These are nursery-grown Saxifrages or Mossy Pinks in 2-pint containers. The root mass on the plant on the right is fairly tight with no soil falling off when unpotted. ANDREW MESSINGER
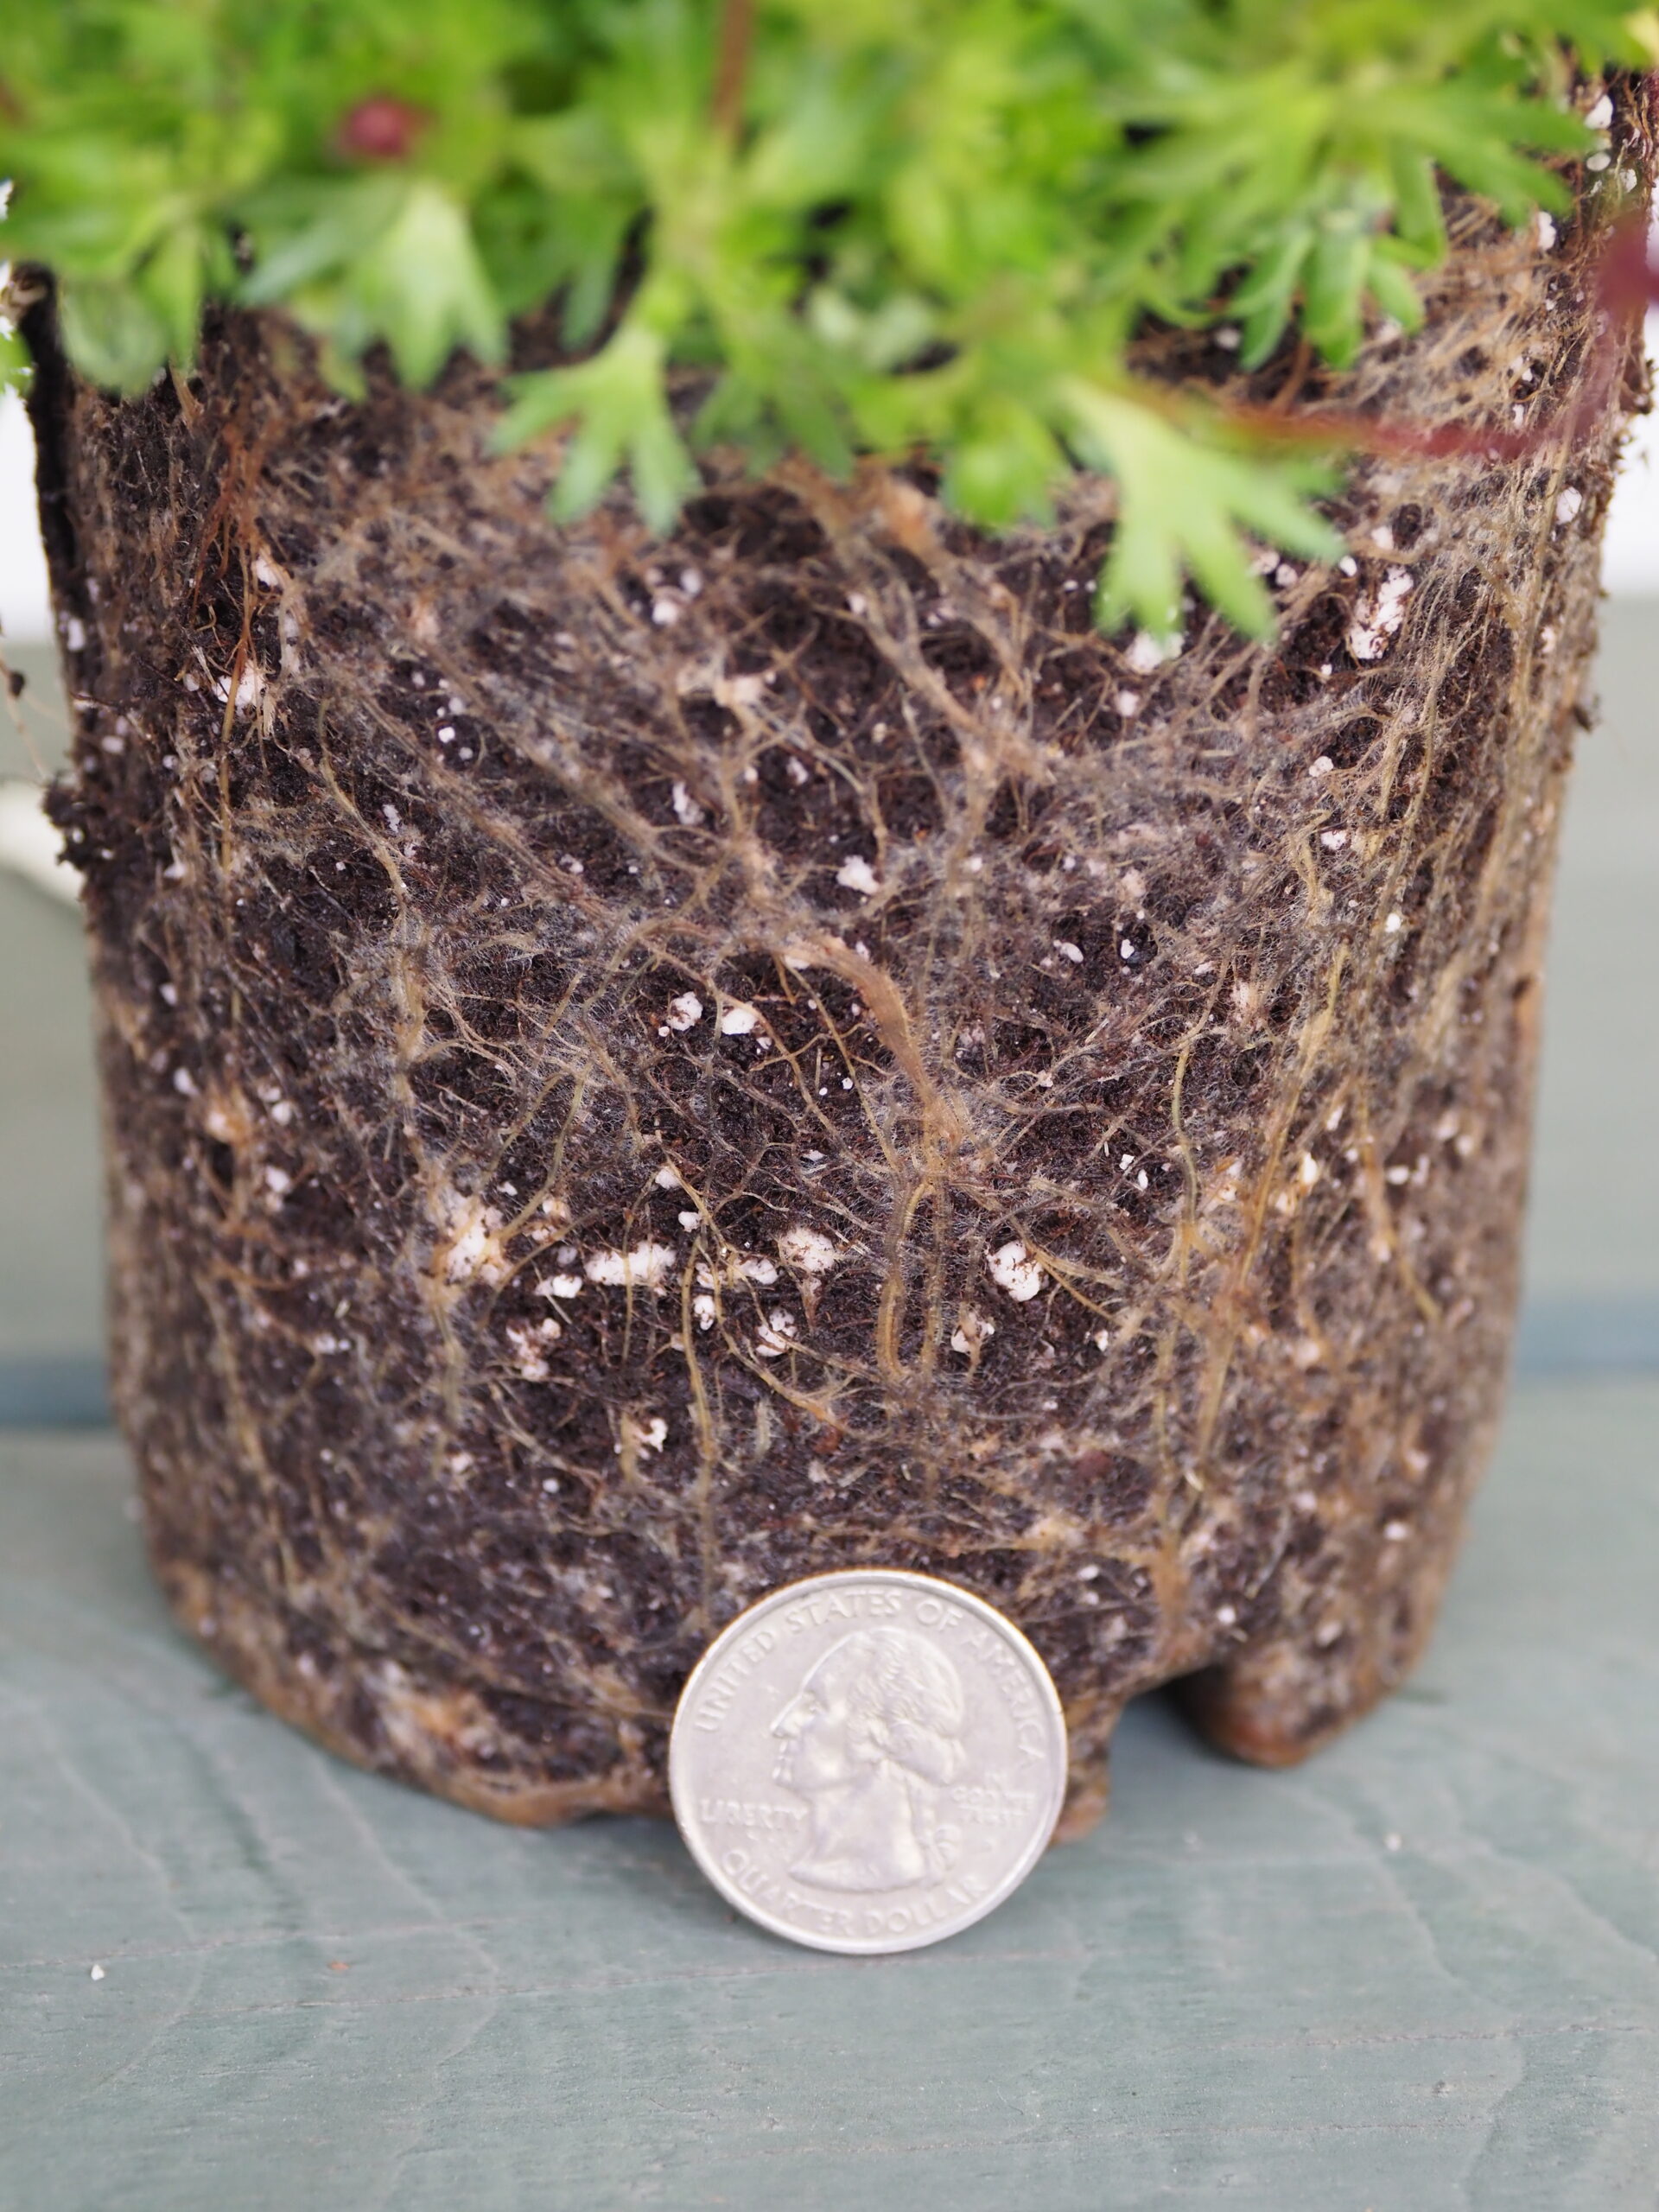
A closer view of the roots in the unpotted Mossy Pink. If planted like this, the roots will continue to grow mostly in the same circular pattern. To encourage better rooting and root growth, use your fingers to pull the roots and tease them out. When replanting, work the backfill soil in and around the roots to remove air pockets and insure good soil contact. It only takes the roots of perennials a few weeks to reestablish and begin exploring into the surrounding soil. Remember: Tease the roots out, don’t rip them apart. ANDREW MESSINGER

We’re now into prime planting season when it comes to many trees, shrubs, annuals, perennials and veggies. When planting, you usually only get one chance, so here are some tips and advice to get it done right. Remember, many of the things you or your landscaper plant will be there for years or even decades.
The biggest mistake most gardeners make in planting just about everything is planting much too deep. The initial planting might “look” right, but after watering the plant, you notice that it sinks. This is more than a sign of just poor planting but of issues that can haunt you for years to come.
Since annuals are the easiest and least-expensive plants we work with, let’s start here. Most of us buy our annuals in cell packs. Those plastic packs are nothing more than tiny containers. Depending on where they were grown and how long ago, you can coax these plants out of the cells to find that the roots are just a dense mass of white strings or threads.
The good news is that these annuals are fast growers and that being “potbound” in a cell pack is no big deal if you keep the plants in the packs watered well. When it’s time to plant, make sure you’ve hardened the plants off for several days by gradually introducing them to sun and wind. Try to do your planting on a cloudy day as this reduces transplanting shock. Water the packs well before you extract the individual cells, and take a look at the root mass.
In most cases, the roots won’t be totally dense and you can easily tease the roots out with your fingers. Make a planting hole with a large dibble or hand trowel and put the plant into the hole. The soil line of the plant in the cell should be the soil line of the plant in the planting hole. Don’t shove it down into the hole to make it work, but rather, add or remove soil. Firm the soil around the plant without any soil compaction other than using your fingers to remove air spaces.
Never add fertilizer at planting time, but if you’re making soil to backfill your holes, you can mix a small amount of fertilizer to the soil. Organics are preferred as they won’t burn the roots where chemical fertilizers may. If you choose to use a long-lasting, time-release fertilizer like Osmocote, it can be mixed into the soil at planting time, and a small amount can be added to the bottom of the planting hole — but cover it with about a half-inch of soil, then plant.
Water in the plants as soon as you’ve finished the installation but don’t drown them. If you notice that your plants sink after your first water then you didn’t firm the soil or you simply planted too deep. Remember — with all plantings — the soil level of the plant in a container should be the soil level when the planting is complete. Annuals are forgiving, though, and in a worst-case scenario, you can gently pull on the stem at the soil line and lift the plant slightly … slightly.
Water as needed. This can be daily or even more often if we have sunny, dry weather with very low humidity like we had last week. Shy away from commercial bagged soils that have water-retaining materials in them. These can be a disaster when there’s lots of rain, especially with pots and planters.
Perennials can be a bit trickier because they can arrive as bare roots, in larger cells, small pots or larger pots and containers. Bare-root perennials usually come with planting instructions that are easy to follow. These are smaller plants, though, and can easily get lost in the garden or snatched out of the ground by animals. For this reason, I’ve started to pot these into containers and let them grow on for several months before planting into the garden. Any good potting soil can be used, and you can mix in some of your garden soil.
Since most potted perennials will be a year or more old, the roots may be dense and tight. If that’s the case, the roots should be teased out. This will encourage them to grow into the soil in the planting hole. If the roots are not loosened, they will continue to grow in circles without extending into the soil surrounding the planting hole.
To loosen challenging roots, use a utility knife and pull the knife down from the top of the root mass to the bottom. The blade should go from a quarter-inch to a half-inch into the root mass, depending on the size of the container. Don’t worry — you won’t kill the plant. Actually what you are doing is encouraging new roots to grow from the ones you’ve cut. Make no more than four vertical (never horizontal) cuts from top to bottom then try to loosen the soil at the bottom of the mass with your fingers, but just a bit.
Planting is the same as described above with the annuals, but perennials can be a bit less forgiving. Know the growing requirements of each type of plant: that includes soil type, drainage and light needs. Irises and peonies bought as potted plants must be planted perfectly or they will never flower, and neither of these will tolerate being planted too deep. They will live, they may flower this year, but not after that when overplanted.
Once in the planting hole, which only needs to be as big as the root ball unless you’re planting in pure sand, backfill with native soil or a soil mix and water in. If you’ve planted correctly, the plant will not sink and all will be well.
Water in the perennials after planting — but no fertilizer for at least two weeks and then only light feeding the first year. Most will have been fed at the nursery with a time-released fertilizer, so they’re just fine.
When in doubt, plant high. As you’ll note with all these plantings, planting deep is usually a death knell. Time-released fertilizer can also be used with perennial plantings with a little mixed in with the planting mix and or a small amount at the bottom of the planting hole but covered with about an inch of soil before installing the plant.
Perennials, trees and shrubs will often be so potbound that you can’t easily get them out of the pots or containers. Watering well and cutting any roots that are emerging from the drainage holes can help, but in the end, you may just have to cut the pot. If this is the case, use a utility knife and make two cuts on opposite sides of the pot from top to bottom. Don’t make horizontal cuts.
Trees and shrubs bought in containers have been in the nursery much longer, and these are the plants most likely to be potbound and in need of root therapy. The process is pretty much the same though. First, liberate the plant from the pot as described above. Assess the condition of the root mass, and if no soil falls from the unpotted plant, you can try to pull and tug the roots out to free them up. Try not to break them, just tease them out. If you have no success this way, use your utility knife to make several vertical cuts from top to bottom. In some cases where the plant has been in the nursery for several years, the pot may need to be cut. This can be done with a utility knife but some of these pots are thick plastic. I’ve used a tin snip to cut them from the rim down to the bottom.
Years ago we used to plant trees and shrubs in large planting holes, but this practice has been pretty much abandoned. Planting holes for most of these plants should be 2 to 8 inches wider and deeper than the root ball, and backfill can be made up of native soil mixed with aged compost. A bit more work is required when planting in very sandy soils, and in these cases, the holes can be deeper and wider, while mixing the native soils together with some great compost. This process gives the roots more expansion possibilities, but with the added compost, the soil is also able to retain more moisture and develop soil microorganisms.
Trees and shrubs are absolutely unforgiving when it comes to planting depth. Again, never plant deeper than the soil line in the container. When in doubt, never plant deeper, always higher.
Trees and shrubs require more watering after planting, especially for spring plantings. You’ll need to water regularly through the first growing season while at the same time not drowning the roots.
Trees and shrubs don’t get any fertilizer at planting time and probably not for the first year in the ground. However — and this is important — trees and shrubs will benefit from biostimulants at planting. These materials add a whole range of beneficial fungi and other biological matter to the soil that will help the roots survive and make them better able to absorb nutrients from the soil.
I love being totally exhausted after a day of planting. My back hurts, my legs hurt, but for gardeners, this is a small price to pay for the joy of being able to grow. Remember two things: First, there’s always room for one more. Second, keep growing.
More Posts from Andrew Messinger


