


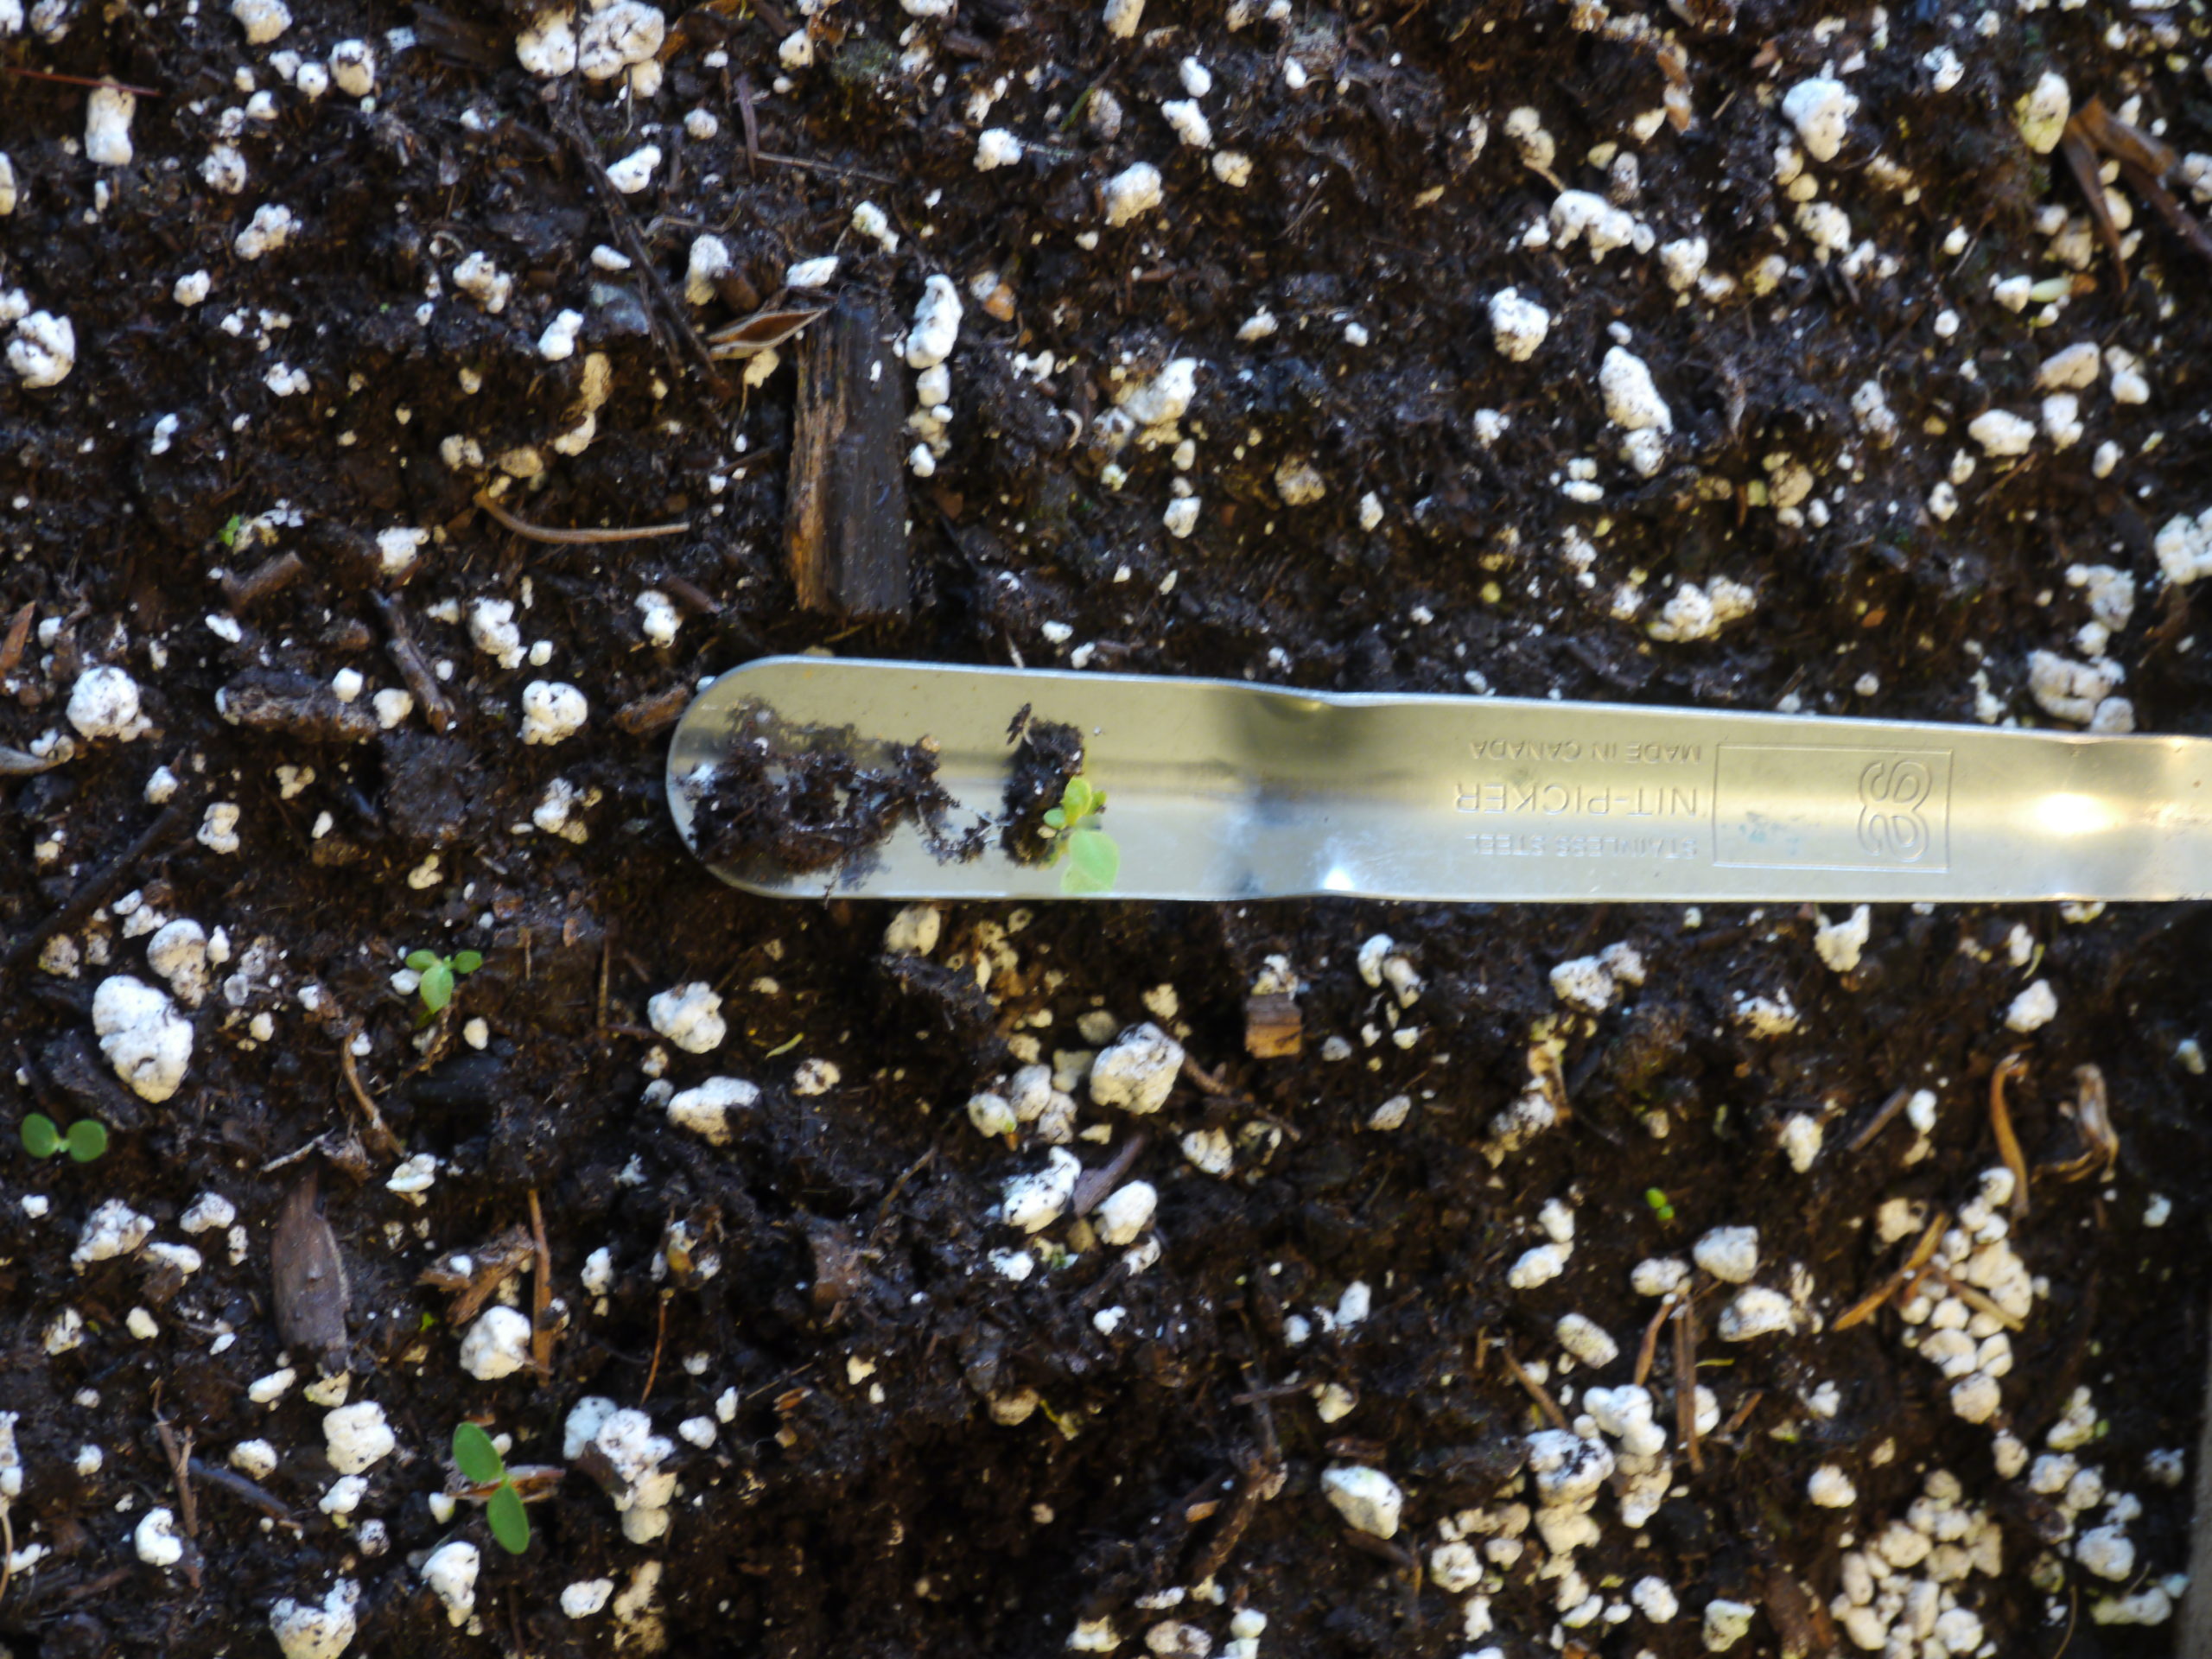
A widger, or nitpicker, used to tease a primula seedling from a seed flat. This small seedling will move into a small cell for growing and, later, be planted in the garden.
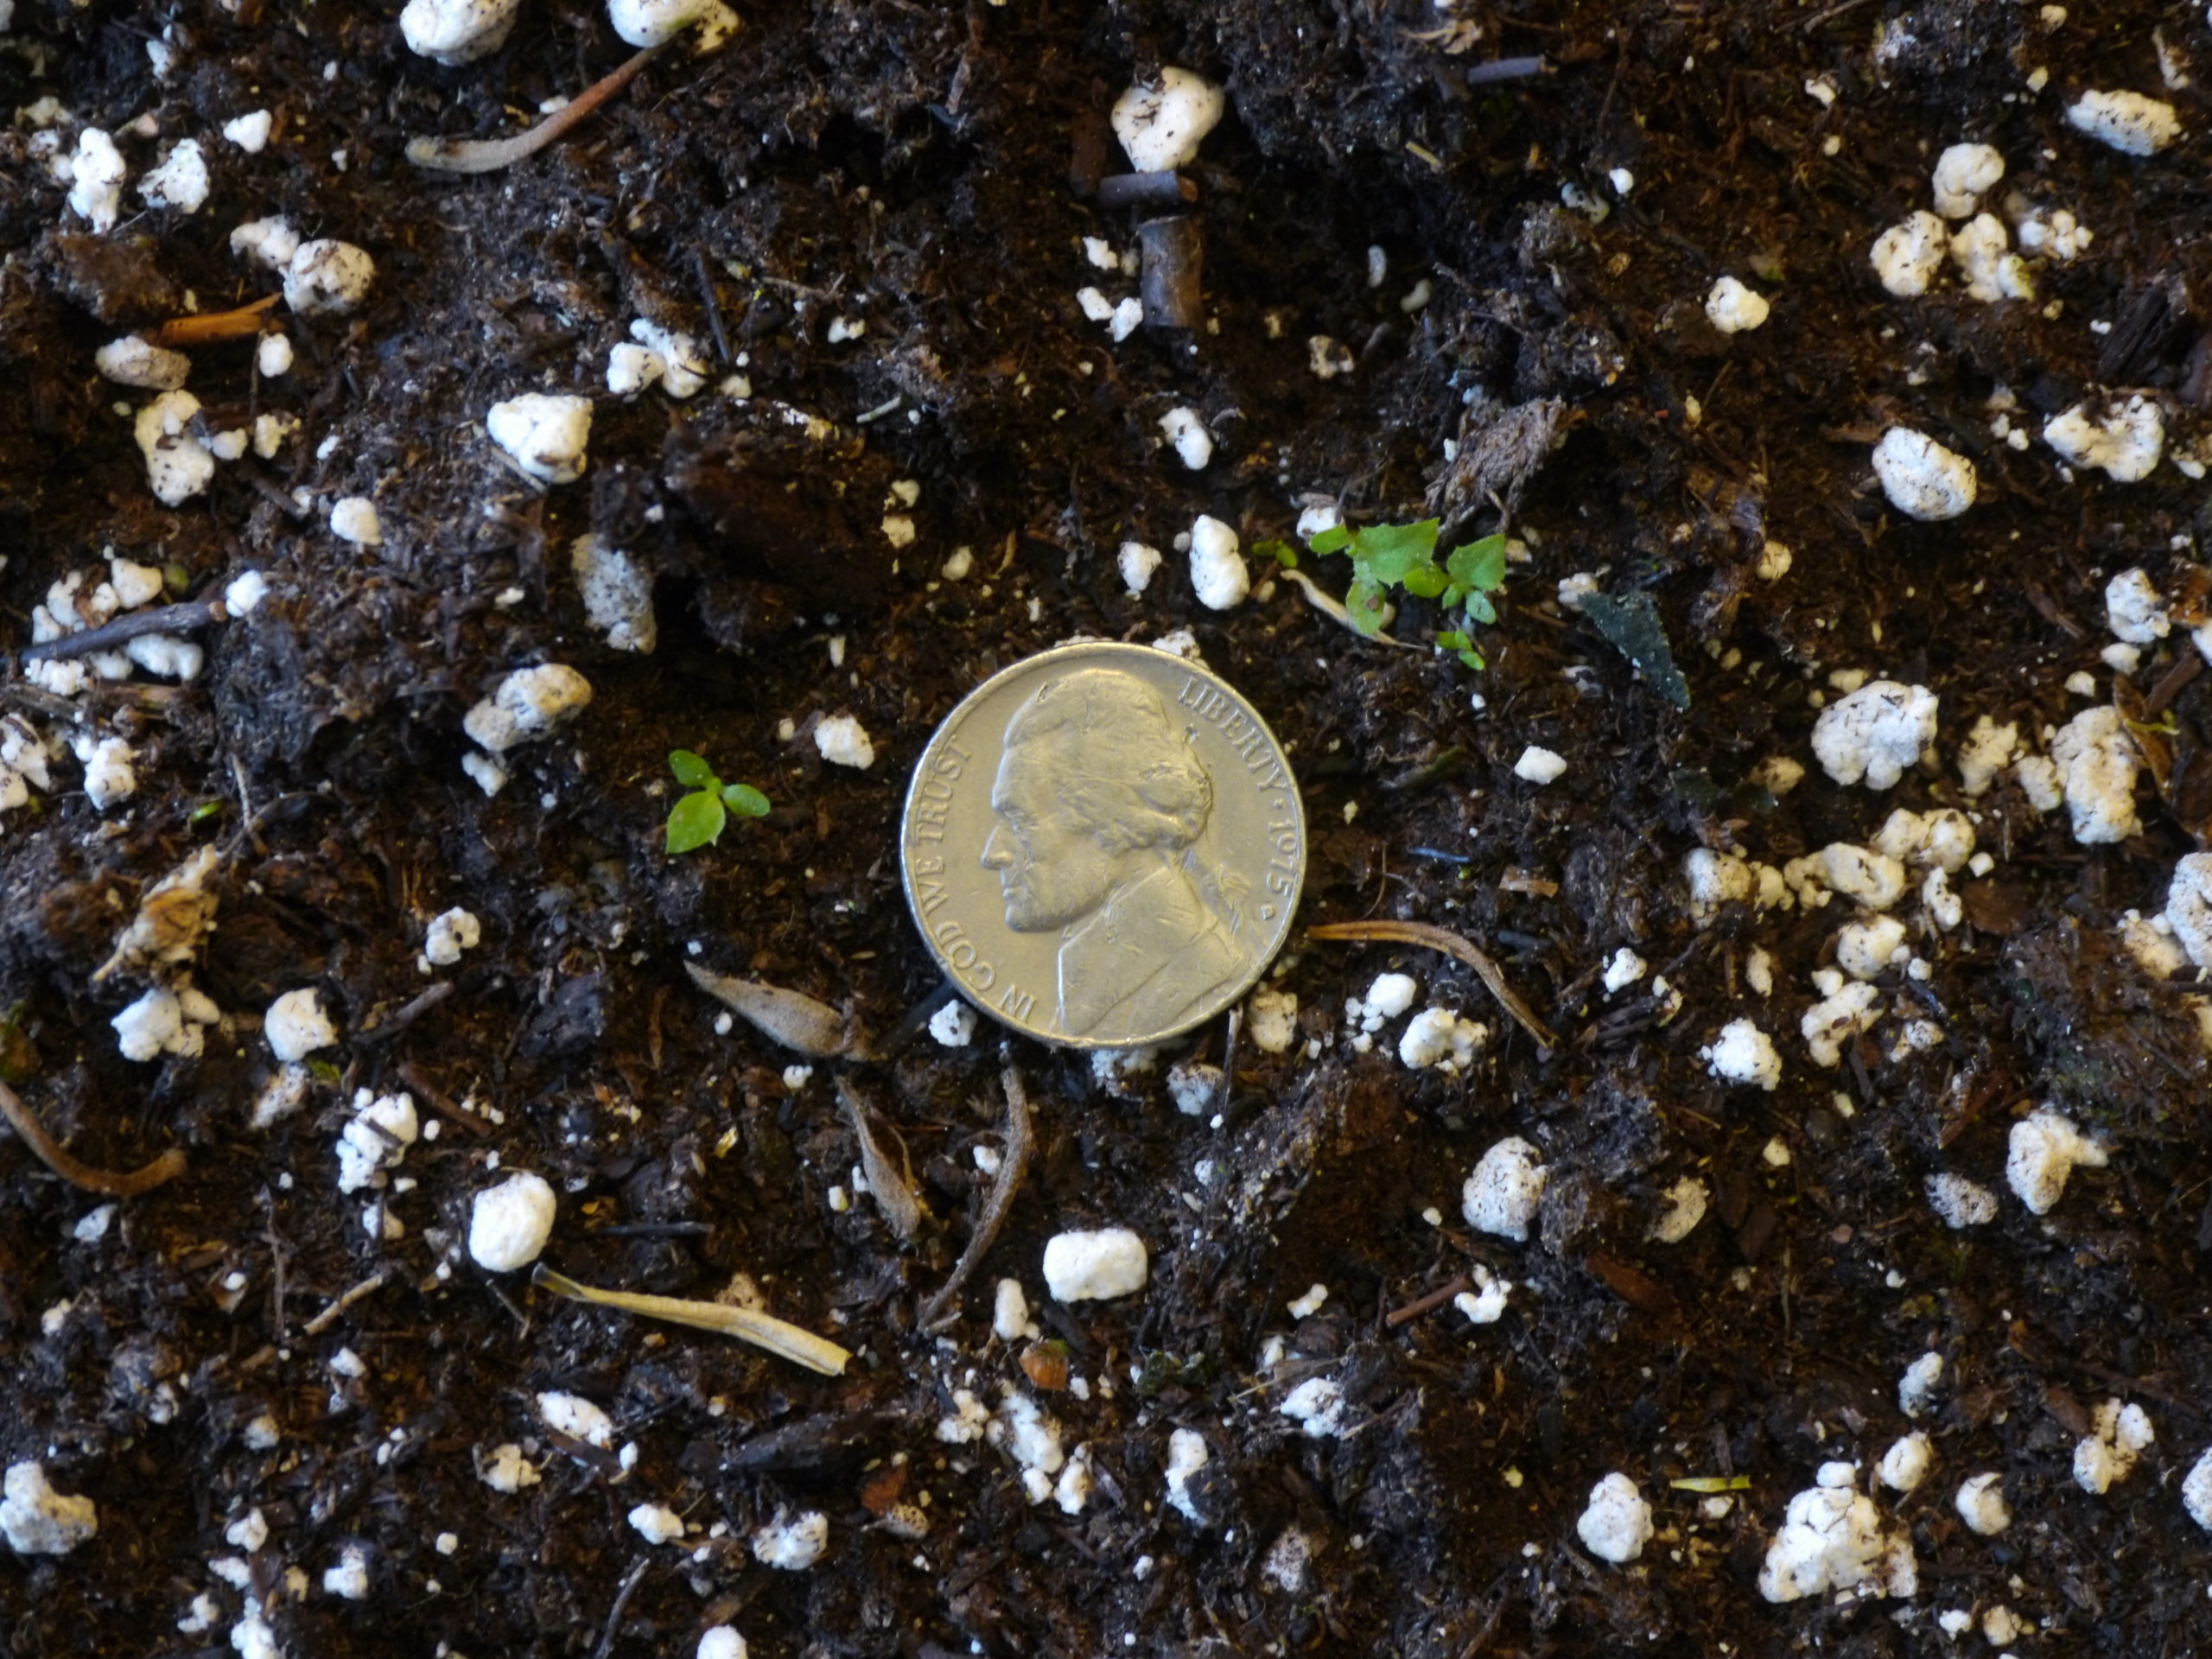
A view of a primula seedling prior to being lifted for transplanting. The seedling on the left is not ready for transplanting, but the other is because it has two "true" leaves.
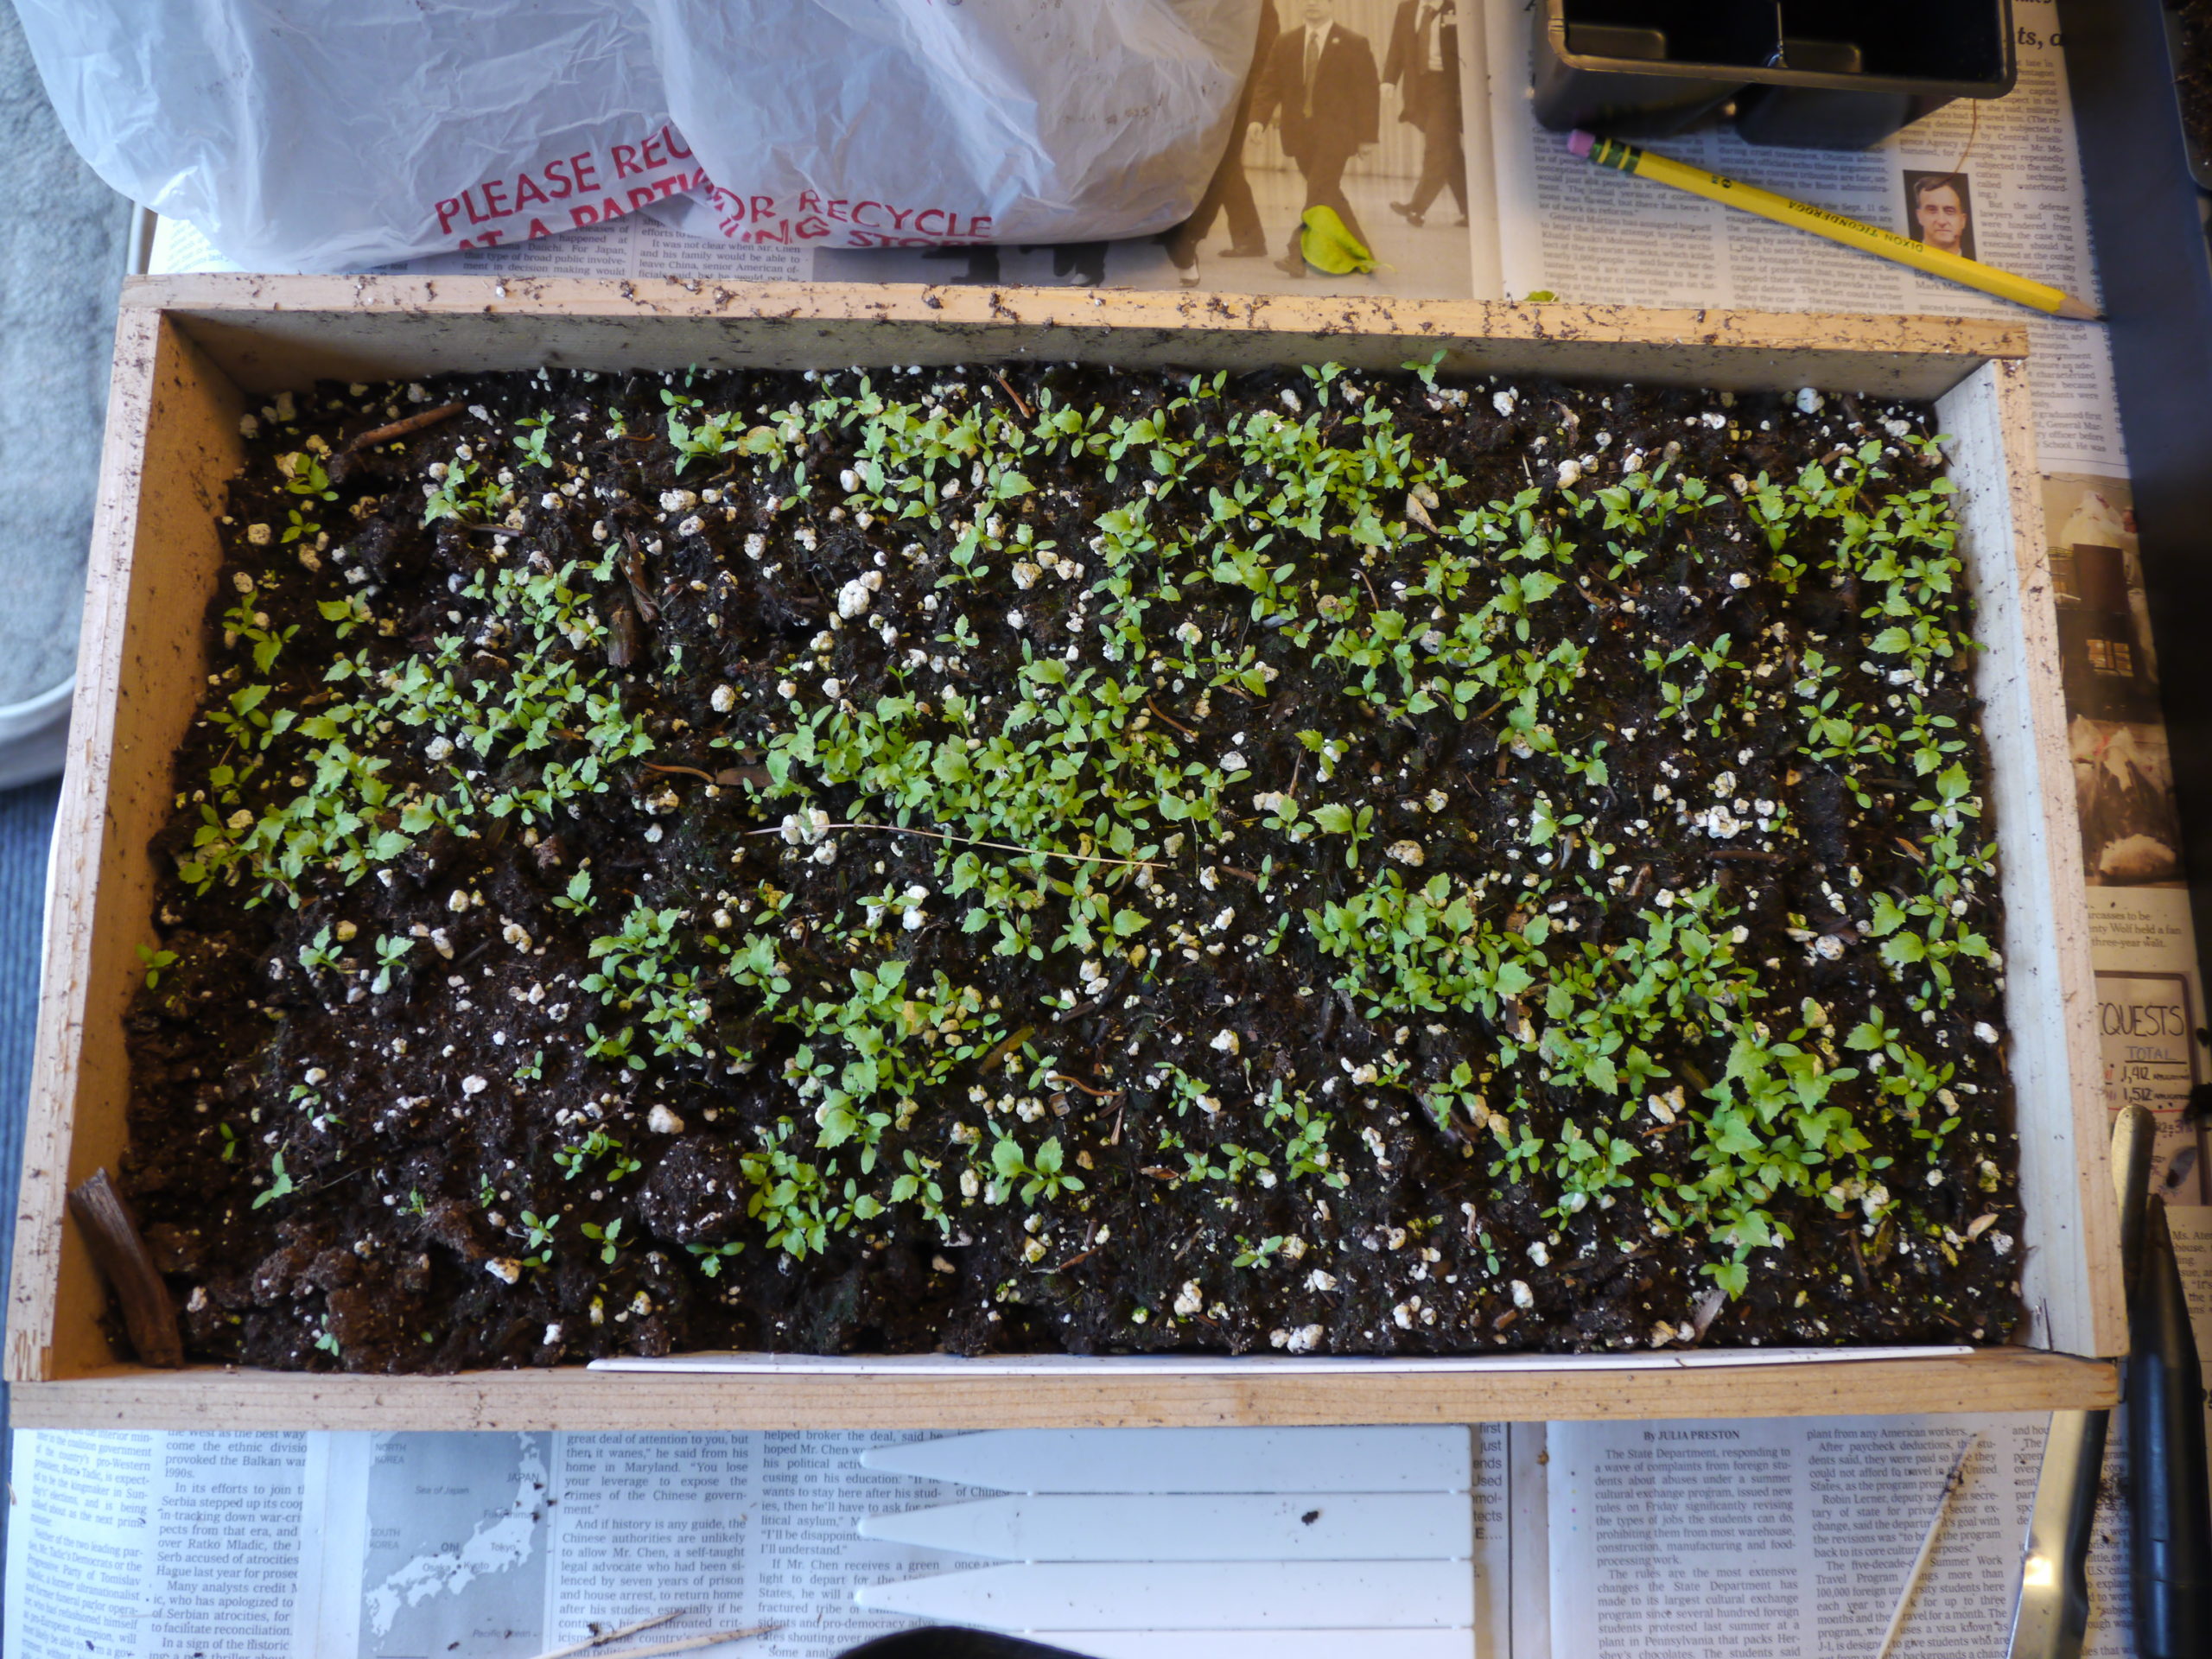
Just a pinch of primula seed was used for this 11-inch-by-22-inch wooden flat, and could yield hundreds of new plants. The cost of growing each seedling to transplant size was about a dime, whereas purchasing the plants in pots would cost $10 or more.
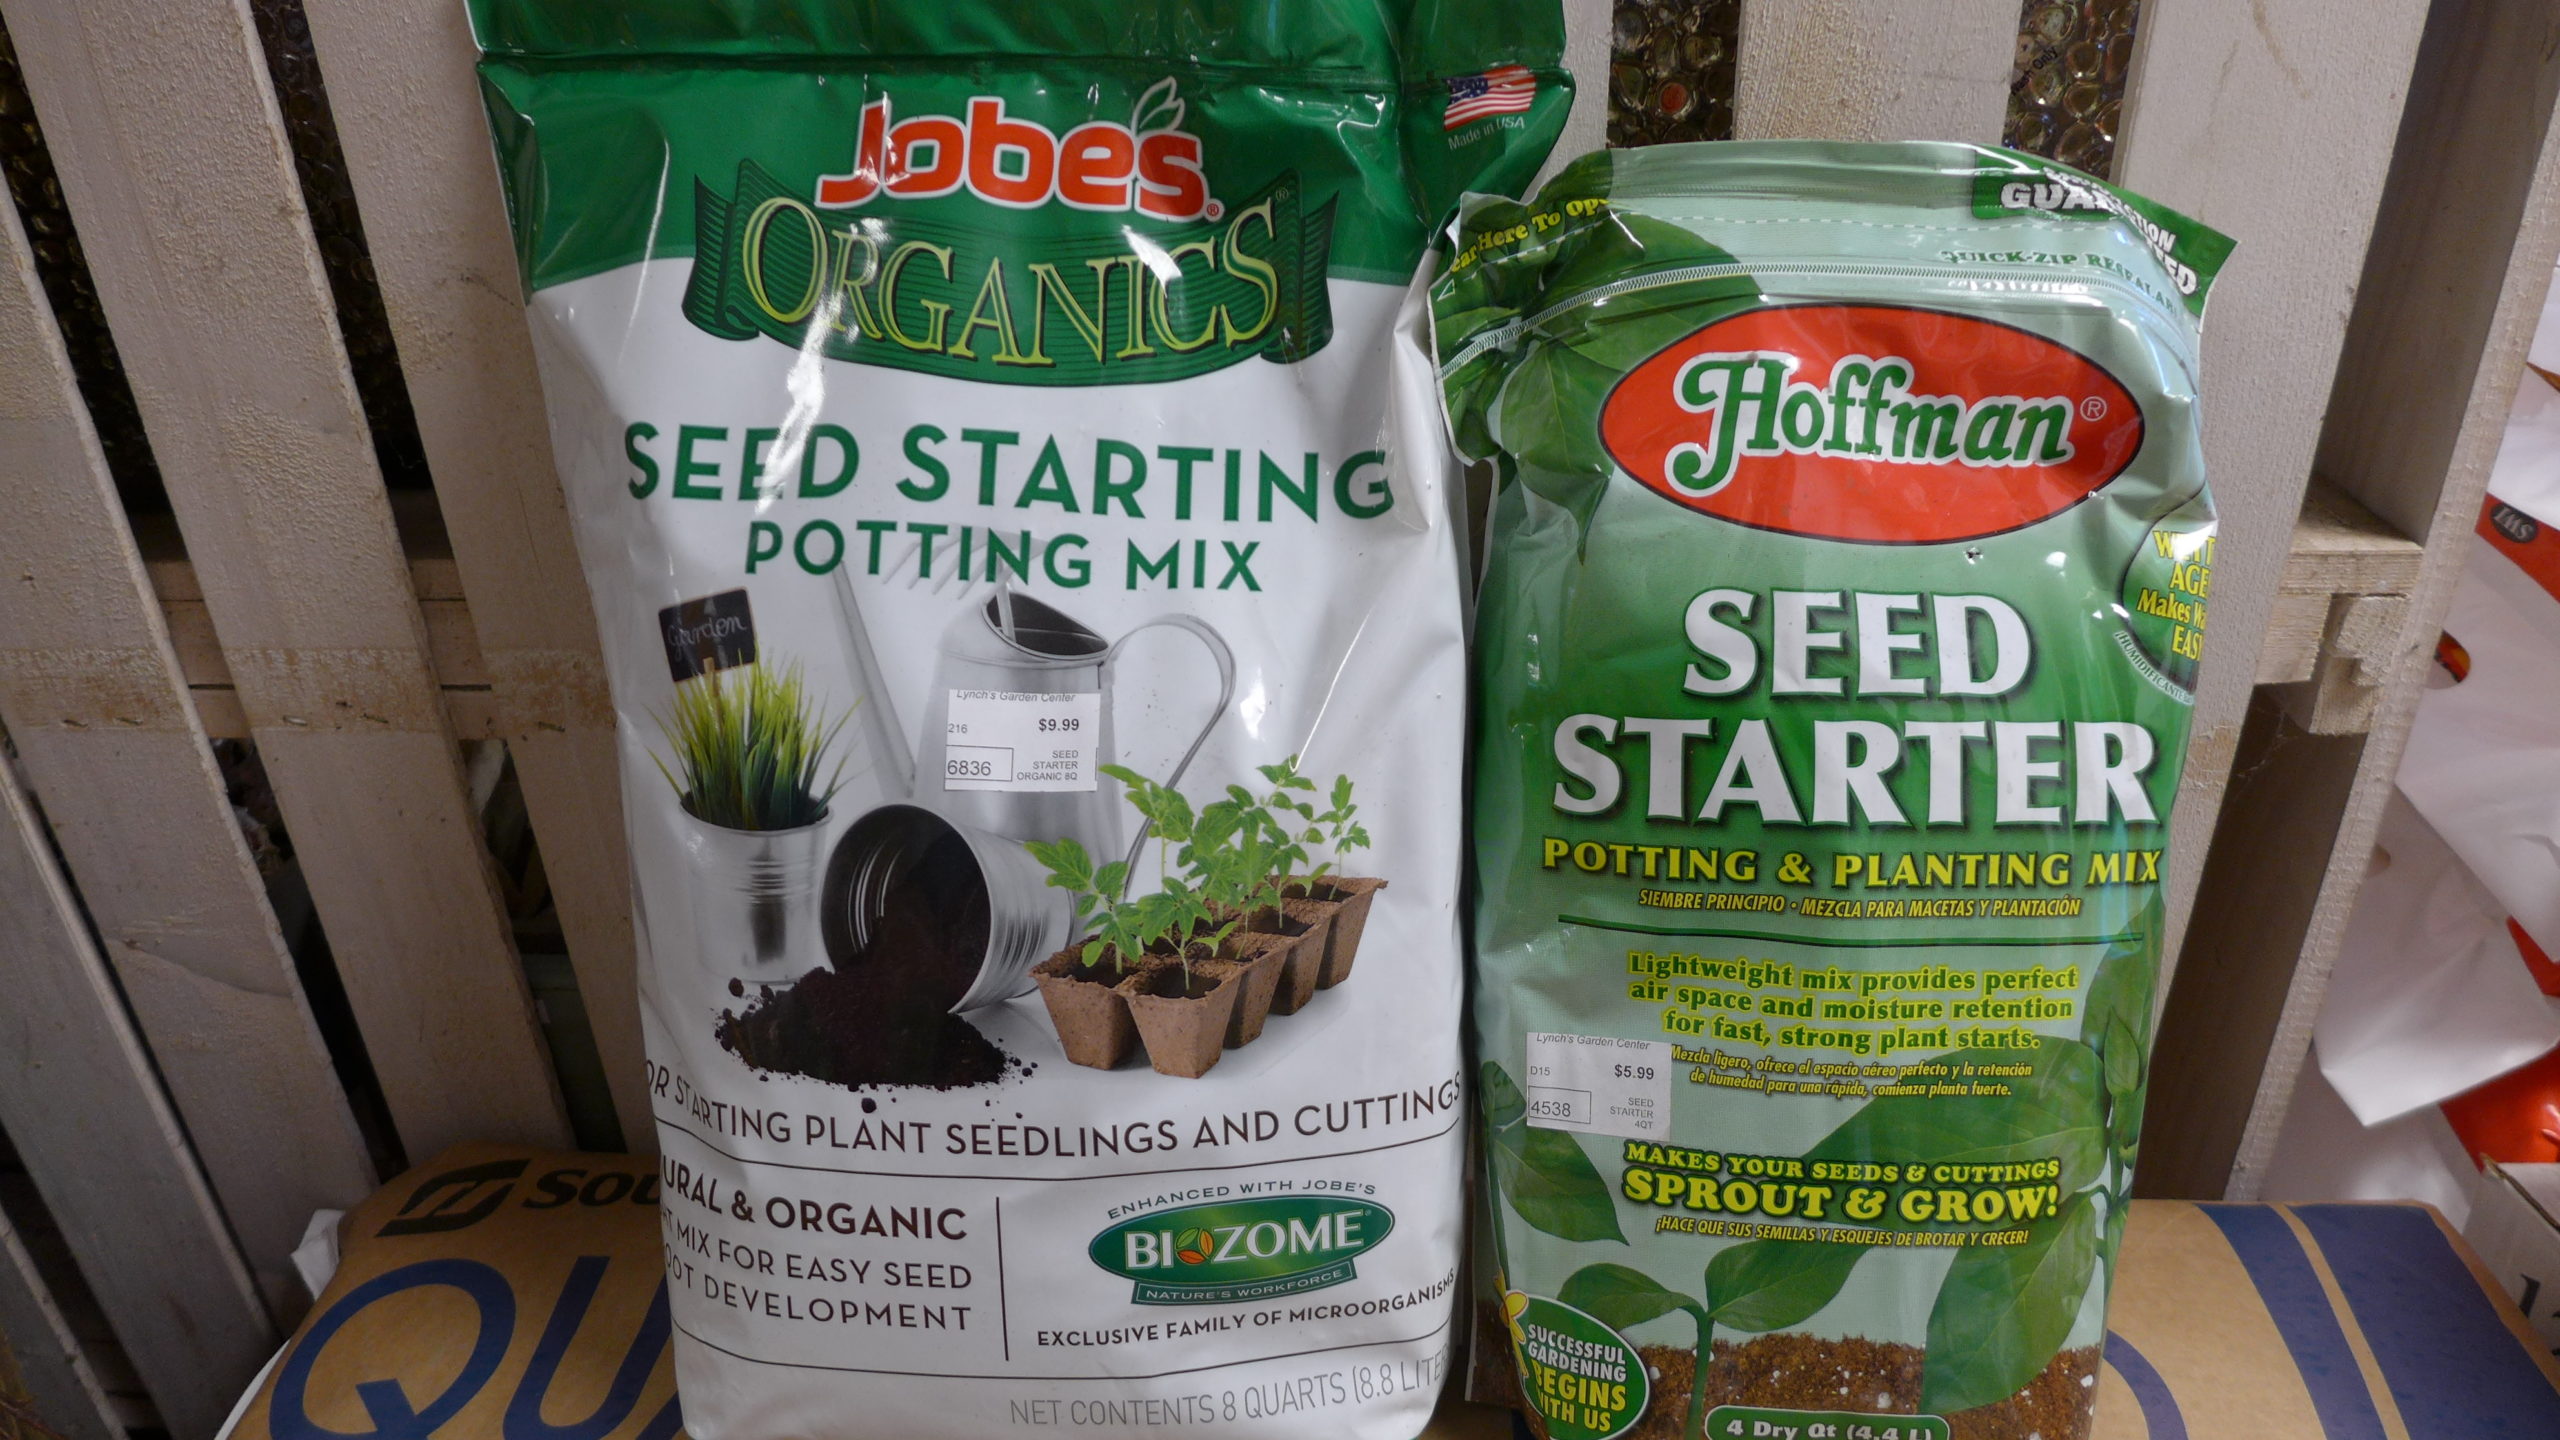
There are several brands of seed starting soils available and most gardeners have their favorite. Never use potting soils, or garden soils, for seed germination, though.
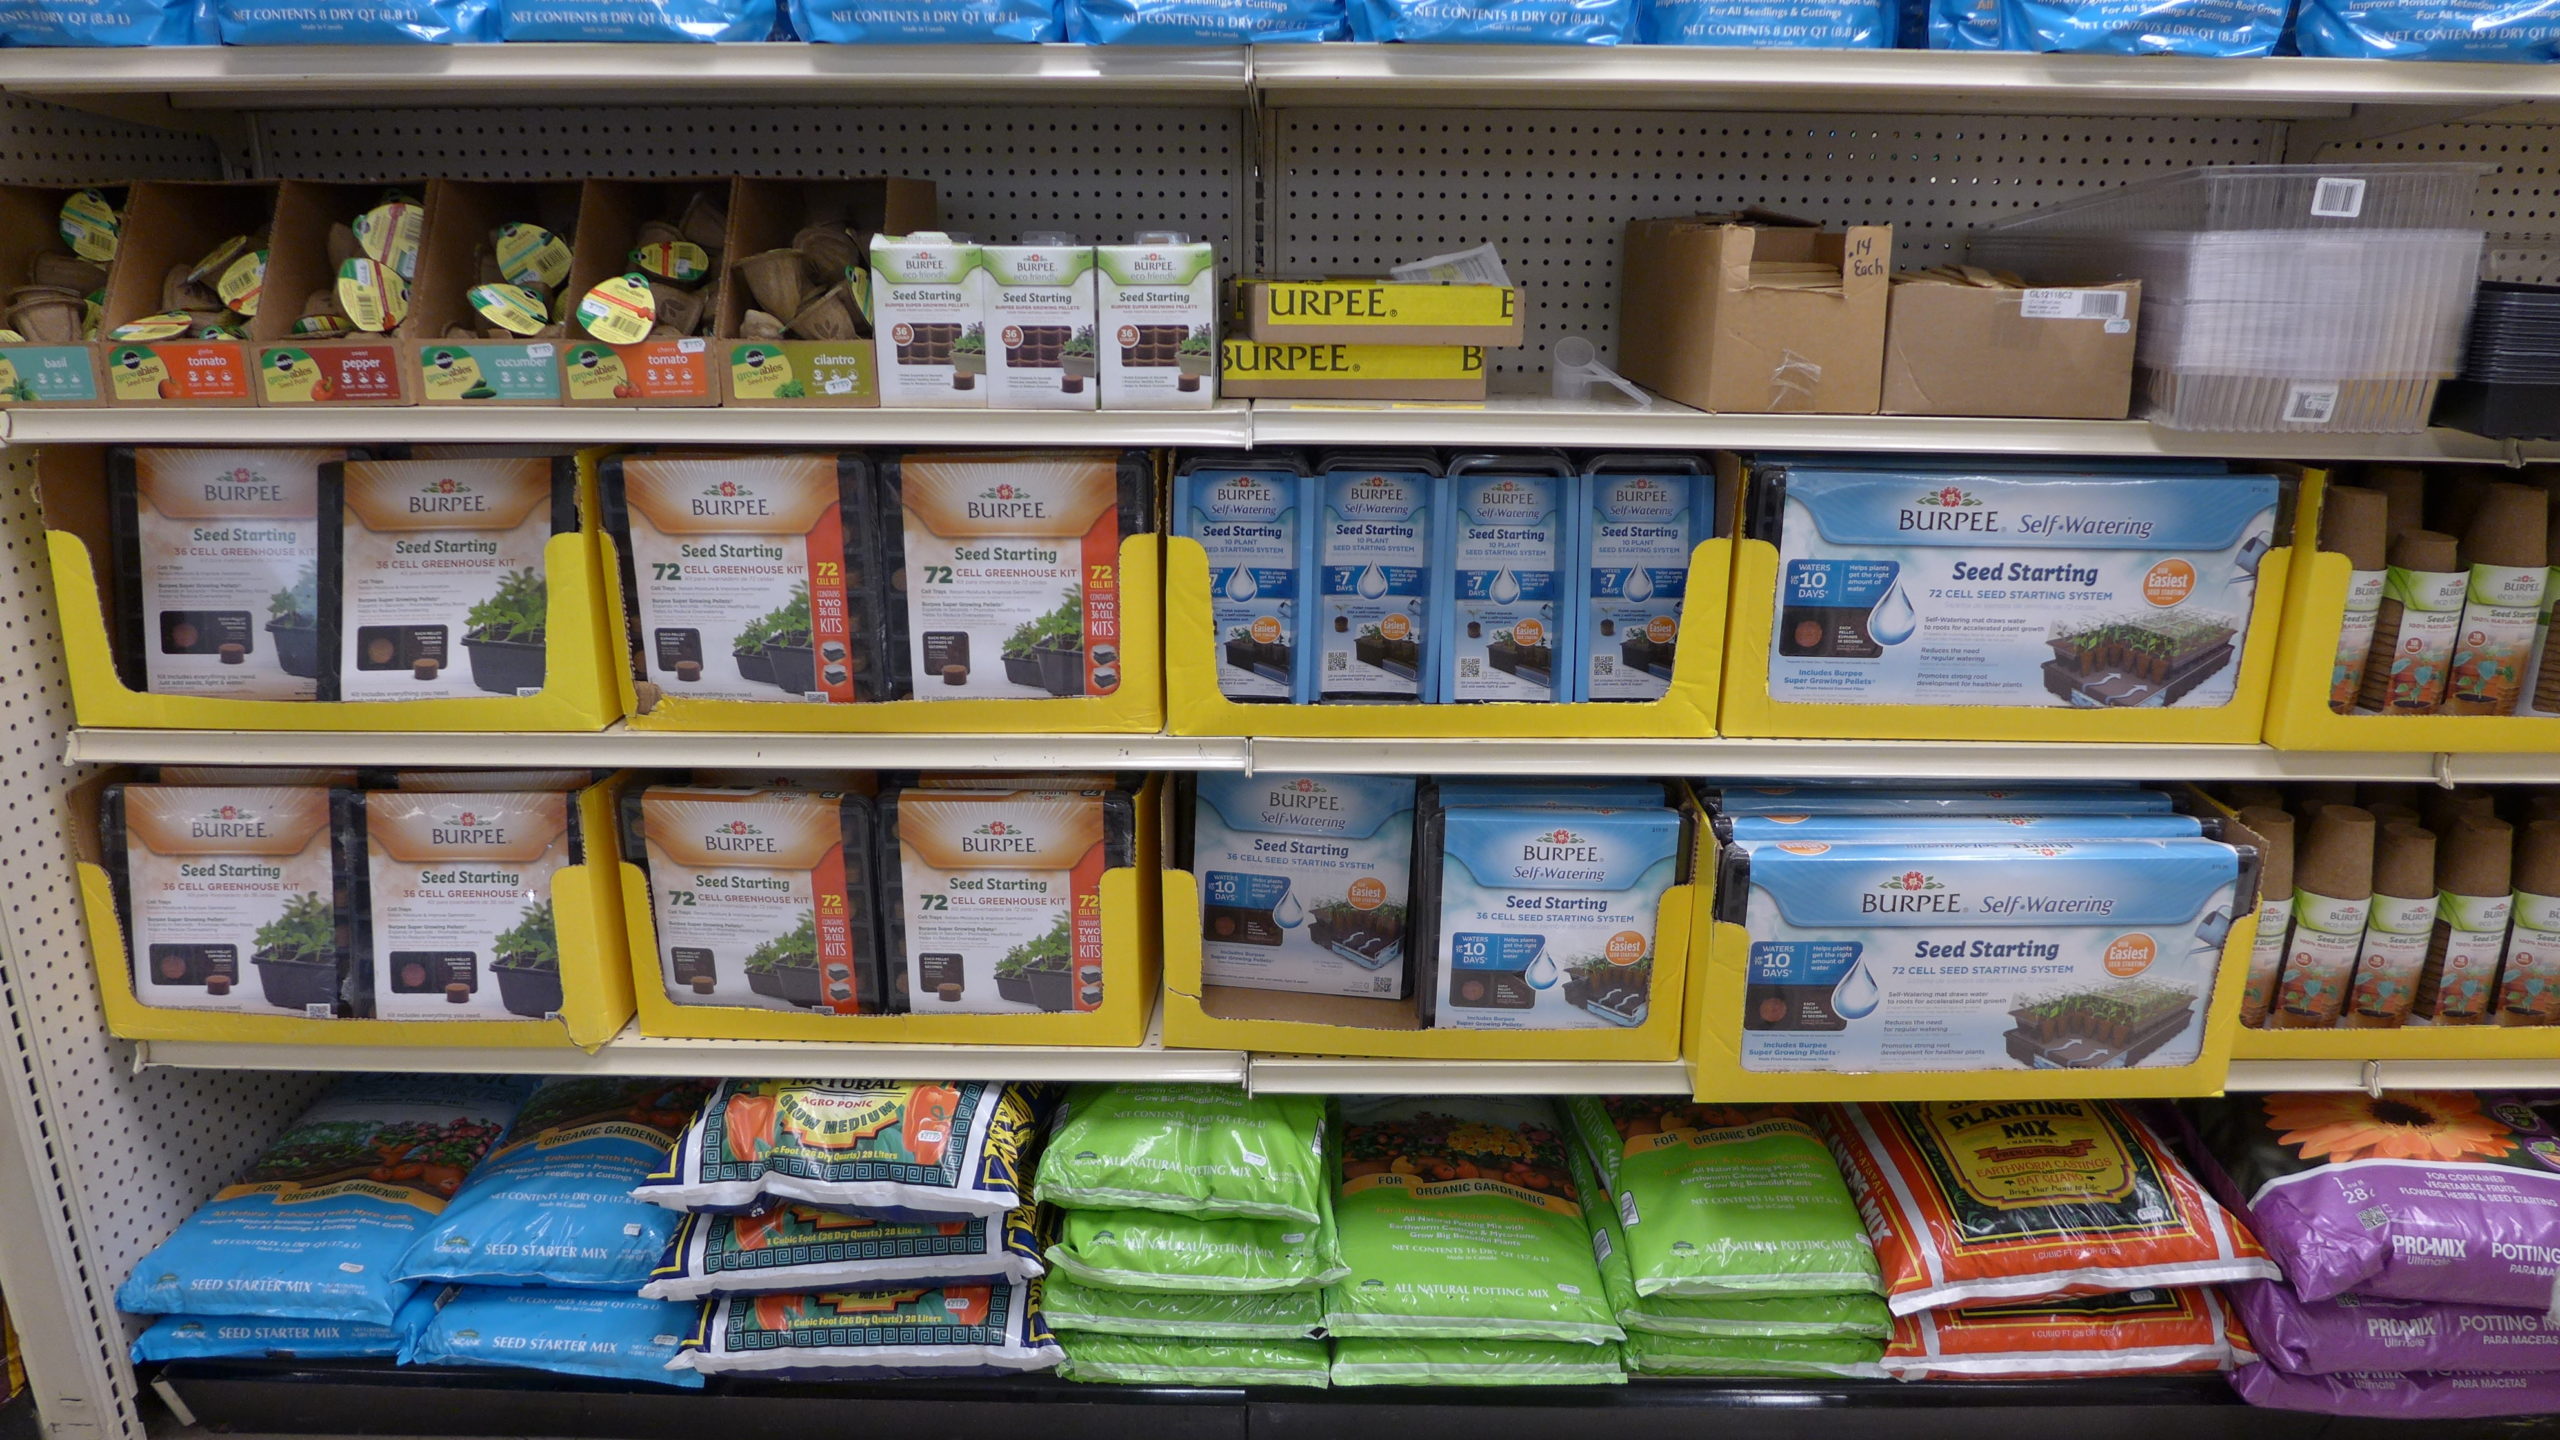
A well-stocked garden center will have a number of seed starting kits. Some are just seed flats with plastic domes, while others come complete with peat pellets or pots.

Hopefully, you’ve bought the seeds you need for this year’s garden — or you’re in the process. It’s still a wee bit early for most indoor seeding, but it’s not too early to review how to get that seed started, what to start it in and what to do with the seedlings that pop up.
How do you know when to start these seeds? Remember that our first frost-free day is usually around April 24, so nothing should be planted outside until after then, unless we get later frosts. Early and unreliable forecasts say we may have late frosts this spring — so be safe and plant late. Do a second sowing for insurance, too.
When you figure out when you can plant your seedlings outside, this determines when to start your seeds inside. Most seed packets and catalogs will give you a guide on how long germination will take and the earliest you can plant outdoors. That information will be critical because the results of those calculations will let you know when you can start sowing indoors — but you should always have a backup. Two weeks after your first seeding, do a second one just in case. This holds true for both annual seeds and vegetable seeds.
Also, consider that not everything grows best when started indoors — as is the case for most of our warm and hot season veggies, like peppers, eggplants, melons (including pumpkins), and a few others. These plants are not fond of being transplanted and they thrive in the heat, so they are better started later in peat pots, not cells or plastic pots. The peat pots, which range from 2 to 8 inches, can be planted directly into the ground and biodegrade, so there’s no transplant shock involved — or a reason to remove the plants from them at all. Other fast-growing vegetables, like greens, radishes and peas, and root crops, such as carrots and beets, are best sown in place outdoors and at the proper seeding time.
Once you’ve set up your seeding calendar, decide what you’ll start your seeds in. Your choices are cells, pots, flats and smaller adapted trays. Plastic flats, which are available at garden centers, are about 11 inches wide, 22 inches long and 2 inches deep. They can be solid with no drainage, slotted for drainage, or netted on the bottom. Slotted, which are probably the best, and netted flats are great for moving cell packs around and for organizing your plants. Solid flats are good for starting seeds and watering (more on this next week), but you can easily lose plants since overwatering a solid flat will result is soaking soil that won’t dry.
If you’re doing a large seeding — say you want 150 petunias — a full flat will be more than adequate, or grab a half flat if you can find it. The standard 11-inch-by-22-inch flats will hold standard cell packs and come as individual groups of cells, or as sheets that will fill the flat.
It’s very important to consider the increases in space you’ll need as these cell packs fill out. Think of a six pack of marigolds that you’ll seed. Once the two seeds per cell germinate, thin one out so there’s only one plant per cell. In four to six weeks, each cell will need to be bumped up to a larger container — either a cell or a pot — unless you’ve started your seeds later and they can move straight to the garden. To do this, though, you’ll need to adjust your seeding schedule so you have smaller plants that go into the garden instead of larger ones.
A single six pack might be 5¼ inches by 3½ inches, while a larger cell six pack is 7 inches by 5 inches. Just a single transplanting into 4-inch pots will take up a 16-inch-by-16-inch space — which is fine for most of us, if we’re just growing one or two plants. However, if you’re growing a dozen different varieties, that space becomes quite large. Here again, timing and planning are critical.
I’m a big user of the black plastic take-out trays (don’t use white or translucent) that you find in some markets that have salad bars and to-go food. These come in at least three sizes, the smallest being 6 inches by 4½ inches, and have solid black sides and bottoms, and translucent plastic tops, which you’ll need. This size container can be the place to start your petunias because the seedlings are tiny — with 100 easily fitting into the space before transplanting — but are much too small for zinnias, which can be sown directly into large cells or small pots.
Wooden flats are probably for the more advanced gardeners, especially those who will delve into perennials — some of which need to be left outside for three to 12 months for germination to occur.
Next, you’re going to need labels. These can be wood or plastic, and anywhere from a few inches to a foot tall. Wood will last a season, while plastic can be used over and over if you write on them with pencil. Each cell pack and container should have two identical labels — one will ultimately get lost and the second is so you can say, “I’m glad I made two of these.” The labels should have the sowing date, the name of the plant and, if you’re a perfectionist, you can add germination and transplanting dates.
Then comes the dirt — but, please, no actual dirt. We only use soil when starting seedlings. Later, you might want to add a bit of your special compost to your potting mix, giving it a boost of important microbes that are often missing in seedling soils. This is one soil you don’t want to hold over from year to year, so don’t overbuy. You’ll also need soil for transplanting if you’re going to pot up your plants before they get to the garden. This should be any high-quality potting soil, but without any fertilizer in it.
On to the pots. As long as you clean used plastic pots — 3 or 4 inches wide, round or square — with dish soap and hot water, they can be used for transplants. Peat pellets are also an option. Simply place them in warm water and, in a few hours, you’ll have a cylinder of peat held together by a biodegradable netting. Seeds of larger annuals and vegetables, including sunflowers, tomatoes, melons and many others, can go into these before directly planting them in the garden.
Peat pots, which have been around for over 50 years, are also an option. Warm season crops and those that resent transplanting do best in these, but they can get soft and friable as the weeks go on — so, again, time your plantings and the peat pots will be fine. You can also buy gismos that allow you to turn newspaper into pots, but these seem to degrade much too quickly.
A few tools will be helpful, as well. A widger will come in real handy when you’re ready to transplant seedlings, as will some 4- or 6-inch plastic labels, as they make great mini seedling spades. Keep a pair of tweezers in reach, too, as well as two pencils — one used for soil and the other for your labels.
For those who feel too timid to start some plants indoors and are worried about direct seeding outdoors, there are other avenues toward your garden dreams: Seeding tapes and pelletized seeds.
With a seeding tape, the seeds are perfectly spaced in the tape — so no bunches of 10 radish seedlings, then none for another foot — and then you simply plant it. Pelletized seed makes smaller seed easier to handle once you get your fingers working right, but only a limited number of seeds are available this way.
Next week, we’ll move on to sowing the seed and the transplanting stage. Have your seeds and supplies ready. It’s a bit early to sow, but not too early to practice. Keep in mind, also, that most of the major seed suppliers have resources on their websites for starting seeds.
A brief quiz: What are the three elements that we need to germinate seeds? Here’s a hint: One may be optional, but the two others are not.
Keep growing.
More Posts from Andrew Messinger


